Handmade Jewelry for the Special Occasion

Showing posts with label flowers. Show all posts

Wednesday, July 13, 2011

2,000 Facebook Fans Celebration Giveaway

I just hit the 2,000 Facebook Fans mark and as promised I want to celebrate with all my fans! If you're not a fan yet, don't worry, you can "Like" my page and join us in the celebration with this amazing Giveaway that I've prepared. Last time, when I got to 1,000 Fans I gave away 1 prize, however this time I'm thinking on giving 5 prizes away! Basically, this will be my biggest Giveaway ever and also the last one I will be having for a few months. So now is your opportunity to participate!


What I'm giving Away:


1st. Prize - Any One Item* from my Jewelry Shop + Any One Item* from my Cufflinks Shop + 1 Flower Headband or Hairclip.
2nd Prize - Any One Item* from my Jewelry Shop OR Any One Item* from my Cufflinks Shop + 1 Flower Headband or Hairclip.
3rd to 5th Prize - 1 Flower Headband or Hairclip

*Custom items are not included.


Who will get the Prizes:


1st. Prize - The winner of this prize will be chosen via Random.org on Sunday, July 24th 2011 from the people who entered the giveaway by commenting on this blog post (please see the How to enter and Rules section).
2nd. Prize - This prize will be given to the person who referred the 1st. prize winner to my Giveaway via Facebook. That means that if you shared this giveaway on your Facebook and a friend of yours got to my giveaway because of that link and won the 1st prize, then you will get the 2nd prize. This is a way to Thank You for sharing with your friends. If the 1st prize winner was not referred by anyone then the winner of the 2nd prize will be chosen by Random.org on Sunday, July 24th 2011.
3rd to 5th Prize - This will be more fun. I will post 3 questions on my Facebook Wall and the first person to answer the question correctly will win one prize.


How to Enter for 1st and 2nd Prize:
There is One Mandatory Entry and Six other Optional for you to increase your chances of winning. (All entries must be made as a comment on this blog post ....please make sure to do separate comments for each entry)
Mandatory Entry:
- "Like" my Facebook Fan Page and then come back and comment on my blog that you did. If you are a fan already you still have to comment that on my blog.
Optional Entries:
- Share this blog post on Facebook and comment on my blog that you did, including the link you shared. Remember that this will give you the option to win the 2nd Prize!
- Leave a Comment here on my blog telling me which Jewelry item from my Jewelry Shop you would choose if you win
- Leave a Comment here on my blog telling me which Cufflinks from my Cufflinks Shop you would choose if you win.
- Follow my blog and leave a comment that you do so.
- Stumble this blog post and leave a comment on my blog that you did.
- Tweet about this blog post and comment on my blog that you did. My Twitter is @estylojewelry

You have a total of Seven Chances to Enter, so take advantage of them!
Rules:

The Giveaway starts today July 13, 2011 and ends on July 23, 2011 at 11:59 pm PST. Winner will be chosen via Random.org and will be announced on my Blog and Facebook Fan Page the following day. It is open Worldwide for anyone 18 years or older. The prize will be sent out via USPS First Class. Please note that I can't be responsible for Post Office mistakes or non-deliverable. Winner will have 3 days to contact me for the prize or a new winner will be chosen.


Good Luck Everyone!!! 

This Giveaway is now Closed! The winner of the 1st prize is Comment #69 from Kajira. Congratulations! Please contact me for your prize! She was referred by a link posted by Aileen, which therefore gets the 2nd prize :)


As for prizes 3 to 5 they were already shipped to the lucky winners stated on my Facebook Page.


As seen on CashNet Sweepstakes and http://bloggiveawaydirectory.com

Tuesday, July 12, 2011

Flower Headband or Clip DIY Tutorial

As I had mentioned to my Facebook Fans I recently learned how to do these gorgeous Flower Hair Accessories and just got addicted to it. The are great for Newborns, Brides, Bridesmaids, or just the every day outfit! I made a bunch for me and my little baby that will be born in a few weeks, but I just made way too many, so I decided to 1. Show you how to make yours and 2. Have a fun giveaway with some of the flowers I already finished, plus jewelry and cufflinks:


I'll start with the tutorial and will write about the Giveaway in another post, since it's not only the flowers that I'm giving away, but also some of my jewelry pieces and cufflinks in celebration of getting to 2,000 Facebook Fans! Yayyy!!! So make sure to check out the Giveaway post here.

Back to the Flower Accessories. This is how your finished Flower will look like:


In the tutorial I will show you how to attach the flowers to an elastic headband, but you can attach them also to Bobby Pins, Hair Clips, Belts, etc. Just use your imagination and the options are endless. They are also great for all ages and occasions. So here is what you will need:
- Scissors
- Fabric Flowers
- Heat Gun
- Felt
- Rhinestone or Button if you want to decorate the center
- Headband, Pin, Clip, or whatever you want to attach it to

You can get all of these items at a regular Craft Store, like Michael's or Jo-Anns. They also a have a large selection of flowers and normally will have a few on discount. Another option is to go to the Dollar Store, however the selection is probably a little smaller. Start by cutting two small circles from the felt. They should be the same size, but don't need to be exact. Set them aside.


Next cut the elastic for your headband. You can buy the headbands ready or you can make your own. I opted to get the elastic since I wanted to make the headbands in different sizes, for me and my girl. The suggested sizes are as follow:
Newborn - 13"
3 Mo to 6 Mo - 14"
6 Mo to 12 Mo - 16"
12 Mo to Teen - 17.5"
Adult - 18"
Those are the finished sizes, so if you are making your own headband you will want to cut your elastic a little more than that. Once you cut your elastic you need to sew them together. Don't worry on how it looks since it will be covered by the felt. Just make sure it's sewn correctly so it won't rip.


Set the headband aside and connect your heat gun so it starts warming up, then continue onto the flowers. Take one flower completely apart, depending on how filled you want them you can use more than one. I like them with a lot of petals so I usually use at least two flowers. If you plan to use a rhinestone or button in the center you can throw away everything except for the petals. Or you can leave aside the center of the flower and re-use on yours.


Now that you have the petals only arrange them in the way you want to have them. You can mix different flowers, colors or just put them together as they were originally. I like to separate them by size first and then start to put them together until it looks like I want them. Once you've arranged them turn them around to have the largest petals on the top and the smallest on the bottom. Take your first petal (largest) and add some of the glue with heat gun on it. Now take the next petal and press firmly over the first one. Keep doing that with the rest of your petals until you're finished.


Now it's the time to embellish your flower. You can use rhinestones, pearls, buttons or the original center of the flower. You can get a mixed package of colors and sizes of rhinestone in the bead section of your craft store or you can use the self-adhesive ones from the scrapbooking area. Just apply the glue with the heat gun onto the center of the flower and press your embellishment on it. If you don't want to add anything, just leave it as is and it will look nice anyway.


You've finished your flower now and are almost ready. Take on of the felt circles and apply glue all over it. Also apply some glue on the back of your flower (the largest petal) and press both of them together. This is to hide any imperfection that might be on it. Now take your headband and apply glue on the part that is going to be glued onto the felt, make sure you are hiding the sewed part. Press it onto the flower and then apply glue on the inner side of the headband and of the two felt pieces. Glue them together and let dry.


That's it! You have finished your Flower Headband! So easy, right? And it will take you only a few minutes to make them. You can make it as fancy or as simple as you want and I love that it's great for any age and any occasion. Remember that I do not sell these flowers in my shop, just made them for fun and will be giving a few away (together with jewelry and cufflinks) on my 2,000 Facebook Fan celebration here!


If you're not the crafty kind of person but liked these flowers and did not win one at my giveaway, you can find plenty of fancy options for sale from other Handmade Artists. Here are a few that I found:
 
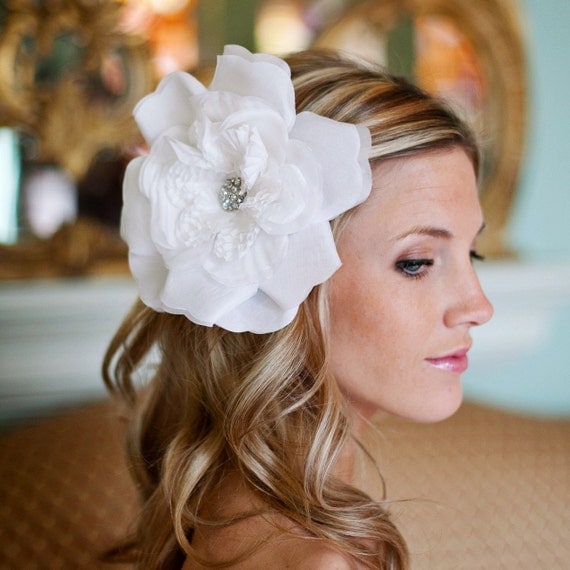
For the Bride
Handmade Bridal Flower Clip here

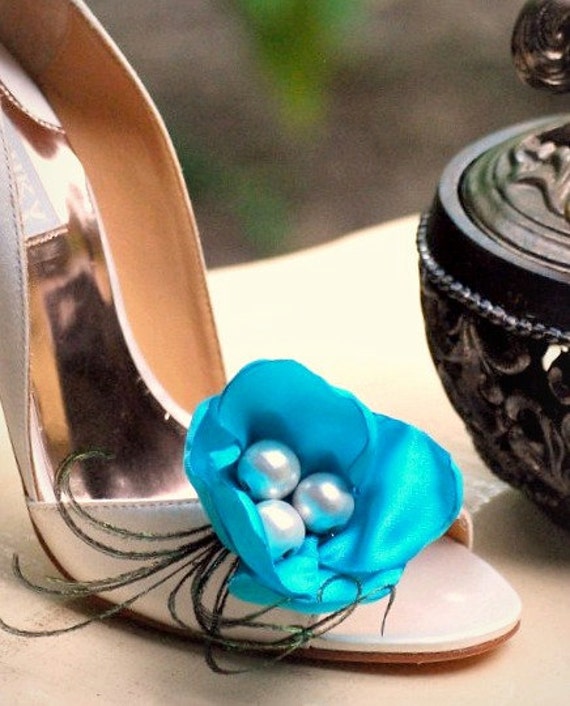
Shoe Clip
 Handmade Peacock Shoe Clip here

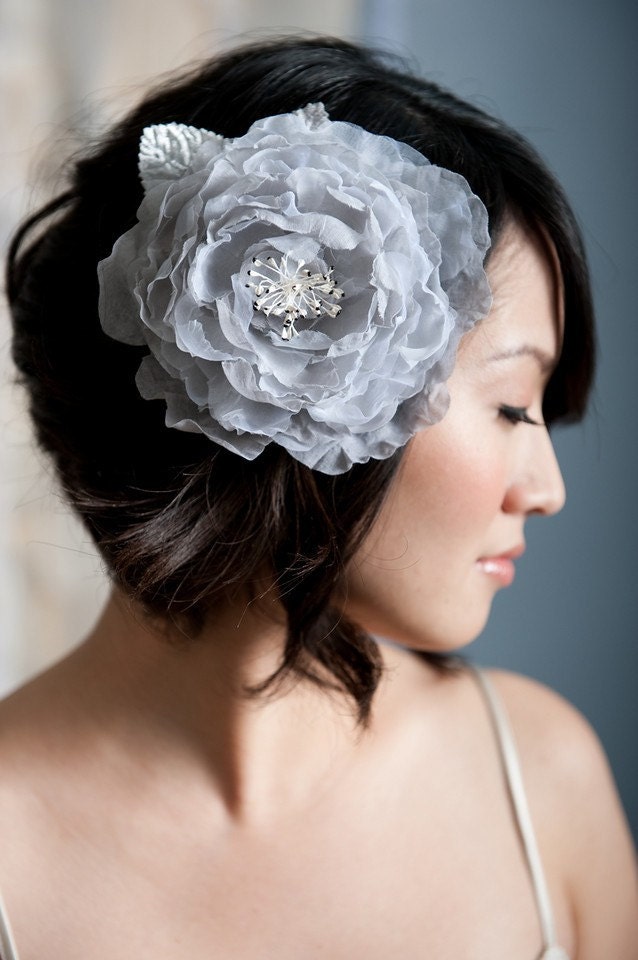
For the Bridesmaid
  Handmade Flower clip here 
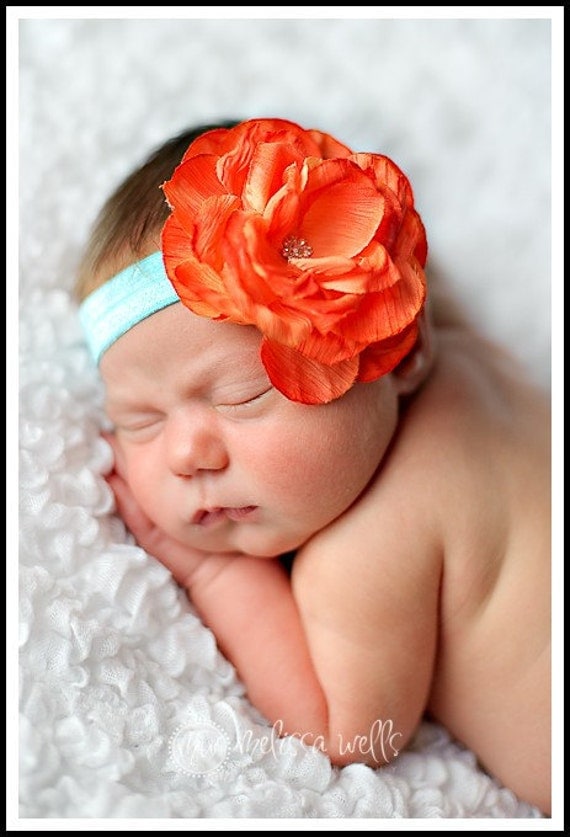
For the Baby
Handmade Newborn Headband here

Flower Sash

Handmade Flower Sash here 

Have Fun creating or shopping and don't forget to check out the 2,000 Facebook Fan Giveaway!

Saturday, May 7, 2011

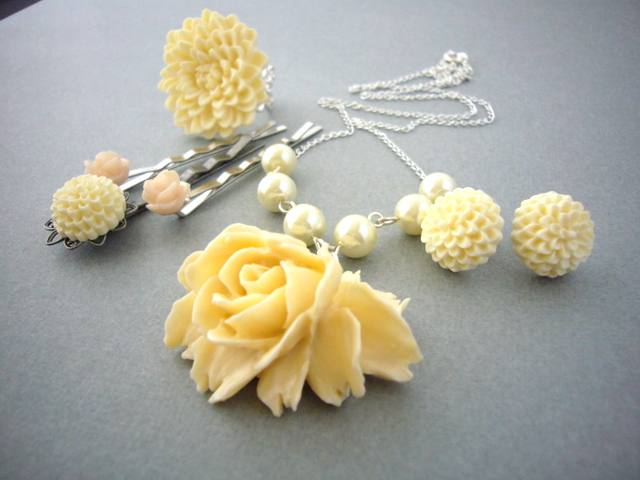
Make Your Own Bridesmaid Flower Jewelry Set - Tutorial Part II

Last week I posted Part I of the Bridesmaid Jewelry Tutorial. I hope you had enough time to get your supplies and start gluing the flowers. Remember that the flowers need to dry at least 24 hours in order to set well. Also be careful when handling the E6000 glue since it has a very strong smell and can be toxic. So make sure you always work on a well ventilated area and read the instructions on the tube before opening.

So lets continue working on this beautiful set. We'll be making this Necklace now:

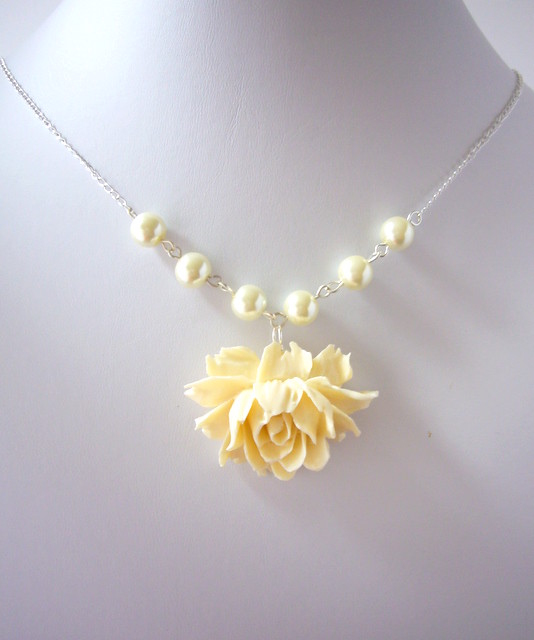
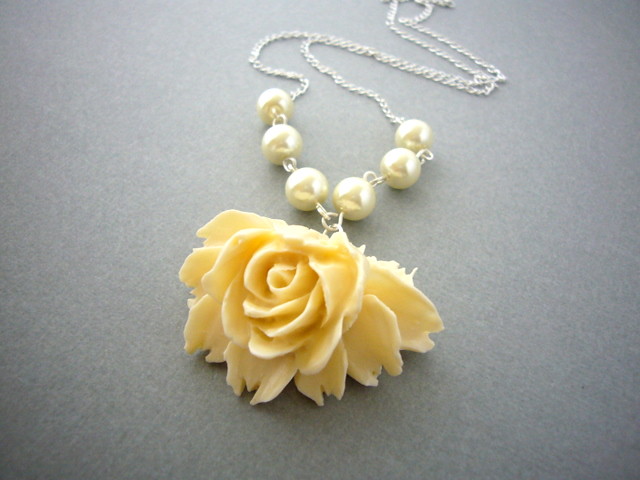
 Finished Pearl and Flower Necklace

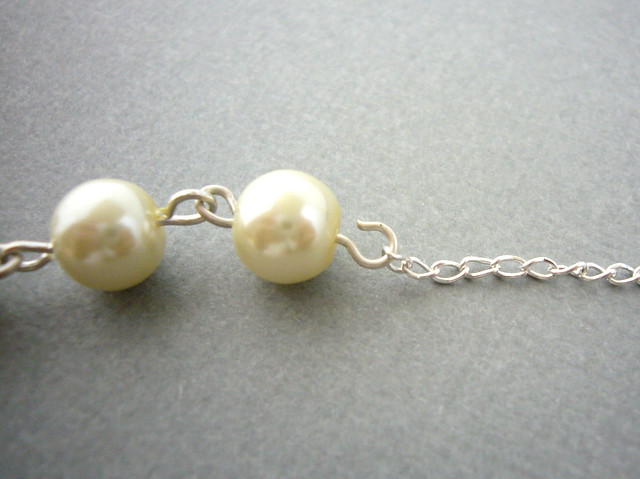
Take one Glass Pearl and slide it onto an Eye pin. Next we’ll do a simple loop into the remainder of the pin. Grab the eye pin and with the other hand use the round nose pliers. Place the pliers at the top of the pin; make sure you don’t use the biggest part of the pliers, since it will make your loop too big. Now begin rolling the wire towards the beads until the end of the wire meets the other end of the loop. If you didn’t calculate right you can cut the excess of the wire end keep rolling in, or re-try doing the loop.

Make a simple loop on an eye pin

Now do the same with the remaining pearls and pins. Once you have the pearls on the eye pins attach one to the other and close the loops except for the two in the outside. Next cut the chain into equal parts and slide one chain on every side of the pearls and close the loops.

Link the pearls together

We’re almost finished, just a last step. Take the 4mm jump ring and open following the instructions above slide one side of the chain on it and then close it. Take the spring ring and open the attached jump ring and slide the other side of the chain on it and then close. Don't forget to finally add the large Rose Pendant in the middle of the Pearls. Now your Necklace is ready! Doesn’t it look beautiful?

Finished Bridesmaid Necklace

I normally recommend 18 inch necklaces in case you don't know what size to make it. It's the most standard used, but for skinnier smaller persons you can go with 16 inch or for bigger persons 20 or 22 inches. You can also add a small extender just to make sure. You can get them at any craft store or online. 

You have finished a complete set for your bridesmaids. You can choose to just make the Necklace and Ring, or the Bobby Pins and Necklace or any combination you want, or make the complete set. Your bridesmaids will be impressed with your skills.

 Pearl and Flower Bridesmaid Jewelry Set

I've already received a couple of messages from followers that are making their own sets, both decided to do the whole set in ivory as indicated in the instructions. Remember that you can contact me if you have any questions and also feel free to share your pictures when you finish your sets!

Also don't forget that Sunday is Mother's Day so make sure to enter the Mom Giveaway. You only have until tomorrow May 8th to enter. For details go to my Facebook Page.

Until Next Week!!!

Monday, June 21, 2010

Do you know how to accessorize this Summer?

Finally Summer is officially here! I love the sun and long days. Summer is definitely my favorite season. It's time to go to the beach, have BBQ's, Margaritas, just so many things to do. But remember also to update your wardrobe. Forget about the dark clothes and start using colorful items. A good way (and more affordable) is to change your accessories. Just take any piece of your wardrobe and then finish your outfit adding colorful accessories. Here is an example:


I'm using a white dress and then decided to add some color to it. From top to bottom I'm recommending some items you could use to make your outfit stand out. I searched on Etsy to find similar items to what I use and with which you could copy this outfit.

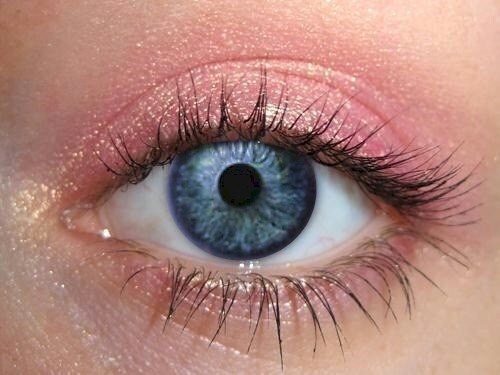
1. Makeup. For summer season I like shiny colors. I normally don't wear any base in summer. Just apply a bronze or coral color blush, some mascara, a rose or metallic color lip gloss and then focus on your eyes. In my picture I'm using Gold shadow around the eye lid and then enhanced them with a coral color in the bottom half of the eye lids. Here's a recommendation of color I found on Etsy from Orglamix

Photo by Orglamix

2. Necklace. Here I'm using a Coral and Pearl Necklace from my Summer collection. I like how it looks with the white dress since it really pops out and is very eye catching. This Necklace is available in my shop


 Photo by Estylo Jewelry

3. Handbag. This is very important. In my picture I'm using a handbag I got from my husband. He brought it from a trip to Cancun. Isn't it gorgeous? I think that the outfit could also look good with something smaller. So I searched and found this beautiful flower clutch from BrianaEdelmanDesigns shop.


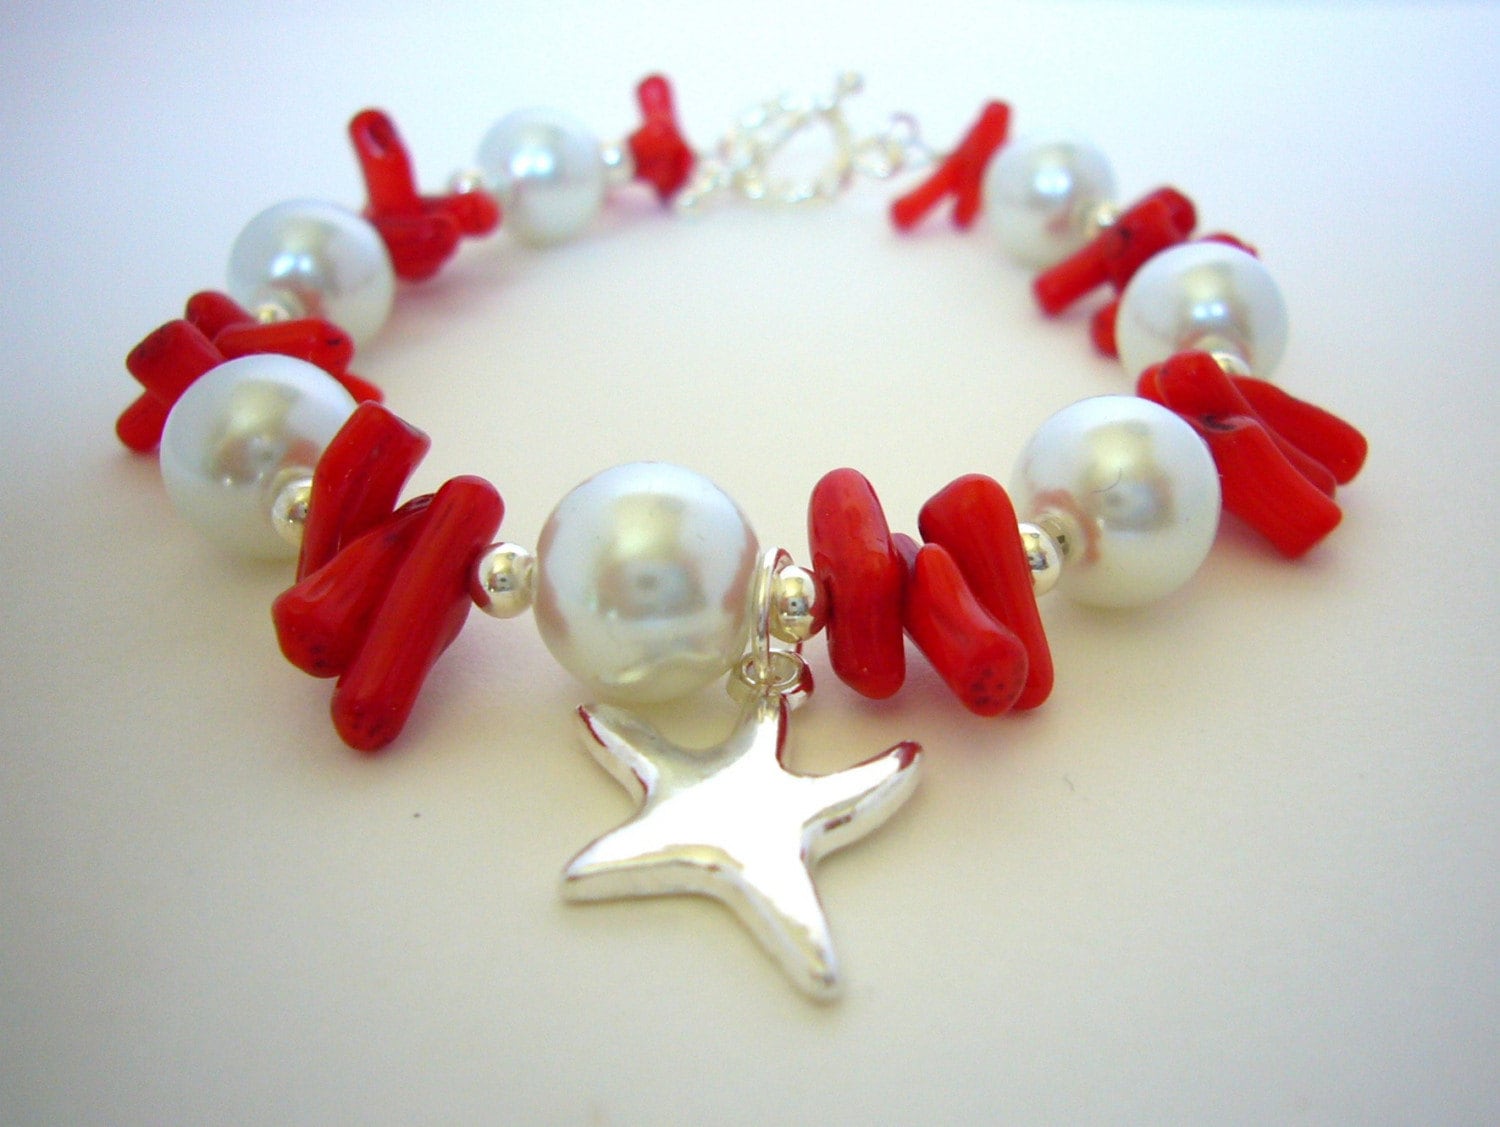
4. Earrings and Bracelet. I'm not wearing Earrings in my picture, since I'm allergic. But I would recommend you wear some. The bracelet I have in my pictures is also from my Summer Collection. It is made of red Coral, white Pearls and embellished with a Silver Starfish Charm. It is available in my shop

 Photo by Estylo Jewelry

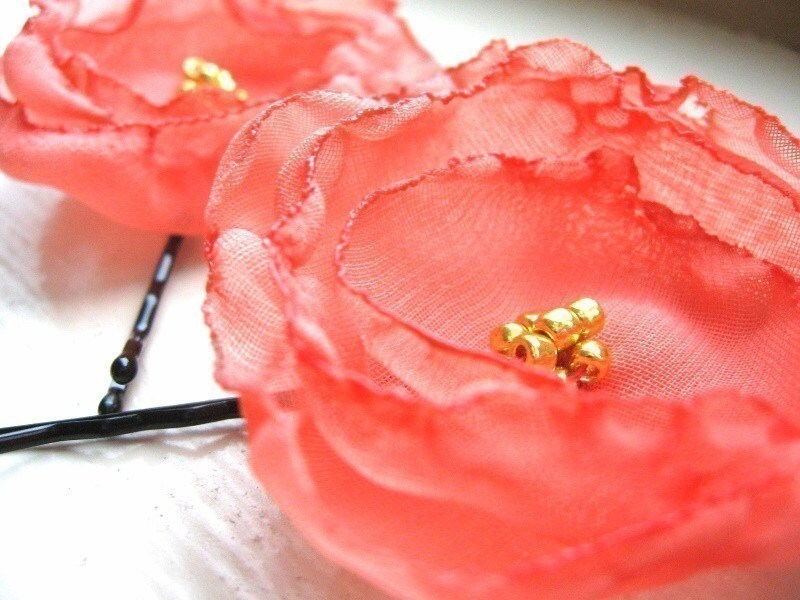
5. Hair. I recommend to wear it very natural. I like to look very fresh in Summer, so I definitely would say to wear it without too many products. I'm just using it half up without any embellishment but you could use a flower in your hair like the one I found at Nomsa's shop

 Photo by Nomsa 

I hope you like my selection. I will try to post more Summer outfits soon, so remember to come back to see more beautiful items that I will suggest throughout the season.

Monday, June 7, 2010

Things to do in Summer

Summer is just around the corner, so I decided to post a few pictures of things to do in Summer......

 
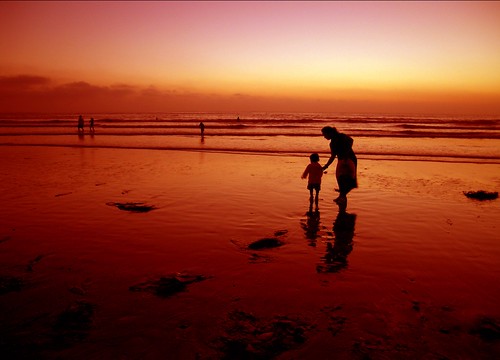
 Take a walk on the beach....Picture from Caligold at Flickr

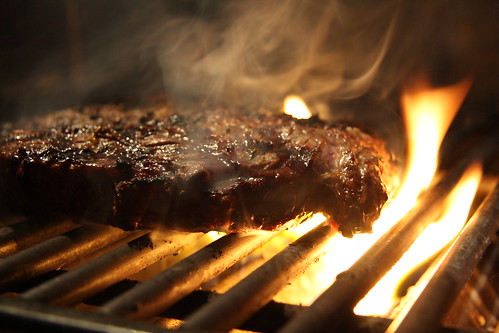
 Invite your friends to a grilling party...Photo by Another Pint Please... on Flickr


Observe the nature....Photo by Creativity+ Timothy K Hamilton on Flickr


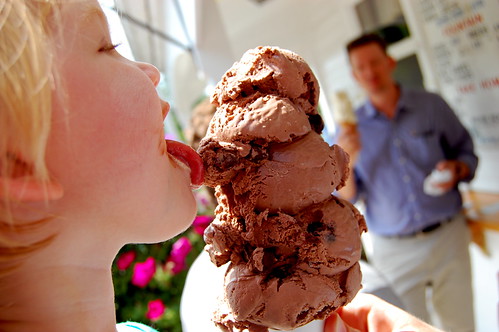
Enjoy a large Ice Cream Cone...Picture by Duo de Hale on Flickr


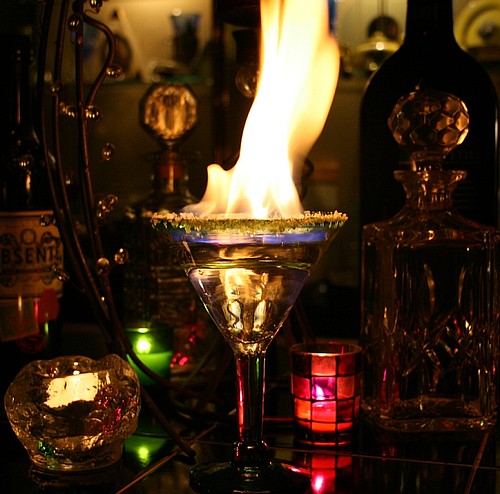
Have some cocktails with your friends and family...Picture by TW Collins on Flickr

Enjoy your Summer!!!

ShareThis

Related Posts with Thumbnails