Handmade Jewelry for the Special Occasion

Thursday, September 27, 2012

Quick and Easy Makeup!


Since I had my baby, I had to organize my time better and make things faster to spend more time with him. One of those things is makeup!  
You don’t need to spend hours putting on makeup to look good, if you are late for work or you are a busy woman or whatever the reason is you don’t have enough time for makeup,  in 5 minutes  you can have a fresh and radiant face.

Clean and moisturized face

The first thing you have to do is to rinse and moisturize your face, a clean and fresh face is the best way to start and you will keep your skin hydrated throughout the day.


Concealer

The second step is to apply concealer, it will help you cover imperfections on your skin and brighten your face.  Dot on areas such as under the eye, around the nose and on the chin, then blend with your  finger or a makeup sponge.


Foundation

Continue with a foundation, it will even out your skin tone and give you the appearance of a perfect skin. Take some foundation and blend along your skin and neck. 


Blush

Add some color to your face applying blush, I love it because it instantly turns your face from tired to fresh and healthy. Using a blush brush, smile and apply some blush on the apples of your cheeks and blend.


Eyes

The most important thing to look refreshed and awake is the eyes. Apply a neutral and soft eye shadow color, then curl your eyelashes to help it look longer and your eyes bigger, and finally apply mascara by wiggling the wand from the roots of your lashes on through to the ends.


Lips

Finally add a little shine on your lips by using a gloss, they are quick to apply and will help you  save some time.


And that’s it! You will look as if you have had 8 hours of uninterrupted sleep.  J


Selene


Monday, September 24, 2012

DIY Kid’s Bathroom Decor

It’s time for another DIY tutorial! A few weeks ago my daughter turned one year, so we had a little party and after the party we had left the decoration. We made an Uglydoll party, since she really likes one of their characters. I really thought it was going to be a waste if we just threw it away, given that we only had it on the walls for a few hours. After thinking a little about what to do I decided that the guest bathroom, which is now being used by her, should be really her bathroom and therefore it would be nice to change it a little bit. It is an old house and the bathroom furniture hasn’t been updated in years I’m sure, so they are just plain, white doors. Here is the before and after:

Estylo temp15

What you’ll need:

- Mod Podge

- Foam Brush

- Scissors

- Decor napkins, plastic tablecloth, etc. (whatever you have available)

- Polyurethane (optional for durability)

First, clean the surface you are going to work on. In my case it was the door of the bathroom furniture. You can sand it a little bit if you are planning to change the color, but in my case I just let it the ivory/white color it has. So just clean and let dry. Choose the items you want to attach to your door.

2012-09-06_17-48-29_310

Next step is to cut the figures that you want to use. I used some carton figurines and plastic wall decor. You can see in the picture how it looked and then I just cut the pieces that I was going to use.

2012-09-06_17-49-23_111

2012-09-06_17-54-28_339 

Go to your working surface and lay them out as you want your finished piece. Then with the foam brush gently apply the Mod Podge on your first decor item and place it where you want it to stay. Press it well to get all bubbles out. Do the same with all the rest of figurines.

Let dry for a few minutes and then brush Mod Podge on top of your decor. Make sure you cover them completely, including all the edges. Don’t worry it will dry completely clear. Let dry for a few minutes and then apply another thin coat.

100_1601

At this point you could add two coats of Polyurethane (let dry between coats) so it lasts longer. I chose not to cover it since it will be easy to remove if I decide to change the decor in a few months, but it’s up to you.

It takes no time and no money and it’s a very fun project that you could do together with your children if they are a bit older. You can use this process with hundreds of items. I used the napkins to cover my daughter’s toy box and am planning to also change an old coffee table into a kid’s table. So ideas are endless.

Anyone else has repurposed anything?

Have a great week!

Sandra.

Thursday, September 20, 2012

What Color is Your Wedding: Red Palette


This year is going by so fast, don’t you think? Fall starts tomorrow! It’s a beautiful season; I love hearing the leaves crunching under my feet, the crisp air and of course the beautiful colors!  So I decided to continue with a color according to this season: Red!

Here are some ideas for your red wedding. You can see more on my pinterest board.


Pearl and Swarovski Earrings available here

Red Shoes available here


Invitations available here


I hope you liked these red wedding ideas, definitely a beautiful wedding color! :)


Monday, September 17, 2012

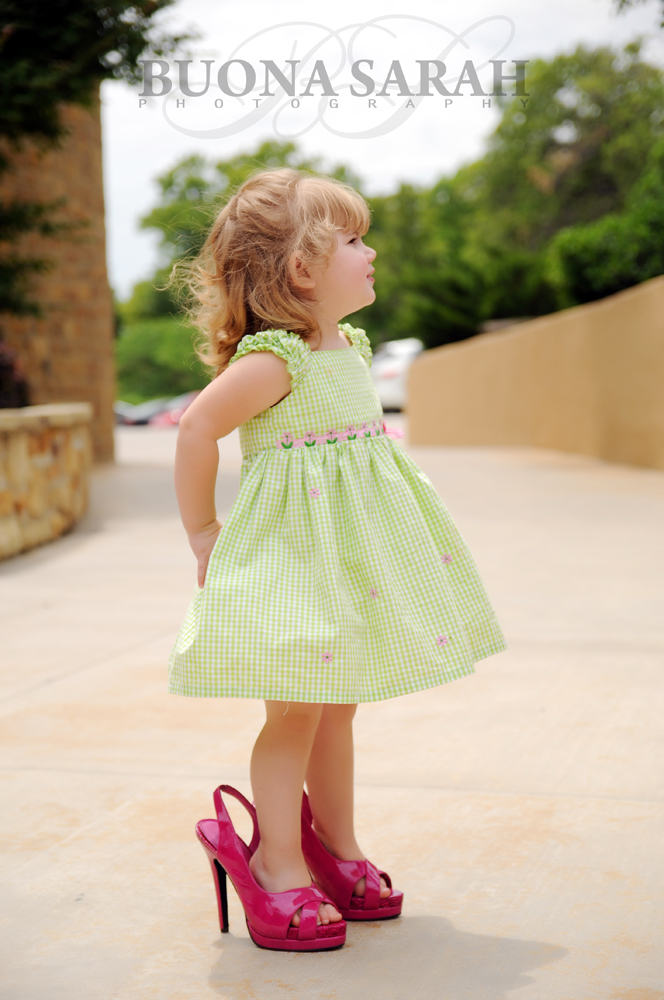
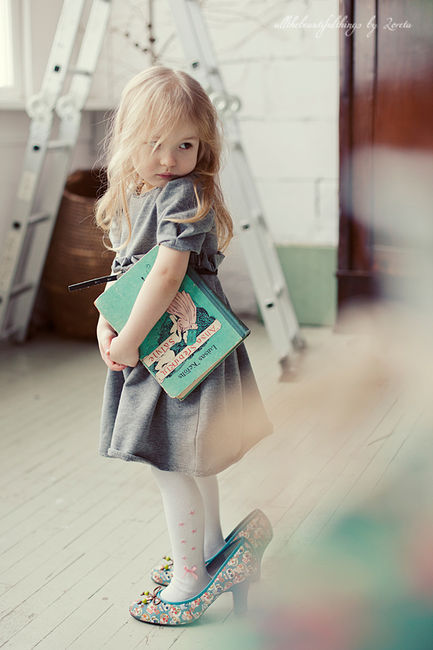
Too much cuteness

As I was browsing on Pinterest I just found some of these pictures and thought they are just too cute and I had to share. They just look so gorgeous wearing mommy’s or daddy’s shoes. I remember how I loved to wear my mom’s shoes when I was a kid. Well, not only her shoes, also her jewelry, makeup….I just kept losing so many of her things. I know my daughter is probably going do that soon as well :)

Photo here
Photo here
Photo here
Photo here
Photo here
Photo here
Photo here
Photo here
Did you use to do the same when you were a kid?
Have a great week!
Sandra.

Thursday, September 13, 2012

Black and White: The Perfect Match


Black and White are the basic colors that we all have in our wardrobe, they will never go out of style and when you combine them, they always look good. They are the perfect match!
Moreover, these contrasting colors are trend for this fall/winter season. Wouldn't it be really cool to wear an outfit that is entirely black and white?

Here are some black and white inspiration outfits, I hope you like them! To see more  visit my pinterest board

Photo credit
I love this ! A white dress  with a small black detail on the neck and the black boots. I think this outfit makes you look casual and elegant.


Photo credit
White top and black bottom may seem quite simple and boring, but as you can see using the right clothes and shoes you can have a great look.


Photo credit
If you think wearing solid black and white can look a little bland, here is another option: Textures! They bring life to your look.


Photo credit
This is a more formal outfit, black and white suiting. You can see 3 outfits with the same style but totally different. Mix and match these contrasting colors and have fun trying different looks!


Photo credit
Black and white prints are so trendy too. Just make sure to scale the print to your frame (smaller for smaller frames, larger for larger frames).


Black and White Bracelet
Black and White Necklace

Photo credit
Photo credit
And of course, we can’t forget the shoes and accessories; they embellish whatever we are wearing.  Black and white from head to toe!  J


Perhaps, when we think of a black and white combination the first thing that comes to mind is “boring”. But as you can see, these contrasting colors are anything but boring.  Have fun trying different looks until you find the one for you! 


Monday, September 10, 2012

Colored Wedding Shoes?

Lately I’ve seen a trend of wearing colored wedding shoes instead of the traditional white or ivory ones and I think they actually look pretty good. Some use them as their “Something Blue” but others just match it to the theme of their wedding. I think it makes the whole outfit look different. The nice thing about this is that you have a lot more options to choose from, especially if you’re having more than one color as theme of your wedding. Here are some of my findings and you can see more on my Pinterest board:

I absolutely love those shoes! They really stand out with the ivory or white dress. So romantic!

How about this idea. Bride and bridesmaids wearing same shoes. It matches perfectly!
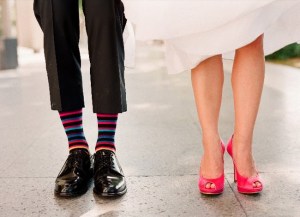
I find this a really cute idea. Bride and groom wearing some colors. The colored socks look awesome.
If you can’t decide about your something blue this might be the perfect answer.

Having a rainbow themed wedding or just love a mix of color? This one is just an awesome idea. Note that the bridesmaids are matching their flower bouquets with their shoes and the bride is wearing the something blue.
A perfect way to match all your accessories with your bouquet. In this option the shoes are same color as the bridal bouquet.
Don’t like the matchy matchy thing? Then just add some contrast. Shoes make a great contrast with the colorful bridal bouquet.
Want to be in sync with the bridesmaids, but not the same? What a great idea to have your shoes the color of your ladies’ dresses.
This is just something really different. I love this look! I think it’s perfect if you want to combine the traditional white classy dress with a country look. Love the boots with the wedding dress.
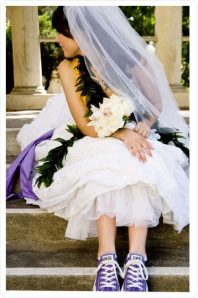
And lastly for the bride that likes the comfy style. What’s more comfortable than sneakers? The purple Converse shoes are matching her wedding sash.
Anyone here opted for colored wedding shoes? What’s your thinking in this trend?
Sandra.

Thursday, September 6, 2012

DIY Makeup Bag

I think a great gift idea for any woman or just for you is a makeup bag, and even better if it’s made by yourself!  This gives an extra value to your gift.
So, I’m going to share with you some DIY makeup bags ideas that I found on the web, and also an extra DIY makeup brush holder, that can be the perfect complement for your makeup bag. You can access the link to the site where you can see the tutorials.

Lined and Zippered


This is one of the easiest to make, it is simple but beautiful. If you are a beginner, you can start with this one.


The envelope style is quick and easy to make.  It’s so cute! It has no zipper, closes with a strip of velcro and has a decorative button.  


This is one of my favorites, a beautiful boxy mini makeup bag that has the perfect size to use it as your stylish purse or for a party and special event.


A makeup bag with wedge shape looks great too. As you can see in the second picture, you can attach a decorative flower, this will make your makeup bag look gorgeous! Click on the picture to see the tutorial.


Then we have a pleated makeup bag. It has squared off bottom corners which provides a good amount of inside volume and a nice shape.


Finally, here is the extra DIY makeup brush holder as a complement of your cosmetic bag, easy and cute!


They’re all stylish and easy to make, definitely I will try to make mine! Now, all you have to do is select your favorite style, the fabric of your choice and hands on! :)

Selene


ShareThis

Related Posts with Thumbnails