As I had mentioned to my
Facebook Fans I recently learned how to do these gorgeous Flower Hair Accessories and just got addicted to it. The are great for Newborns, Brides, Bridesmaids, or just the every day outfit! I made a bunch for me and my little baby that will be born in a few weeks, but I just made way too many, so I decided to 1. Show you how to make yours and 2. Have a fun
giveaway with some of the flowers I already finished, plus jewelry and cufflinks:
I'll start with the tutorial and will write about the
Giveaway in another post, since it's not only the flowers that I'm giving away, but also some of my jewelry pieces and cufflinks in celebration of getting to 2,000
Facebook Fans! Yayyy!!! So make sure to check out the Giveaway post
here.
Back to the Flower Accessories. This is how your finished Flower will look like:
In the tutorial I will show you how to attach the flowers to an elastic headband, but you can attach them also to Bobby Pins, Hair Clips, Belts, etc. Just use your imagination and the options are endless. They are also great for all ages and occasions. So here is what you will need:
- Scissors
- Fabric Flowers
- Heat Gun
- Felt
- Rhinestone or Button if you want to decorate the center
- Headband, Pin, Clip, or whatever you want to attach it to
You can get all of these items at a regular Craft Store, like Michael's or Jo-Anns. They also a have a large selection of flowers and normally will have a few on discount. Another option is to go to the Dollar Store, however the selection is probably a little smaller. Start by cutting two small circles from the felt. They should be the same size, but don't need to be exact. Set them aside.
Next cut the elastic for your headband. You can buy the headbands ready or you can make your own. I opted to get the elastic since I wanted to make the headbands in different sizes, for me and my girl. The suggested sizes are as follow:
Newborn - 13"
3 Mo to 6 Mo - 14"
6 Mo to 12 Mo - 16"
12 Mo to Teen - 17.5"
Adult - 18"
Those are the finished sizes, so if you are making your own headband you will want to cut your elastic a little more than that. Once you cut your elastic you need to sew them together. Don't worry on how it looks since it will be covered by the felt. Just make sure it's sewn correctly so it won't rip.
Set the headband aside and connect your heat gun so it starts warming up, then continue onto the flowers. Take one flower completely apart, depending on how filled you want them you can use more than one. I like them with a lot of petals so I usually use at least two flowers. If you plan to use a rhinestone or button in the center you can throw away everything except for the petals. Or you can leave aside the center of the flower and re-use on yours.

Now that you have the petals only arrange them in the way you want to have them. You can mix different flowers, colors or just put them together as they were originally. I like to separate them by size first and then start to put them together until it looks like I want them. Once you've arranged them turn them around to have the largest petals on the top and the smallest on the bottom. Take your first petal (largest) and add some of the glue with heat gun on it. Now take the next petal and press firmly over the first one. Keep doing that with the rest of your petals until you're finished.

Now it's the time to embellish your flower. You can use rhinestones, pearls, buttons or the original center of the flower. You can get a mixed package of colors and sizes of rhinestone in the bead section of your craft store or you can use the self-adhesive ones from the scrapbooking area. Just apply the glue with the heat gun onto the center of the flower and press your embellishment on it. If you don't want to add anything, just leave it as is and it will look nice anyway.

You've finished your flower now and are almost ready. Take on of the felt circles and apply glue all over it. Also apply some glue on the back of your flower (the largest petal) and press both of them together. This is to hide any imperfection that might be on it. Now take your headband and apply glue on the part that is going to be glued onto the felt, make sure you are hiding the sewed part. Press it onto the flower and then apply glue on the inner side of the headband and of the two felt pieces. Glue them together and let dry.
That's it! You have finished your Flower Headband! So easy, right? And it will take you only a few minutes to make them. You can make it as fancy or as simple as you want and I love that it's great for any age and any occasion. Remember that I do not sell these flowers in my shop, just made them for fun and will be giving a few away (together with jewelry and cufflinks) on my 2,000
Facebook Fan celebration
here!
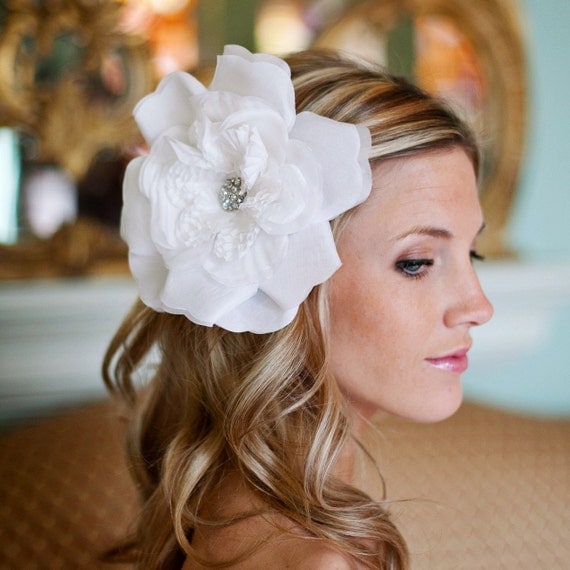
If you're not the crafty kind of person but liked these flowers and did not win one at my giveaway, you can find plenty of fancy options for sale from other Handmade Artists. Here are a few that I found:
For the Bride
Handmade Bridal Flower Clip here
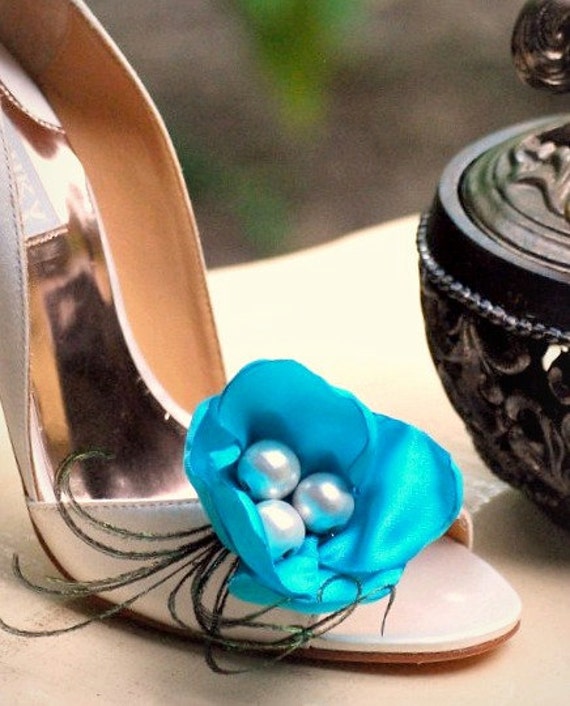
Shoe Clip
Handmade Peacock Shoe Clip here
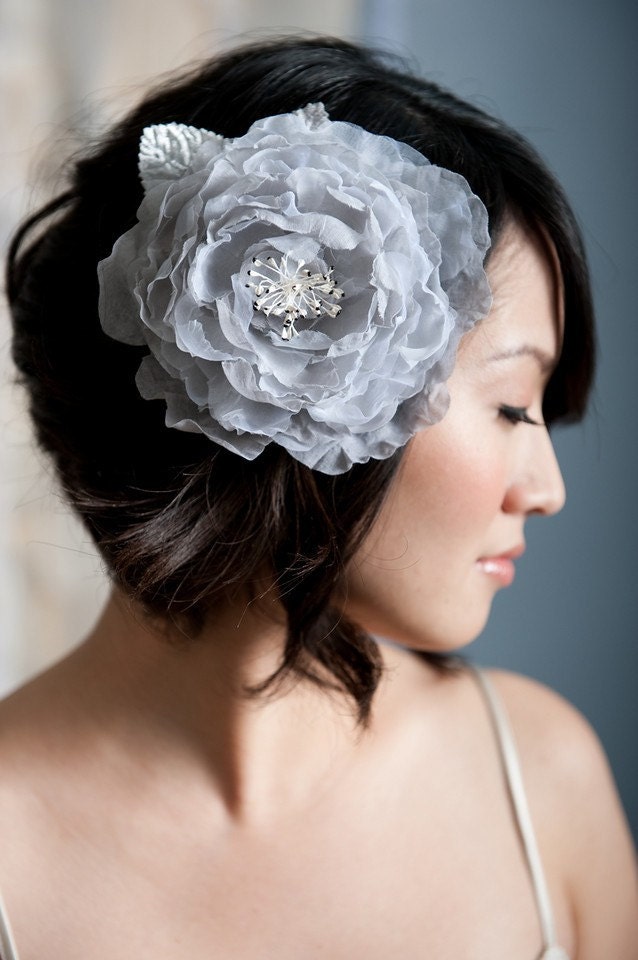
For the Bridesmaid
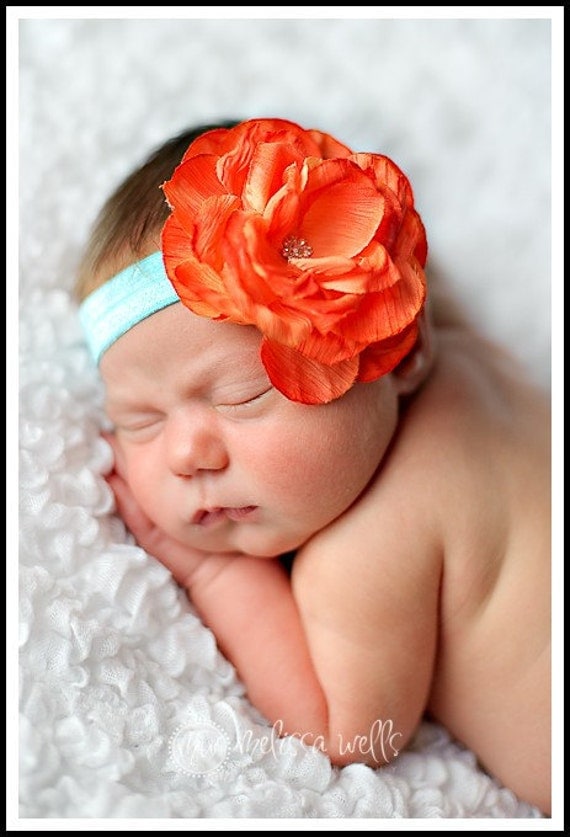
Handmade Flower clip here For the Baby
Handmade Newborn Headband here
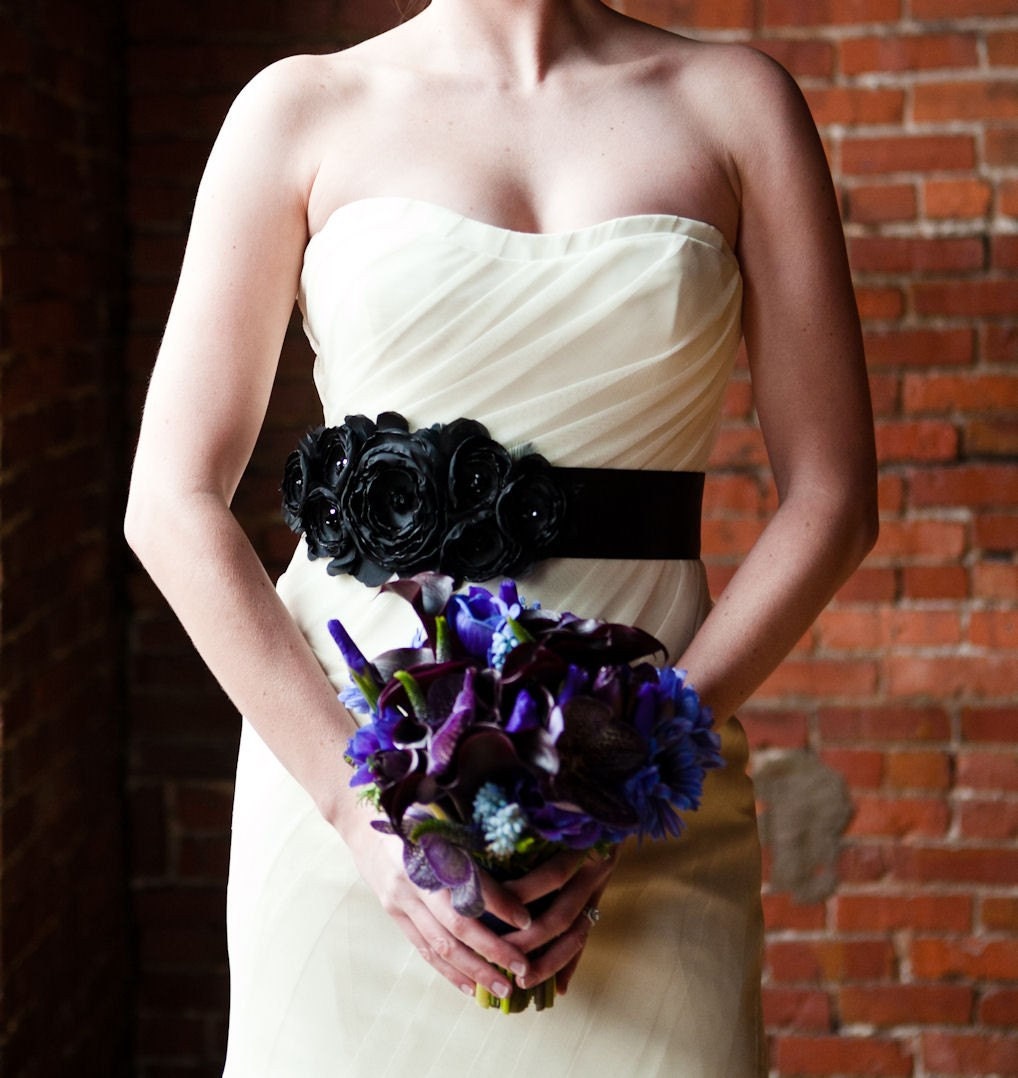
Flower Sash
Handmade Flower Sash here
Have Fun creating or shopping and don't forget to check out the 2,000 Facebook Fan Giveaway!