
Here goes Part I.
This Bridesmaid Jewelry Tutorial is perfect for the Bride who wants to do something special for her bridesmaids and now is the right timing since these flower sets are great for Spring/Summer. It is very easy to follow and you won’t need any prior jewelry making experience. If your planning to do only one or a few sets it will probably not be cost effective, but at least you can customize it and feel that you are crafting your own jewelry.
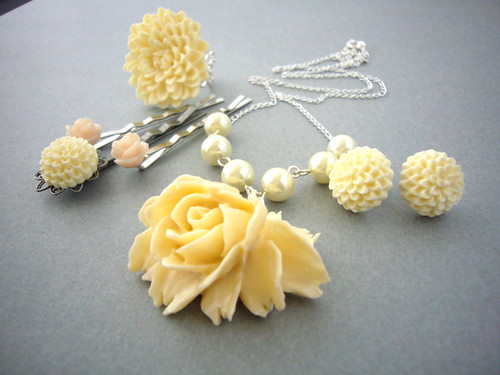
Finished Flower Jewelry Set by Estylo Jewelry
Here is the list of materials you will need for the full set of Earrings, Necklace, Ring and Bobby Pins. You might not find the Resin Flowers in a regular bead store, so I recommend that you buy them online. You can also contact me if you have trouble finding the materials. This list is if you want the whole set, but you can choose to make only part of it.
Material:
- 1 Resin Chrysanthemum Flower 32mm in Ivory Color for the Ring
- 1 Silver Filigree Adjustable Ring with pad
- 2 Resin Chrysanthemum Flowers 15mm in Ivory Color for the Earrings
- 2 Silver Ear Studs with Pad
- 1 Chrysanthemum Flowers 15mm in Ivory Color for the Filigree Bobby Pin
- 1 Silver Bobby Pin with Filigree Pad
- 2 Resin Rose Flowers 10mm in Ivory Color for the Bobby Pins
- 2 Silver Bobby Pins with Pad
- 1 Resin Rose Flower 43 x 35mm in Ivory color for the Necklace
- 1 Silver filigree pad 15mm for the Necklace
- 6 Ivory Glass Pearls 8mm for the Necklace
- 6 Silver Eye Pins ¾ or 1 inch for the Necklace
- 1 Silver Spring Clasp for the Necklace
- 1 Silver Jump Ring 7mm for the Necklace
- 1 Silver Jump Ring 4mm for the Necklace
- 1 Silver Chain size of your choice
- 1 Nose Pliers
- 1 Square of Sand paper
1 Glue E-6000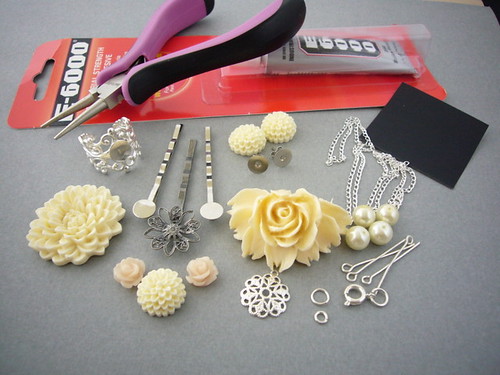
List of Materials needed
Now take the Large Flower for the Necklace and apply the glue on the Filigree. When you set the Rose make sure that you attach it on the upper part of the flower, so that the little ring can be seen from under the Rose. This is to attach a jump ring and then attach to the necklace.

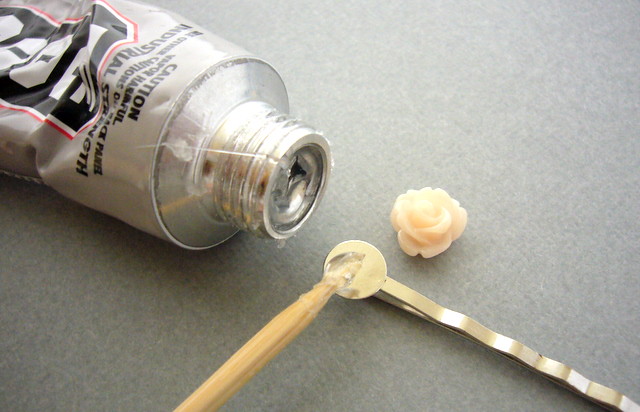
First we will start gluing all the flowers to their respective settings, since they have to dry at least 24 hours to be safe to handle. You might want to do this the day before or just do everything the same day and finish assembling the necklace the next day. Before you start gluing, take the sandpaper square and file the settings and the back of the flowers a little bit. That’s to leave them more even since some can have little bumps, it also allows the glue to hold better. Once you have filed them take a toothpick and get a small amount of the glue and apply on a Bobby Pin pad as shown in the picture.
Applying Glue to the Bobby Pin
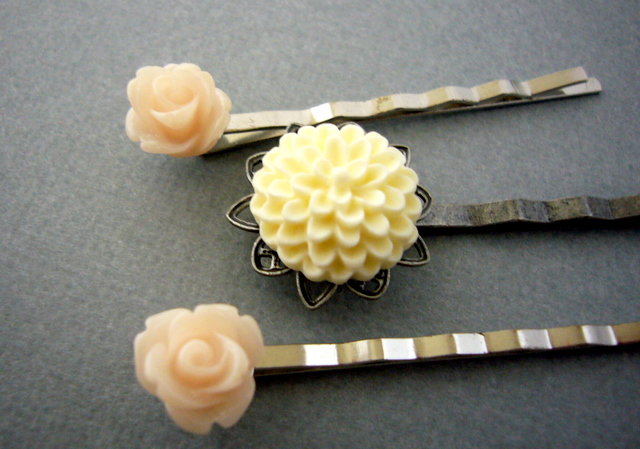
Take one rose flower and apply the glue as well, wait about two minutes and then press it on the Bobby pin. Make sure you have centered it correctly. You will have some minutes to move it a little around until it’s on the desired position. Then do the same with all the rest of the flowers and attach to their respective settings except for the Large Rose flower for the Necklace.
Glued Bobby Pins
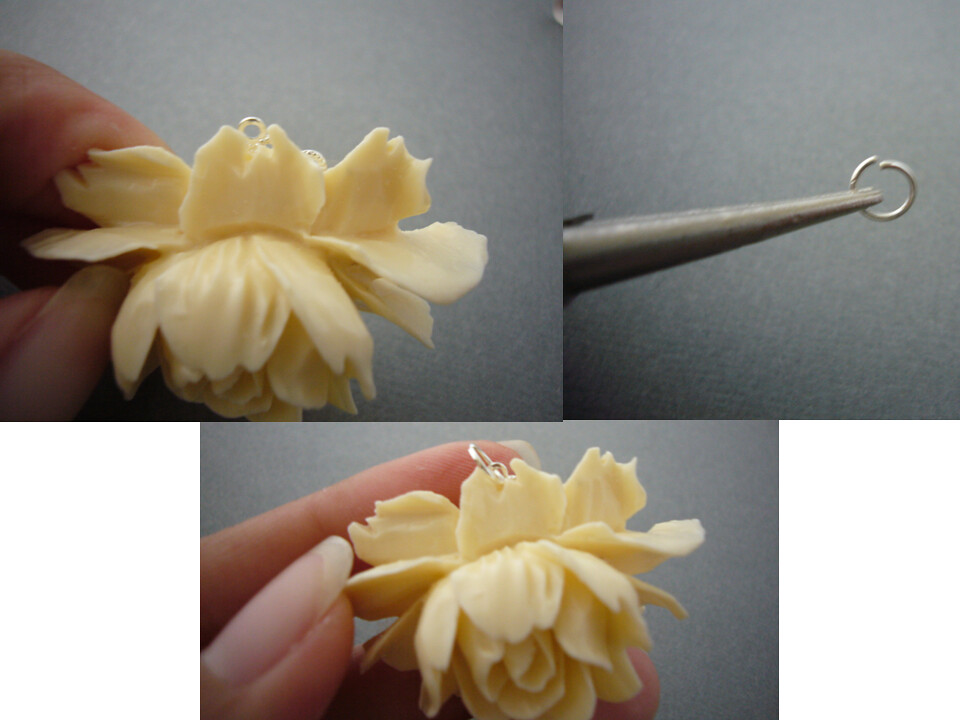
Now take the Large Flower for the Necklace and apply the glue on the Filigree. When you set the Rose make sure that you attach it on the upper part of the flower, so that the little ring can be seen from under the Rose. This is to attach a jump ring and then attach to the necklace.
Attaching the Rose for the Necklace
Now let everything dry for at least 24 hours. When it’s dry take the 7mm Jump ring and open it, to do that push one end forward and the other in the opposite direction. Never open it by pushing it to the sides. Attach the jump ring to the large Rose Pendant. You could now close it and hang on the chain as a simple necklace, which looks very beautiful by the way. But I want to complicate it a little more. However I will leave the rest of the tutorial for the next week, since I'm going to give you the time to get your supplies and start gluing all the flowers.
Simple Flower Pendant Necklace
In the next part of the tutorial I will explain you how to link the pearls together and make a necklace from unfinished chain. It's really not that complicate as it looks like, but you will probably have to practice a little bit to make the loops a similar size. (Go to Tutorial Part II)
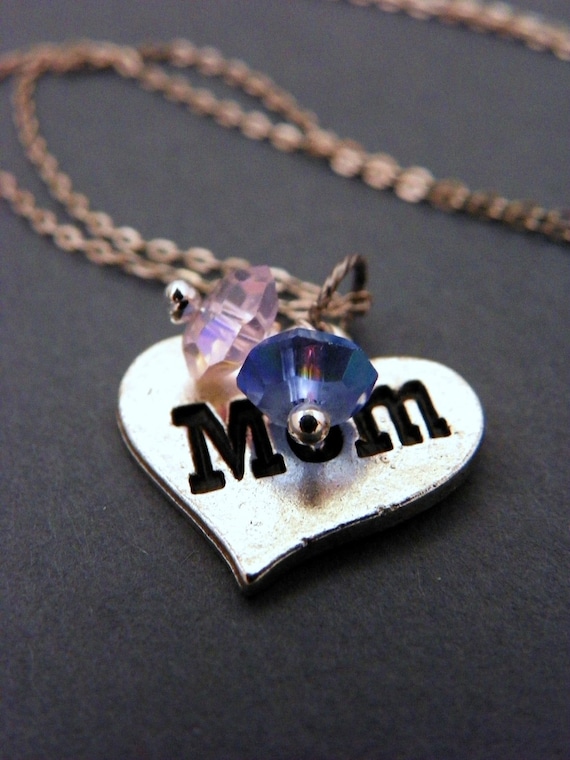
Before I leave you today I just want to remind you that there is a Mother's day Giveaway going on. To participate and have the chance to win the gorgeous necklace pictured below, just follow the instructions from Forty Toes Photography here.
Handmade Mom Necklace by Estylo Jewelry
Good luck everyone and will continue with the tutorial next week!
how nice..lovely :)
ReplyDeleteNice article and great knowledge. I love this story and enjoy with your words!
ReplyDeletejewelry for bridesmaids
Informative post dear. Some useful stuff about Bridesmaid Jewelery as best gift
ReplyDeleteGreat tutorial Pudding, and that is such a pretty fabric! I’m super impressed with you
ReplyDeleteWedding Long Island
This constantly amazes me just how blog owners such as your self can find the time as well as the dedication to keep on crafting superb blog posts. Wedding Long Island
ReplyDeleteNice article and great knowledge. I love this story and enjoy with your words! Wedding Long Island
ReplyDelete