Handmade Jewelry for the Special Occasion

Wednesday, May 18, 2011

Beach Wedding Ideas

Lately I've noticed that I'm getting more and more Beach Jewelry requests from my customers. As the summer gets closer brides are preparing for their big day and looking for beach themed items. For me here in the SF Bay Area I really don't feel the summer being close since it's still cold and rainy, but I know that other places are already filled with sun and warm weather.

So I made a quick search and found tons of info for beach weddings. I personally love weddings outdoors and especially on the beach. The only part that I don't love is that sometimes it can be really hot, so make sure you have big umbrellas or tents so that the guests are not all the time exposed to the sun. A good way to refresh your guests is offering them frozen Margarita drinks or similar. I normally love strawberry daiquiris or tamarind margaritas...yummy!

Here are a few ideas for your Handmade Beach Wedding. I've included the link to the vendors so you can go check out their shops as well.

Edible Sugar Fan Coral here

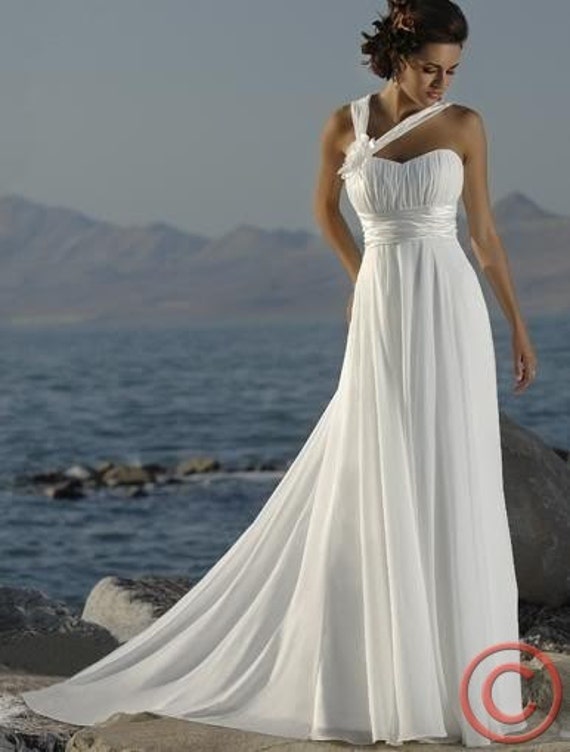
 Handmade Chiffon Bridal Dress here

 Handmade Personalized Heart Tags here

Handmade White Flip Flops here

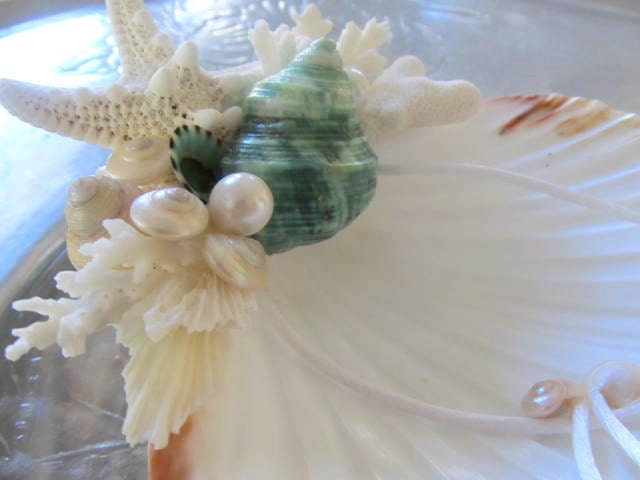
Ring Bearer Shell here

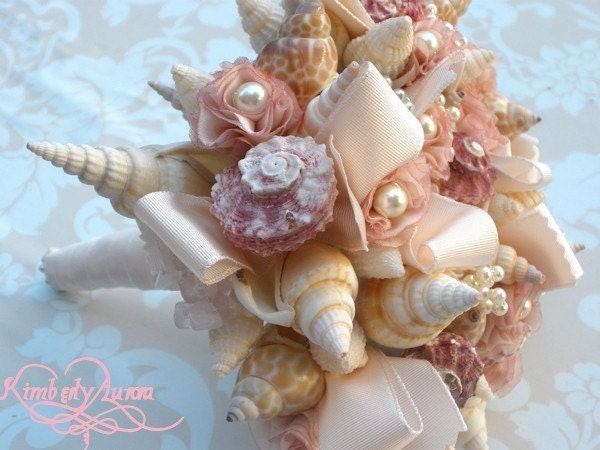
Handmade Beach Bridal Bouquet here

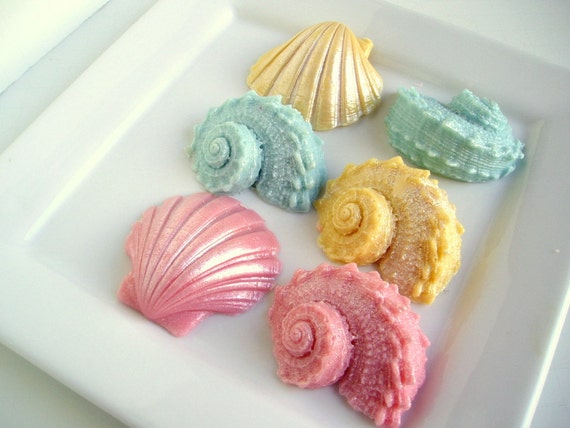
Beach soap Favors here

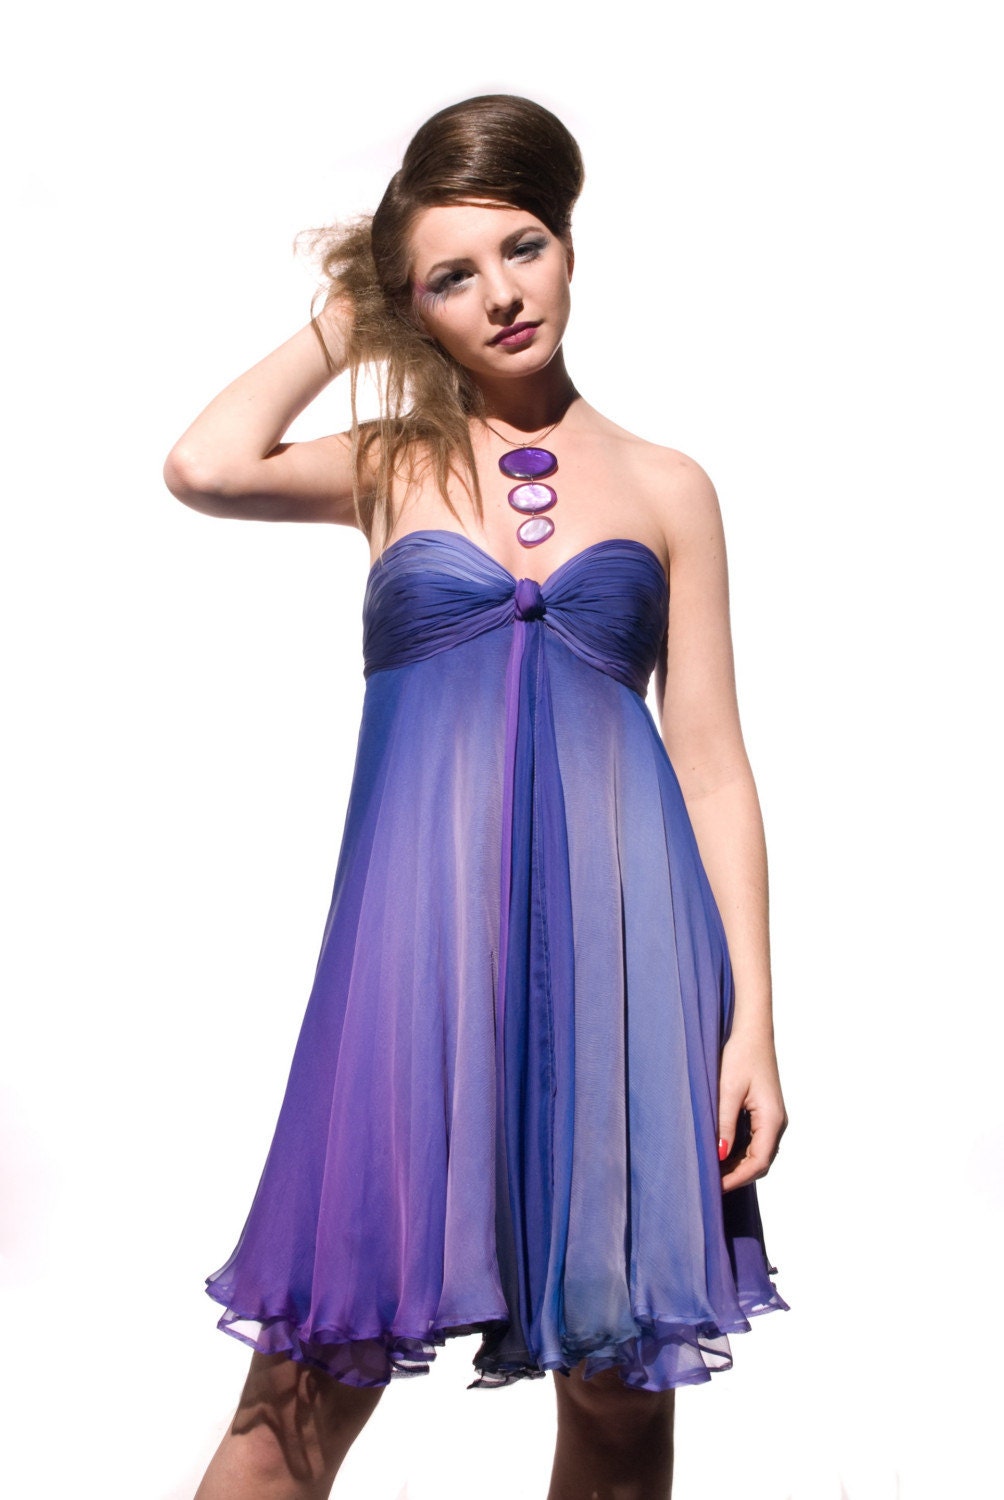
Handmade Purple Bridesmaids Chiffon dress here

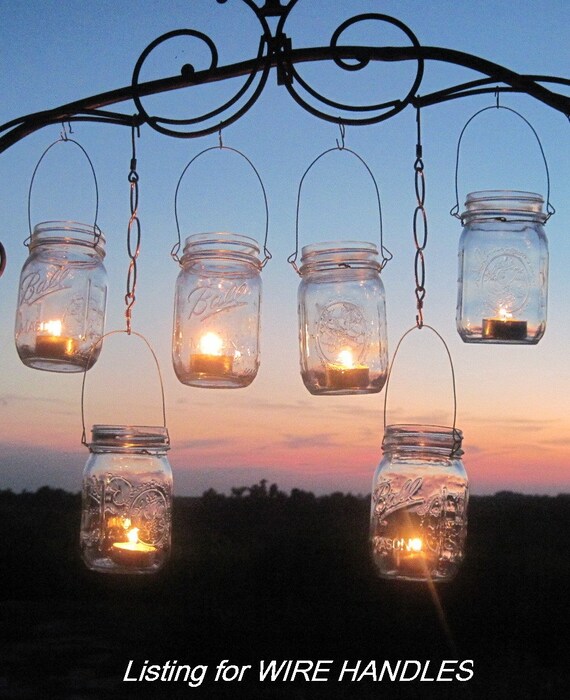
And for the brides that like some DIY items I found this great lanterns. You can buy the wire hooks online on Etsy and then re-use or buy the glass jars. Just place tea candles into the jar and the attach the wire holders. That's it! Very easy to make and it looks great!

DIY Lantern Jar holders here

I will be looking for more ideas and then show them to you in my next post. Meanwhile just a quick note, I've already finished my Beach Jewelry collection and started posting a few of them in my shop. I will be adding some pictures on my Facebook so you can see them there as well and remember that there is always a secret coupon for my Estylo Jewelry Facebook Fans!!!

Saturday, May 7, 2011

Make Your Own Bridesmaid Flower Jewelry Set - Tutorial Part II

Last week I posted Part I of the Bridesmaid Jewelry Tutorial. I hope you had enough time to get your supplies and start gluing the flowers. Remember that the flowers need to dry at least 24 hours in order to set well. Also be careful when handling the E6000 glue since it has a very strong smell and can be toxic. So make sure you always work on a well ventilated area and read the instructions on the tube before opening.

So lets continue working on this beautiful set. We'll be making this Necklace now:

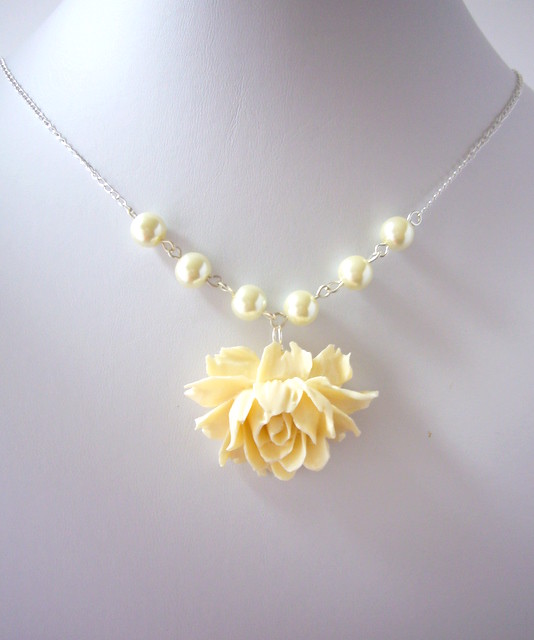
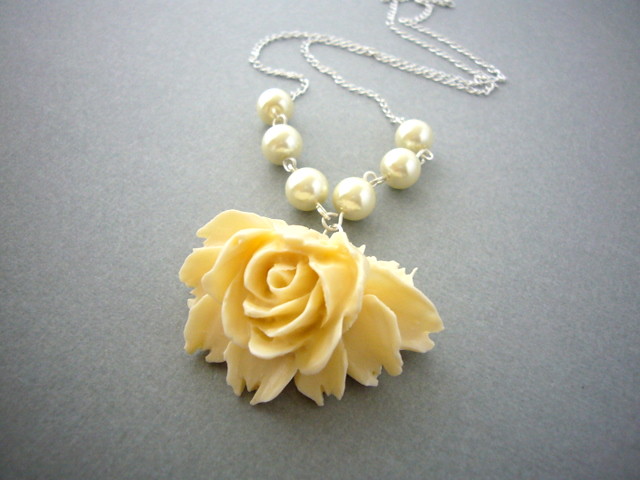
 Finished Pearl and Flower Necklace

Take one Glass Pearl and slide it onto an Eye pin. Next we’ll do a simple loop into the remainder of the pin. Grab the eye pin and with the other hand use the round nose pliers. Place the pliers at the top of the pin; make sure you don’t use the biggest part of the pliers, since it will make your loop too big. Now begin rolling the wire towards the beads until the end of the wire meets the other end of the loop. If you didn’t calculate right you can cut the excess of the wire end keep rolling in, or re-try doing the loop.

Make a simple loop on an eye pin

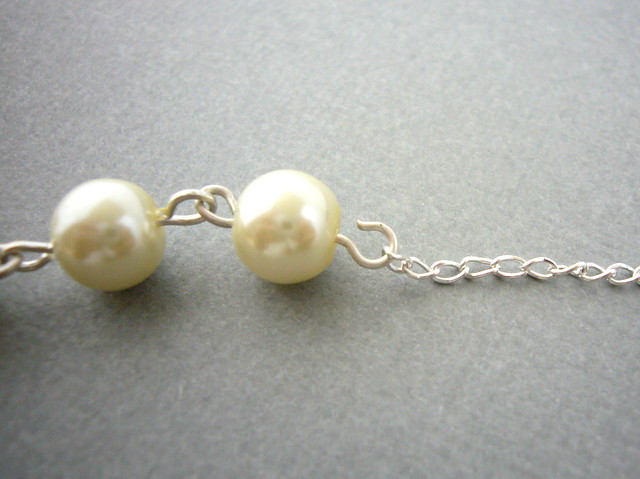
Now do the same with the remaining pearls and pins. Once you have the pearls on the eye pins attach one to the other and close the loops except for the two in the outside. Next cut the chain into equal parts and slide one chain on every side of the pearls and close the loops.

Link the pearls together

We’re almost finished, just a last step. Take the 4mm jump ring and open following the instructions above slide one side of the chain on it and then close it. Take the spring ring and open the attached jump ring and slide the other side of the chain on it and then close. Don't forget to finally add the large Rose Pendant in the middle of the Pearls. Now your Necklace is ready! Doesn’t it look beautiful?

Finished Bridesmaid Necklace

I normally recommend 18 inch necklaces in case you don't know what size to make it. It's the most standard used, but for skinnier smaller persons you can go with 16 inch or for bigger persons 20 or 22 inches. You can also add a small extender just to make sure. You can get them at any craft store or online. 

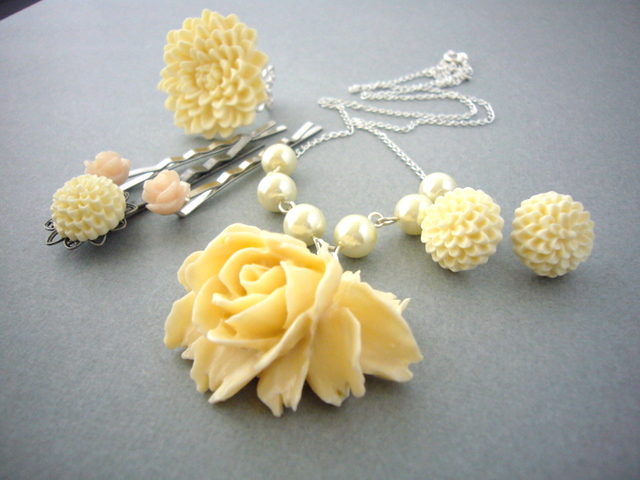
You have finished a complete set for your bridesmaids. You can choose to just make the Necklace and Ring, or the Bobby Pins and Necklace or any combination you want, or make the complete set. Your bridesmaids will be impressed with your skills.

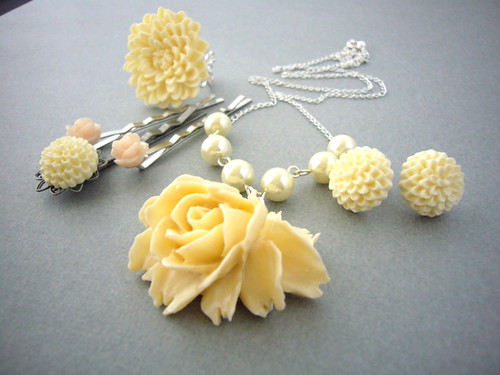
 Pearl and Flower Bridesmaid Jewelry Set

I've already received a couple of messages from followers that are making their own sets, both decided to do the whole set in ivory as indicated in the instructions. Remember that you can contact me if you have any questions and also feel free to share your pictures when you finish your sets!

Also don't forget that Sunday is Mother's Day so make sure to enter the Mom Giveaway. You only have until tomorrow May 8th to enter. For details go to my Facebook Page.

Until Next Week!!!

Saturday, April 30, 2011

Make Your Own Bridesmaid Flower Jewelry Set - Tutorial Part I

I've been wanting to post this tutorial for a while now, but I just can't find enough time to do everything I plan to. But as I promised last week, here it is. I've split it into 2 parts so that you have time to get the materials and know the basics before you finish your jewelry. This is a very romantic jewelry set and has like vintage look.

Here goes Part I.

This Bridesmaid Jewelry Tutorial is perfect for the Bride who wants to do something special for her bridesmaids and now is the right timing since these flower sets are great for Spring/Summer. It is very easy to follow and you won’t need any prior jewelry making experience.  If your planning to do only one or a few sets it will probably not be cost effective, but at least you can customize it and feel that you are crafting your own jewelry.

 Finished Flower Jewelry Set by Estylo Jewelry

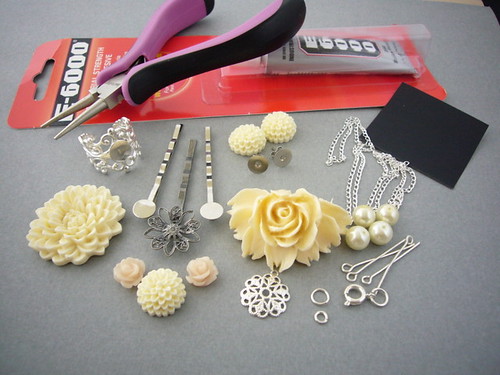
Here is the list of materials you will need for the full set of Earrings, Necklace, Ring and Bobby Pins. You might not find the Resin Flowers in a regular bead store, so I recommend that you buy them online. You can also contact me if you have trouble finding the materials. This list is if you want the whole set, but you can choose to make only part of it.

Material:
-          1 Resin Chrysanthemum Flower 32mm in Ivory Color for the Ring
-          1 Silver Filigree Adjustable Ring with pad
-          2 Resin Chrysanthemum Flowers 15mm in Ivory Color for the Earrings
-          2 Silver Ear Studs with Pad
-          1 Chrysanthemum Flowers 15mm in Ivory Color for the Filigree Bobby Pin
-          1 Silver Bobby Pin with Filigree Pad
-          2 Resin Rose Flowers 10mm in Ivory Color for the Bobby Pins
-          2 Silver Bobby Pins with Pad
-          1 Resin Rose Flower 43 x 35mm in Ivory color for the Necklace
-          1 Silver filigree pad 15mm for the Necklace
-          6 Ivory Glass Pearls 8mm for the Necklace
-          6 Silver Eye Pins ¾ or 1 inch for the Necklace
-          1 Silver Spring Clasp for the Necklace
-          1 Silver Jump Ring 7mm for the Necklace
-          1 Silver Jump Ring 4mm for the Necklace
-          1 Silver Chain size of your choice
-          1 Nose Pliers
-          1 Square of Sand paper
1 Glue E-6000

 List of Materials needed

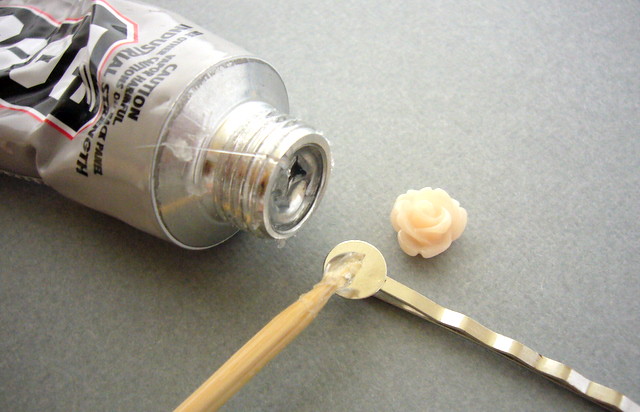
First we will start gluing all the flowers to their respective settings, since they have to dry at least 24 hours to be safe to handle. You might want to do this the day before or just do everything the same day and finish assembling the necklace the next day. Before you start gluing, take the sandpaper square and file the settings and the back of the flowers a little bit. That’s to leave them more even since some can have little bumps, it also allows the glue to hold better. Once you have filed them take a toothpick and get a small amount of the glue and apply on a Bobby Pin pad as shown in the picture.

 Applying Glue to the Bobby Pin

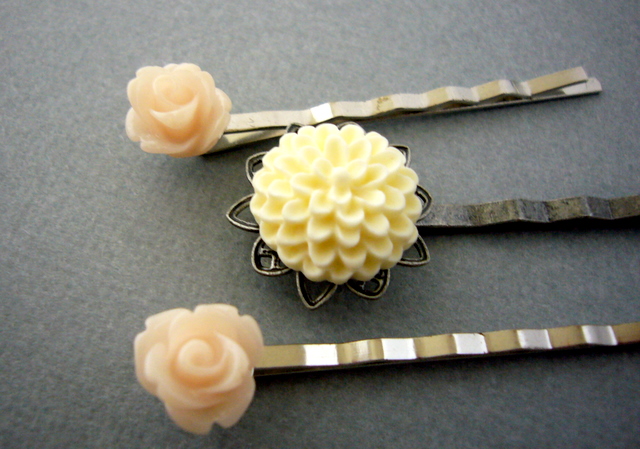
Take one rose flower and apply the glue as well, wait about two minutes and then press it on the Bobby pin. Make sure you have centered it correctly. You will have some minutes to move it a little around until it’s on the desired position. Then do the same with all the rest of the flowers and attach to their respective settings except for the Large Rose flower for the Necklace. 

Glued Bobby Pins

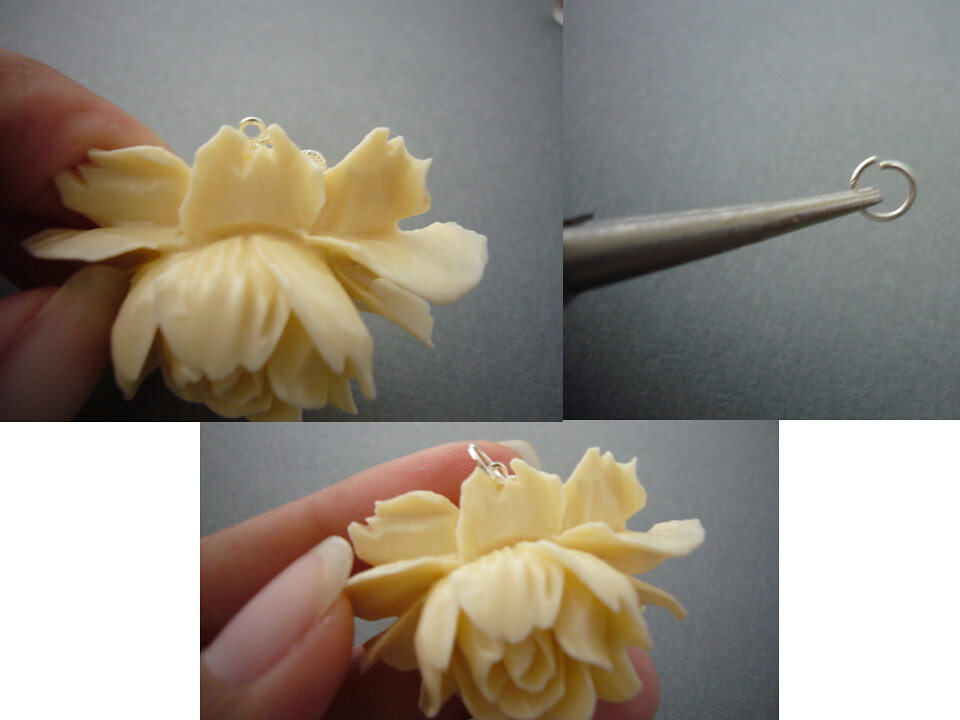
Now take the Large Flower for the Necklace and apply the glue on the Filigree. When you set the Rose make sure that you attach it on the upper part of the flower, so that the little ring can be seen from under the Rose. This is to attach a jump ring and then attach to the necklace.

 Attaching the Rose for the Necklace

Now let everything dry for at least 24 hours. When it’s dry take the 7mm Jump ring and open it, to do that push one end forward and the other in the opposite direction. Never open it by pushing it to the sides. Attach the jump ring to the large Rose Pendant. You could now close it and hang on the chain as a simple necklace, which looks very beautiful by the way. But I want to complicate it a little more. However I will leave the rest of the tutorial for the next week, since I'm going to give you the time to get your supplies and start gluing all the flowers.
 Simple Flower Pendant Necklace
In the next part of the tutorial I will explain you how to link the pearls together and make a necklace from unfinished chain. It's really not that complicate as it looks like, but you will probably have to practice a little bit to make the loops a similar size. (Go to Tutorial Part II)
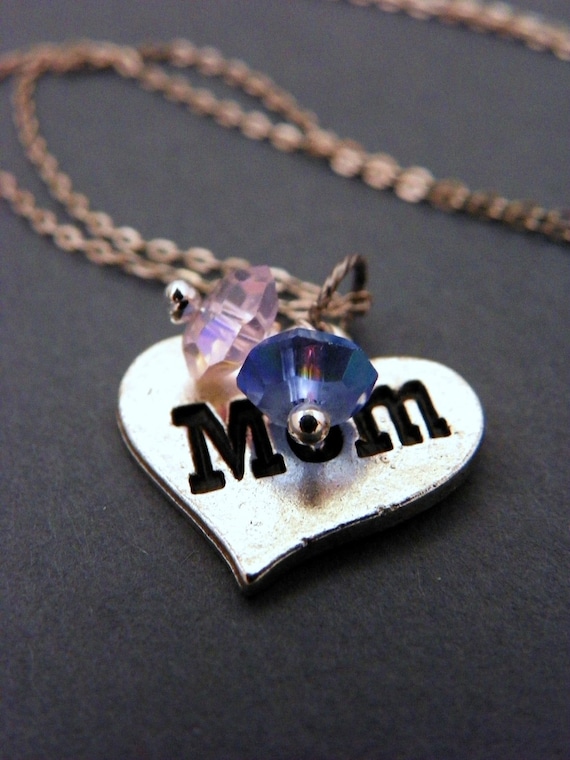
Before I leave you today I just want to remind you that there is a Mother's day Giveaway going on. To participate and have the chance to win the gorgeous necklace pictured below, just follow the instructions from Forty Toes Photography here.

Handmade Mom Necklace by Estylo Jewelry

Good luck everyone and will continue with the tutorial next week!
 

Saturday, April 23, 2011

Spring Green

We've been into Spring for one month now, but it definitely isn't as warm as I was hoping. However it's nice to see green everywhere and flowers starting to bloom. Our garden is getting nicer every day, except for my vegetables. After growing my vegetables inside for a couple weeks, I decided it was time to plant them outside. Big mistake! In just one morning the birds ate all my plants! So now I'll have to start all over again, but this time I have to prepare beforehand so that the birds don't eat them again.

Anyways, going now onto a few Easter and Spring Handmade Findings. Look the beauties I've found.

 Handmade Clutch available here

Handmade Easter Baby Chicks available here

 Handmade Silk Shawl available here

 Handmade Green Chocolate Ganache Cookies available here

 Handmade Ceramic Holder available here

Handmade Collage Bracelet available here

 Garden Photo available here

Hope you like them. For next week I'm thinking in sharing a tutorial, so don't forget to stop by and learn how to do some great jewelry for Spring and Summer!

Saturday, April 16, 2011

Pink, pink, pink.....everywhere Pink!!!

I'm so excited that we now know that we're having a baby Girl! So we're probably start buying a few things for her. We still haven't decided on the name, but we're working on that, so hopefully we'll decide soon :)

I've been browsing a little bit looking for some baby and mommy stuff and there are just tons of nice shops. I don't even know where to start! We will probably not paint her room pink or make it too girly, just some neutral colors but she definitely will dress like a little princess, even though Alberto doesn't like the idea. But we can switch styles, depending on who is dressing her that day.

So anyways, here are a few great items I found:

For Baby Girls:

Handmade Swarovski Headband here

Handmade Dress here
 
Handmade Polka Dot Shoes here

Handmade Baby Socks Cupcakes here
 
 Vinyl Stickers here
 
 Handmade Zebra Bikini here
 
For the Mom:

 Handmade Baby Carrier here

 Handmade Maternity T-Shirt here

Handmade Organic Belly Butter here

Handmade Sexy Pregnancy Belly Cover here

Handmade Organic Pregnancy Tea here

For Dad:

  Handmade T-Shirt here

 Handmade Beer Soap here

 Handmade Greatest Dad Cufflinks here

Handmade Antique Watch for Dad here 
I hope you like all those wonderful options. Have a nice weekend!!!

Sandra.

ShareThis

Related Posts with Thumbnails