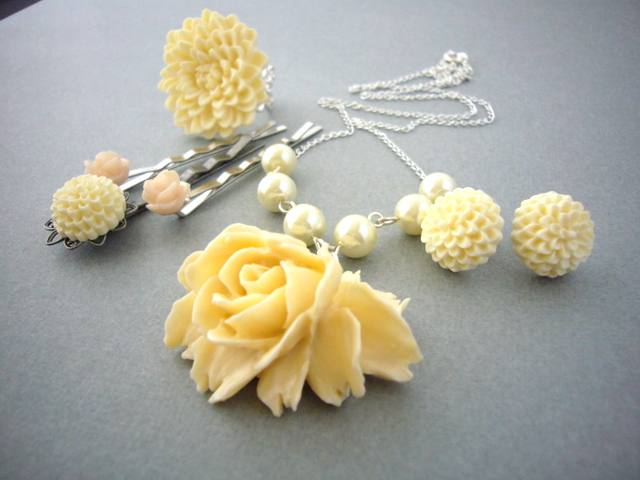
Handmade Jewelry for the Special Occasion

Showing posts with label accessories. Show all posts

Monday, December 3, 2012

Great Christmas Findings

Finally december is here, the most awaited month of the year! Christmas spirit is felt everywhere, I love it! Normally the first thing we do is decorate our homes, but what about ourselves? We have to get in tune with this holiday season! So here are some great and funny Christmas findings to wear, most of them handmade. Click on the link to go to the shop or to the image source.


Monday, October 22, 2012

Fall Wedding

This time instead of focusing on only one color combination I thought it would be nice to give a few different color combinations for the season. Even though it starts to get cold there are still so many great ideas that will make a fall wedding awesome. You can choose to make the feel of the wedding warmer by selecting the right colors. Here are only a few ideas but you can see more on the Pinterest board.
Let’s start with a very pumpkin style wedding selection:

Photo credit
I just love those bright colors! Reds, burnt orange and cinnamon. It immediately brings a little bit of warmth!
Photo credit
This is by far my favorite for this season. I just love the deep blue and the combination with gold looks awesome!
Photo credit
What about adding some sunflowers to the wedding. So romantic! I love the combination of the yellow sunflower and brown accessories. Great color selection!
Photo credit
What if we add some contrast to the whole thing. This orange and purple selection sounds strange at first but actually looks stunning!
Photo credit
Last but not least a green and brown collage. The mint green just adds a little bit of freshness to it. It’s nature’s missing color during autumn. Love it!
And here we go with a few handmade findings:
Photo credit
Photo credit
Photo credit
Photo credit
Photo credit
Photo credit
Hope you enjoyed them all. Are you having an Autumn/Fall Wedding? What are your colors and favorites?
Sandra.

Friday, August 31, 2012

How to Choose the Perfect Necklace For You


Hello everyone!
This is my first blog post collaborating with Estylo Jewelry! I’m so excited to join this team and share tips, ideas and more things with you. I’ve been thinking what to write about and finally decided to share some tips on how to choose the necklace that goes best with you.
One of the best things about wearing the right necklace is that you can highlight your best features and hide  your “not so good” ones. 


Bust:


 If you have a big bust and want to dissimulate it, don’t wear thick necklaces that fall right at your bustline, this will make it look bigger. Opt for necklaces that leave a little space between the bottom of the jewelry and your neckline. If you are tall, you can wear long and thin necklaces too, on a V neckline.


Otherwise, if you have a small bust you should wear heavy necklaces hanging up to the point where your bustline begins, this will add some extra weight to your bust.


Height:


If you are petite like Vanessa Hudgens, wear long necklaces because they create longer vertical lines, which make you look taller. Avoid short necklaces, wide chokers and collars. 


As you can see in the picture, Nicole Kidman is wearing an elegant choker necklace. Thin and tall women can select this kind of necklace that cut the line of the neck and de-emphasize height.


Face shape: 


Oval face: If you have an oval face, you are a lucky woman because you can wear all kind of necklaces. As long as you consider the other aspects of your body.


Square face: Wear large round/oval pendants or pearls. It is not advised for square faces to wear chokers or short necklaces because they can make your face look wider.


Round face: To help  elongate your face shape wear medium or long necklaces. Opt for almost any style that goes below your collarbone.


Long face: Think short and delicate, avoid long necklaces because it can make your face look even longer. A good choise are  short necklaces and chokers to balancing your face shape.


I hope these tips can help you find the necklace that best match with you!

Saturday, May 7, 2011

Make Your Own Bridesmaid Flower Jewelry Set - Tutorial Part II

Last week I posted Part I of the Bridesmaid Jewelry Tutorial. I hope you had enough time to get your supplies and start gluing the flowers. Remember that the flowers need to dry at least 24 hours in order to set well. Also be careful when handling the E6000 glue since it has a very strong smell and can be toxic. So make sure you always work on a well ventilated area and read the instructions on the tube before opening.

So lets continue working on this beautiful set. We'll be making this Necklace now:

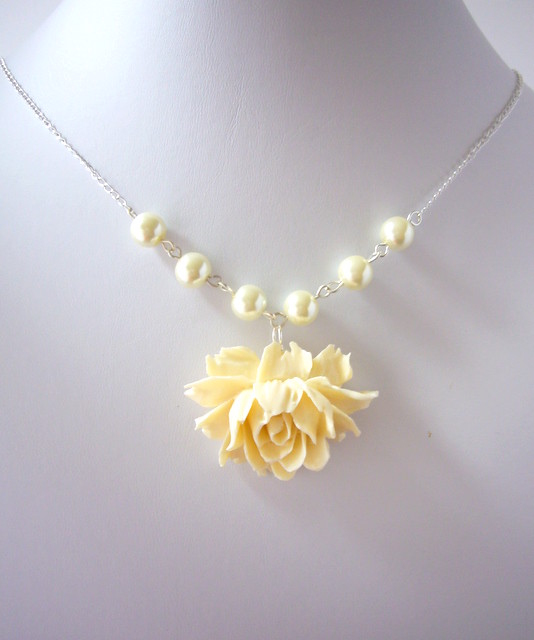
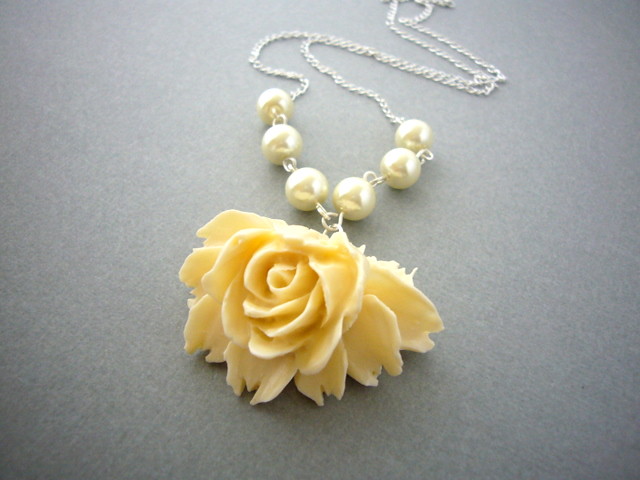
 Finished Pearl and Flower Necklace

Take one Glass Pearl and slide it onto an Eye pin. Next we’ll do a simple loop into the remainder of the pin. Grab the eye pin and with the other hand use the round nose pliers. Place the pliers at the top of the pin; make sure you don’t use the biggest part of the pliers, since it will make your loop too big. Now begin rolling the wire towards the beads until the end of the wire meets the other end of the loop. If you didn’t calculate right you can cut the excess of the wire end keep rolling in, or re-try doing the loop.

Make a simple loop on an eye pin

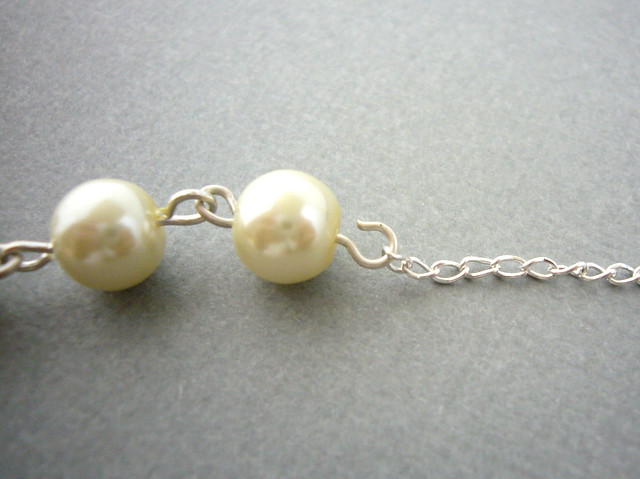
Now do the same with the remaining pearls and pins. Once you have the pearls on the eye pins attach one to the other and close the loops except for the two in the outside. Next cut the chain into equal parts and slide one chain on every side of the pearls and close the loops.

Link the pearls together

We’re almost finished, just a last step. Take the 4mm jump ring and open following the instructions above slide one side of the chain on it and then close it. Take the spring ring and open the attached jump ring and slide the other side of the chain on it and then close. Don't forget to finally add the large Rose Pendant in the middle of the Pearls. Now your Necklace is ready! Doesn’t it look beautiful?

Finished Bridesmaid Necklace

I normally recommend 18 inch necklaces in case you don't know what size to make it. It's the most standard used, but for skinnier smaller persons you can go with 16 inch or for bigger persons 20 or 22 inches. You can also add a small extender just to make sure. You can get them at any craft store or online. 

You have finished a complete set for your bridesmaids. You can choose to just make the Necklace and Ring, or the Bobby Pins and Necklace or any combination you want, or make the complete set. Your bridesmaids will be impressed with your skills.

 Pearl and Flower Bridesmaid Jewelry Set

I've already received a couple of messages from followers that are making their own sets, both decided to do the whole set in ivory as indicated in the instructions. Remember that you can contact me if you have any questions and also feel free to share your pictures when you finish your sets!

Also don't forget that Sunday is Mother's Day so make sure to enter the Mom Giveaway. You only have until tomorrow May 8th to enter. For details go to my Facebook Page.

Until Next Week!!!

ShareThis

Related Posts with Thumbnails