Handmade Jewelry for the Special Occasion

Showing posts with label DIY. Show all posts

Monday, September 24, 2012

DIY Kid’s Bathroom Decor

It’s time for another DIY tutorial! A few weeks ago my daughter turned one year, so we had a little party and after the party we had left the decoration. We made an Uglydoll party, since she really likes one of their characters. I really thought it was going to be a waste if we just threw it away, given that we only had it on the walls for a few hours. After thinking a little about what to do I decided that the guest bathroom, which is now being used by her, should be really her bathroom and therefore it would be nice to change it a little bit. It is an old house and the bathroom furniture hasn’t been updated in years I’m sure, so they are just plain, white doors. Here is the before and after:

Estylo temp15

What you’ll need:

- Mod Podge

- Foam Brush

- Scissors

- Decor napkins, plastic tablecloth, etc. (whatever you have available)

- Polyurethane (optional for durability)

First, clean the surface you are going to work on. In my case it was the door of the bathroom furniture. You can sand it a little bit if you are planning to change the color, but in my case I just let it the ivory/white color it has. So just clean and let dry. Choose the items you want to attach to your door.

2012-09-06_17-48-29_310

Next step is to cut the figures that you want to use. I used some carton figurines and plastic wall decor. You can see in the picture how it looked and then I just cut the pieces that I was going to use.

2012-09-06_17-49-23_111

2012-09-06_17-54-28_339 

Go to your working surface and lay them out as you want your finished piece. Then with the foam brush gently apply the Mod Podge on your first decor item and place it where you want it to stay. Press it well to get all bubbles out. Do the same with all the rest of figurines.

Let dry for a few minutes and then brush Mod Podge on top of your decor. Make sure you cover them completely, including all the edges. Don’t worry it will dry completely clear. Let dry for a few minutes and then apply another thin coat.

100_1601

At this point you could add two coats of Polyurethane (let dry between coats) so it lasts longer. I chose not to cover it since it will be easy to remove if I decide to change the decor in a few months, but it’s up to you.

It takes no time and no money and it’s a very fun project that you could do together with your children if they are a bit older. You can use this process with hundreds of items. I used the napkins to cover my daughter’s toy box and am planning to also change an old coffee table into a kid’s table. So ideas are endless.

Anyone else has repurposed anything?

Have a great week!

Sandra.

Thursday, September 6, 2012

DIY Makeup Bag

I think a great gift idea for any woman or just for you is a makeup bag, and even better if it’s made by yourself!  This gives an extra value to your gift.
So, I’m going to share with you some DIY makeup bags ideas that I found on the web, and also an extra DIY makeup brush holder, that can be the perfect complement for your makeup bag. You can access the link to the site where you can see the tutorials.

Lined and Zippered


This is one of the easiest to make, it is simple but beautiful. If you are a beginner, you can start with this one.


The envelope style is quick and easy to make.  It’s so cute! It has no zipper, closes with a strip of velcro and has a decorative button.  


This is one of my favorites, a beautiful boxy mini makeup bag that has the perfect size to use it as your stylish purse or for a party and special event.


A makeup bag with wedge shape looks great too. As you can see in the second picture, you can attach a decorative flower, this will make your makeup bag look gorgeous! Click on the picture to see the tutorial.


Then we have a pleated makeup bag. It has squared off bottom corners which provides a good amount of inside volume and a nice shape.


Finally, here is the extra DIY makeup brush holder as a complement of your cosmetic bag, easy and cute!


They’re all stylish and easy to make, definitely I will try to make mine! Now, all you have to do is select your favorite style, the fabric of your choice and hands on! :)

Selene


Tuesday, July 12, 2011

Flower Headband or Clip DIY Tutorial

As I had mentioned to my Facebook Fans I recently learned how to do these gorgeous Flower Hair Accessories and just got addicted to it. The are great for Newborns, Brides, Bridesmaids, or just the every day outfit! I made a bunch for me and my little baby that will be born in a few weeks, but I just made way too many, so I decided to 1. Show you how to make yours and 2. Have a fun giveaway with some of the flowers I already finished, plus jewelry and cufflinks:


I'll start with the tutorial and will write about the Giveaway in another post, since it's not only the flowers that I'm giving away, but also some of my jewelry pieces and cufflinks in celebration of getting to 2,000 Facebook Fans! Yayyy!!! So make sure to check out the Giveaway post here.

Back to the Flower Accessories. This is how your finished Flower will look like:


In the tutorial I will show you how to attach the flowers to an elastic headband, but you can attach them also to Bobby Pins, Hair Clips, Belts, etc. Just use your imagination and the options are endless. They are also great for all ages and occasions. So here is what you will need:
- Scissors
- Fabric Flowers
- Heat Gun
- Felt
- Rhinestone or Button if you want to decorate the center
- Headband, Pin, Clip, or whatever you want to attach it to

You can get all of these items at a regular Craft Store, like Michael's or Jo-Anns. They also a have a large selection of flowers and normally will have a few on discount. Another option is to go to the Dollar Store, however the selection is probably a little smaller. Start by cutting two small circles from the felt. They should be the same size, but don't need to be exact. Set them aside.


Next cut the elastic for your headband. You can buy the headbands ready or you can make your own. I opted to get the elastic since I wanted to make the headbands in different sizes, for me and my girl. The suggested sizes are as follow:
Newborn - 13"
3 Mo to 6 Mo - 14"
6 Mo to 12 Mo - 16"
12 Mo to Teen - 17.5"
Adult - 18"
Those are the finished sizes, so if you are making your own headband you will want to cut your elastic a little more than that. Once you cut your elastic you need to sew them together. Don't worry on how it looks since it will be covered by the felt. Just make sure it's sewn correctly so it won't rip.


Set the headband aside and connect your heat gun so it starts warming up, then continue onto the flowers. Take one flower completely apart, depending on how filled you want them you can use more than one. I like them with a lot of petals so I usually use at least two flowers. If you plan to use a rhinestone or button in the center you can throw away everything except for the petals. Or you can leave aside the center of the flower and re-use on yours.


Now that you have the petals only arrange them in the way you want to have them. You can mix different flowers, colors or just put them together as they were originally. I like to separate them by size first and then start to put them together until it looks like I want them. Once you've arranged them turn them around to have the largest petals on the top and the smallest on the bottom. Take your first petal (largest) and add some of the glue with heat gun on it. Now take the next petal and press firmly over the first one. Keep doing that with the rest of your petals until you're finished.


Now it's the time to embellish your flower. You can use rhinestones, pearls, buttons or the original center of the flower. You can get a mixed package of colors and sizes of rhinestone in the bead section of your craft store or you can use the self-adhesive ones from the scrapbooking area. Just apply the glue with the heat gun onto the center of the flower and press your embellishment on it. If you don't want to add anything, just leave it as is and it will look nice anyway.


You've finished your flower now and are almost ready. Take on of the felt circles and apply glue all over it. Also apply some glue on the back of your flower (the largest petal) and press both of them together. This is to hide any imperfection that might be on it. Now take your headband and apply glue on the part that is going to be glued onto the felt, make sure you are hiding the sewed part. Press it onto the flower and then apply glue on the inner side of the headband and of the two felt pieces. Glue them together and let dry.


That's it! You have finished your Flower Headband! So easy, right? And it will take you only a few minutes to make them. You can make it as fancy or as simple as you want and I love that it's great for any age and any occasion. Remember that I do not sell these flowers in my shop, just made them for fun and will be giving a few away (together with jewelry and cufflinks) on my 2,000 Facebook Fan celebration here!


If you're not the crafty kind of person but liked these flowers and did not win one at my giveaway, you can find plenty of fancy options for sale from other Handmade Artists. Here are a few that I found:
 
For the Bride
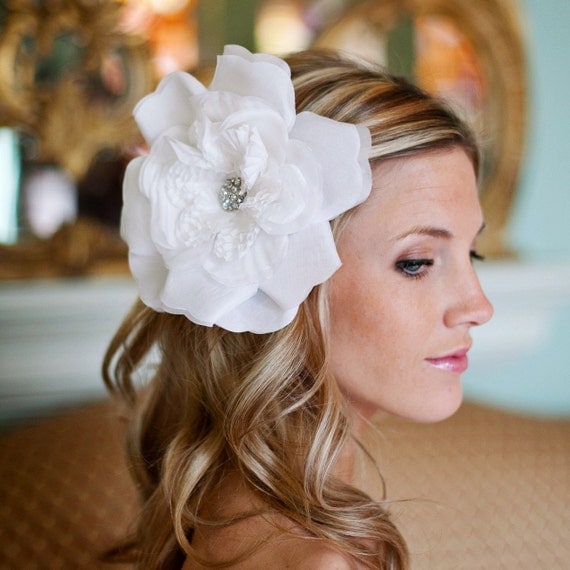
Handmade Bridal Flower Clip here

Shoe Clip
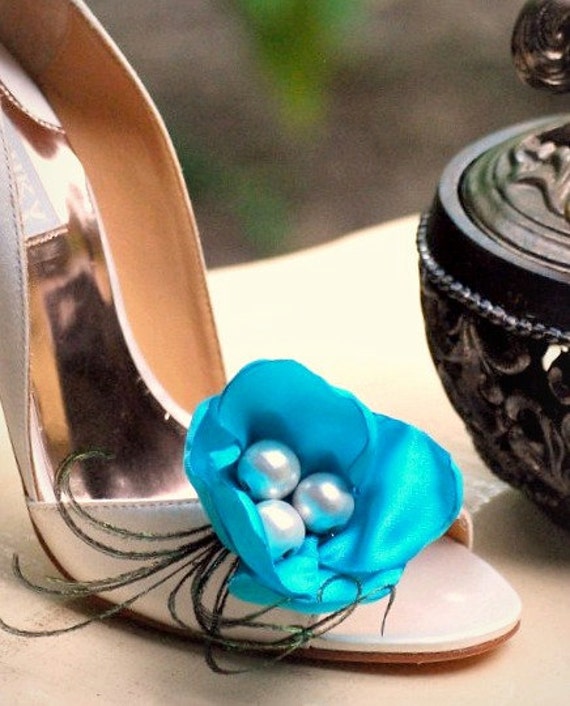
 Handmade Peacock Shoe Clip here

For the Bridesmaid
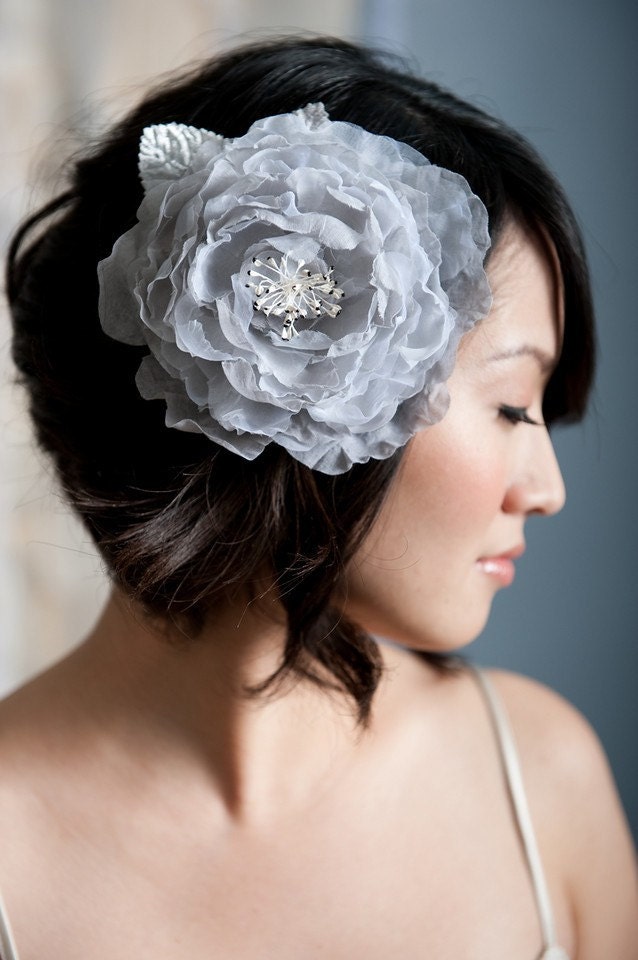
  Handmade Flower clip here 
For the Baby
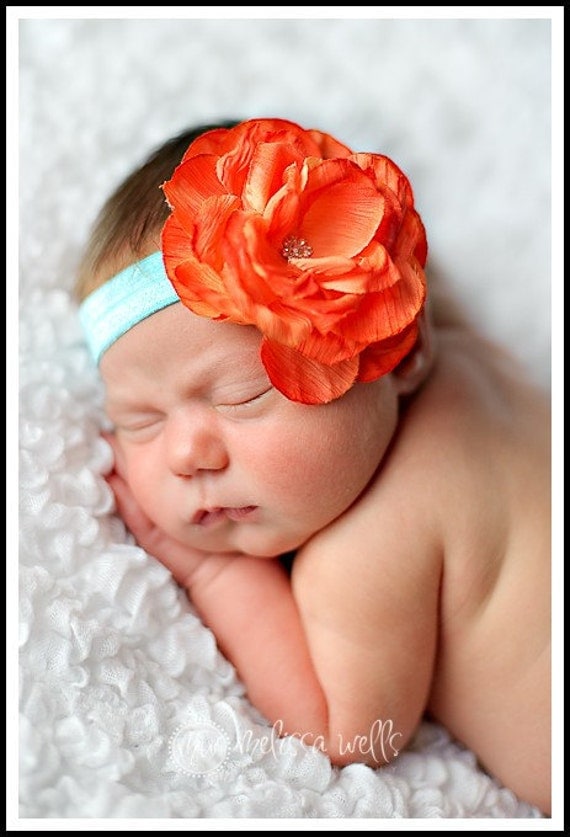
Handmade Newborn Headband here

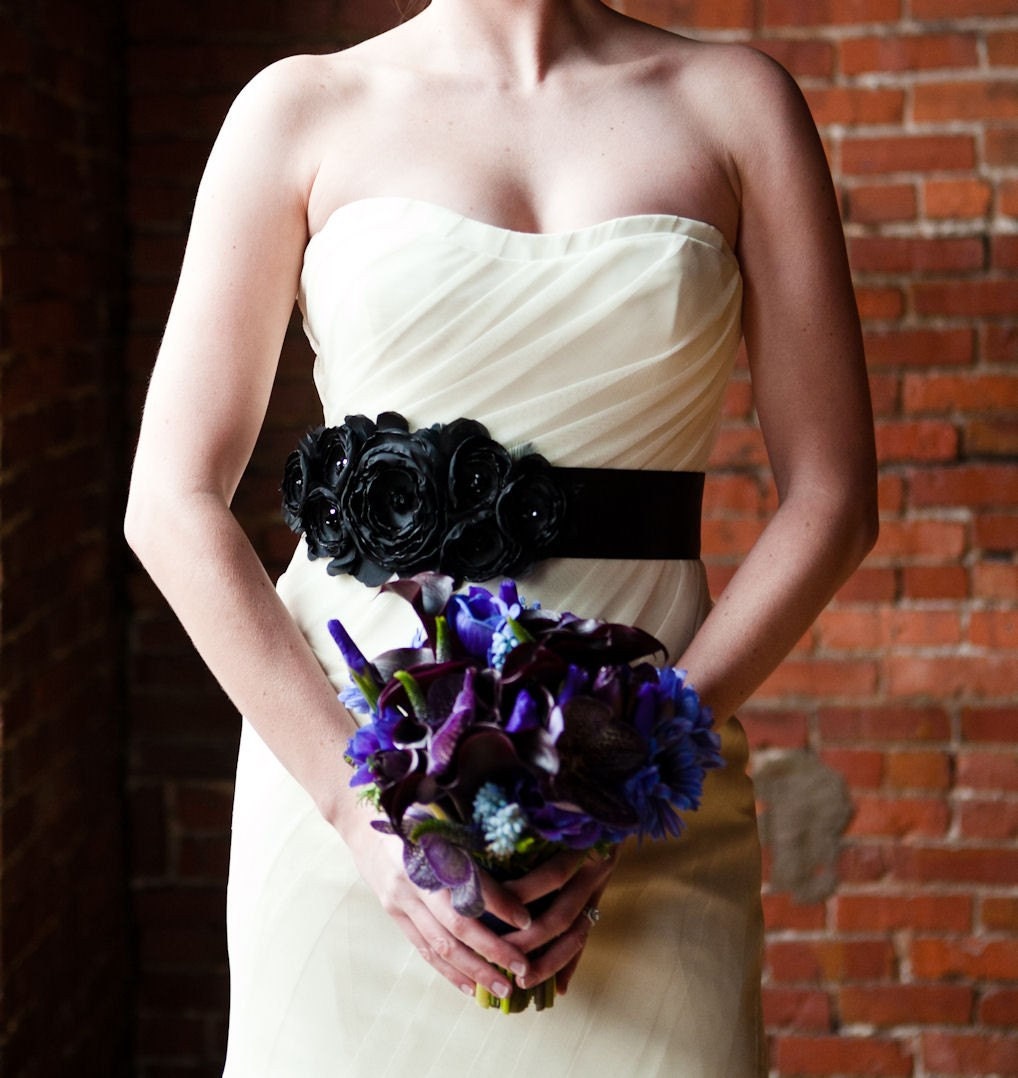
Flower Sash

Handmade Flower Sash here 

Have Fun creating or shopping and don't forget to check out the 2,000 Facebook Fan Giveaway!

Thursday, June 30, 2011

Red, White and Blue

I can't believe we're almost in July, half of 2011 has already passed. Wow, that was fast. And also as time passes by I get closer to my due date. Only two more months and my baby girl will be with us. We still have a lot of things to do, but the days are just too short to finish everything! Good thing is that we have a long weekend and we'll be having a BBQ on 4th of July while we finish cleaning up the garage.

Speaking of 4th of July, look at this great Summer Berry Trifle recipe I found in Red, White and Blue:

Photo and Summer Berry Trifle Recipe here

Ingredients
·         1 package (3.4-ounce) instant vanilla pudding
·         4 cups fresh berries (strawberries, blueberries, raspberries, or blackberries), washed and hulled, plus extra for garnish
·         1/4 cup plus 2 tablespoons sugar
·         2 teaspoons fresh lemon juice
·         1 cup whipping cream
·         1 teaspoon vanilla extract
·         24 to 36 ladyfingers

Instructions
1.      To make the fillings, prepare the pudding according to the package directions and chill it.
2.      Slice the strawberries, if you're using them, then toss all of the berries with the lemon juice and the 1/4 cup of sugar. Set aside for 30 minutes to allow the berries to release their juices.
3.      In a medium mixing bowl, whip the cream, vanilla extract, and remaining 2 tablespoons of sugar until soft peaks form. Set aside.
4.      To make the layers, set a layer of ladyfingers (around 7 or 8) on the bottom of a large, clear serving bowl (ours was 4 quarts). Top with the berries with half of the pudding.
5.      Add another layer of ladyfingers, another third of the berries and juice, and the rest of the pudding. Add a final layer of ladyfingers and berries. Top with the whipped cream and a berry garnish.
6.      Refrigerate until you're ready to serve. Serves 8 to 10.

You can find the original recipe here

And the usual handmade and vintage findings, also with the Independence day theme:

'Red, White and Blue' by EstyloJewelry

Celebrating the country I currently live in :)


STAR SPANGLED STAR Deco...
$33.00

Baby Dress Pattern - Bi...
$8.00

Arie. Vintage style rom...
$9.00

American Flag - 6.5 inc...
$25.90

Vintage Pure Silk Reine...
$15.00

3 PDF Templates - Stars...
$3.50

4th of July Headband
$4.70

Pomegranate - Throwback...
$54.00

vintage 1960's naut...
$32.00

Americana Flower Brooch
$23.00

Retro Rockabilly Pinup ...
$215.00

1940s Red Metal Toy Pho...
$26.00

Red White & Bluesie Coo...
$32.00

American Chair - Fine A...
$30.00

Freedom Patriotic Banne...
$22.00

Chocolate Filled Toadst...
$30.00


'Almost long weekend!' by EstyloCufflinks

Can't wait!!!


nautical hearts flowers...
$18.00

Americana Sweater Vest ...
$16.00

Red White Blue Patrioti...
$20.00

Sear's Holiday 2 Ch...
$40.00

Full French Nautical Co...
$45.00

Vintage oversized sungl...
$45.00

Independence Day Pinwhe...
$30.00

USA United States Flag ...
$30.00

Independence day miniat...
$35.00

Pie in a Jar Cherry, St...
$7.50

AMERICAN Beauty - Red W...
$12.99

Now, Voyager Pinwheel F...
$8.50

Vintage Patriotic Rhine...
$12.00

SHIPS TODAY - 1 patriot...
$9.00

vintage 60s red, white,...
$40.00

Adorable Dark Navy Blue...
$58.00


'A mix in Patriotic Colors' by EstyloGlamour

Lovely items in the US colors!


Vintage Enamelware Teap...
$15.00

Vintage 1980s Nautical ...
$18.50

Free Shipping - - - TWI...
$17.99

Barber Shoppe Soap
$5.00

Patriotic, flag, 4th of...
$26.00

Vintage Pepsi Cola 16oz...
$58.00

Watermelon Gourmet Topp...
$8.95

8x8 Hula Girl fine art ...
$28.00

You Customize, Full siz...
$299.00

Antique Red Folding Cha...
$45.00

FLAG Patriotic Ornament...
$40.00

USA Soap - Handmade wit...
$5.80

Americana 1949 GMC Jimm...
$5.50

Striped Sailing Clutch
$35.00

uncle sam wooden ART do...
$48.00

Anchors Aweigh Earrings...
$16.00


Enjoy your long weekend!!

ShareThis

Related Posts with Thumbnails