Handmade Jewelry for the Special Occasion

Showing posts with label Craft. Show all posts

Monday, September 24, 2012

DIY Kid’s Bathroom Decor

It’s time for another DIY tutorial! A few weeks ago my daughter turned one year, so we had a little party and after the party we had left the decoration. We made an Uglydoll party, since she really likes one of their characters. I really thought it was going to be a waste if we just threw it away, given that we only had it on the walls for a few hours. After thinking a little about what to do I decided that the guest bathroom, which is now being used by her, should be really her bathroom and therefore it would be nice to change it a little bit. It is an old house and the bathroom furniture hasn’t been updated in years I’m sure, so they are just plain, white doors. Here is the before and after:

Estylo temp15

What you’ll need:

- Mod Podge

- Foam Brush

- Scissors

- Decor napkins, plastic tablecloth, etc. (whatever you have available)

- Polyurethane (optional for durability)

First, clean the surface you are going to work on. In my case it was the door of the bathroom furniture. You can sand it a little bit if you are planning to change the color, but in my case I just let it the ivory/white color it has. So just clean and let dry. Choose the items you want to attach to your door.

2012-09-06_17-48-29_310

Next step is to cut the figures that you want to use. I used some carton figurines and plastic wall decor. You can see in the picture how it looked and then I just cut the pieces that I was going to use.

2012-09-06_17-49-23_111

2012-09-06_17-54-28_339 

Go to your working surface and lay them out as you want your finished piece. Then with the foam brush gently apply the Mod Podge on your first decor item and place it where you want it to stay. Press it well to get all bubbles out. Do the same with all the rest of figurines.

Let dry for a few minutes and then brush Mod Podge on top of your decor. Make sure you cover them completely, including all the edges. Don’t worry it will dry completely clear. Let dry for a few minutes and then apply another thin coat.

100_1601

At this point you could add two coats of Polyurethane (let dry between coats) so it lasts longer. I chose not to cover it since it will be easy to remove if I decide to change the decor in a few months, but it’s up to you.

It takes no time and no money and it’s a very fun project that you could do together with your children if they are a bit older. You can use this process with hundreds of items. I used the napkins to cover my daughter’s toy box and am planning to also change an old coffee table into a kid’s table. So ideas are endless.

Anyone else has repurposed anything?

Have a great week!

Sandra.

Tuesday, July 12, 2011

Flower Headband or Clip DIY Tutorial

As I had mentioned to my Facebook Fans I recently learned how to do these gorgeous Flower Hair Accessories and just got addicted to it. The are great for Newborns, Brides, Bridesmaids, or just the every day outfit! I made a bunch for me and my little baby that will be born in a few weeks, but I just made way too many, so I decided to 1. Show you how to make yours and 2. Have a fun giveaway with some of the flowers I already finished, plus jewelry and cufflinks:


I'll start with the tutorial and will write about the Giveaway in another post, since it's not only the flowers that I'm giving away, but also some of my jewelry pieces and cufflinks in celebration of getting to 2,000 Facebook Fans! Yayyy!!! So make sure to check out the Giveaway post here.

Back to the Flower Accessories. This is how your finished Flower will look like:


In the tutorial I will show you how to attach the flowers to an elastic headband, but you can attach them also to Bobby Pins, Hair Clips, Belts, etc. Just use your imagination and the options are endless. They are also great for all ages and occasions. So here is what you will need:
- Scissors
- Fabric Flowers
- Heat Gun
- Felt
- Rhinestone or Button if you want to decorate the center
- Headband, Pin, Clip, or whatever you want to attach it to

You can get all of these items at a regular Craft Store, like Michael's or Jo-Anns. They also a have a large selection of flowers and normally will have a few on discount. Another option is to go to the Dollar Store, however the selection is probably a little smaller. Start by cutting two small circles from the felt. They should be the same size, but don't need to be exact. Set them aside.


Next cut the elastic for your headband. You can buy the headbands ready or you can make your own. I opted to get the elastic since I wanted to make the headbands in different sizes, for me and my girl. The suggested sizes are as follow:
Newborn - 13"
3 Mo to 6 Mo - 14"
6 Mo to 12 Mo - 16"
12 Mo to Teen - 17.5"
Adult - 18"
Those are the finished sizes, so if you are making your own headband you will want to cut your elastic a little more than that. Once you cut your elastic you need to sew them together. Don't worry on how it looks since it will be covered by the felt. Just make sure it's sewn correctly so it won't rip.


Set the headband aside and connect your heat gun so it starts warming up, then continue onto the flowers. Take one flower completely apart, depending on how filled you want them you can use more than one. I like them with a lot of petals so I usually use at least two flowers. If you plan to use a rhinestone or button in the center you can throw away everything except for the petals. Or you can leave aside the center of the flower and re-use on yours.


Now that you have the petals only arrange them in the way you want to have them. You can mix different flowers, colors or just put them together as they were originally. I like to separate them by size first and then start to put them together until it looks like I want them. Once you've arranged them turn them around to have the largest petals on the top and the smallest on the bottom. Take your first petal (largest) and add some of the glue with heat gun on it. Now take the next petal and press firmly over the first one. Keep doing that with the rest of your petals until you're finished.


Now it's the time to embellish your flower. You can use rhinestones, pearls, buttons or the original center of the flower. You can get a mixed package of colors and sizes of rhinestone in the bead section of your craft store or you can use the self-adhesive ones from the scrapbooking area. Just apply the glue with the heat gun onto the center of the flower and press your embellishment on it. If you don't want to add anything, just leave it as is and it will look nice anyway.


You've finished your flower now and are almost ready. Take on of the felt circles and apply glue all over it. Also apply some glue on the back of your flower (the largest petal) and press both of them together. This is to hide any imperfection that might be on it. Now take your headband and apply glue on the part that is going to be glued onto the felt, make sure you are hiding the sewed part. Press it onto the flower and then apply glue on the inner side of the headband and of the two felt pieces. Glue them together and let dry.


That's it! You have finished your Flower Headband! So easy, right? And it will take you only a few minutes to make them. You can make it as fancy or as simple as you want and I love that it's great for any age and any occasion. Remember that I do not sell these flowers in my shop, just made them for fun and will be giving a few away (together with jewelry and cufflinks) on my 2,000 Facebook Fan celebration here!


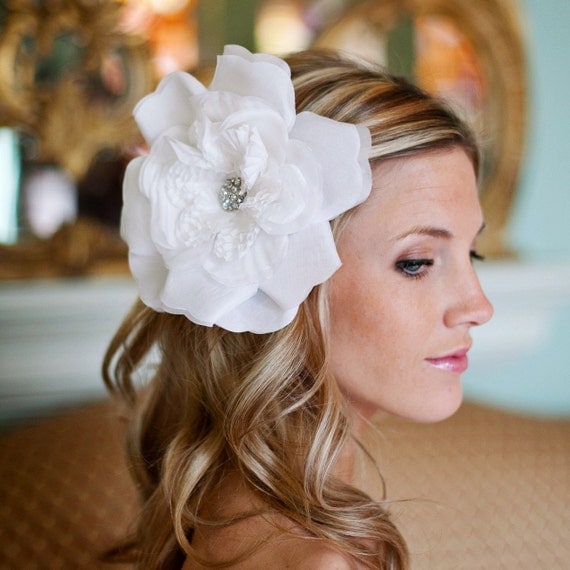
If you're not the crafty kind of person but liked these flowers and did not win one at my giveaway, you can find plenty of fancy options for sale from other Handmade Artists. Here are a few that I found:
 
For the Bride
Handmade Bridal Flower Clip here

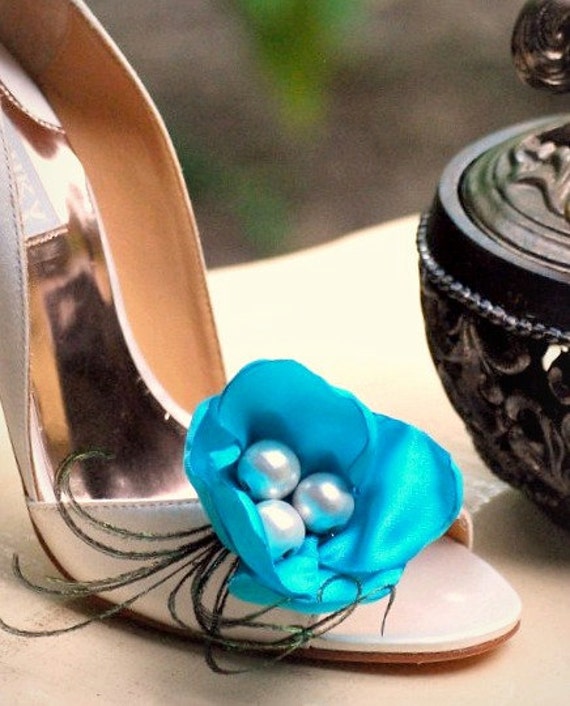
Shoe Clip
 Handmade Peacock Shoe Clip here

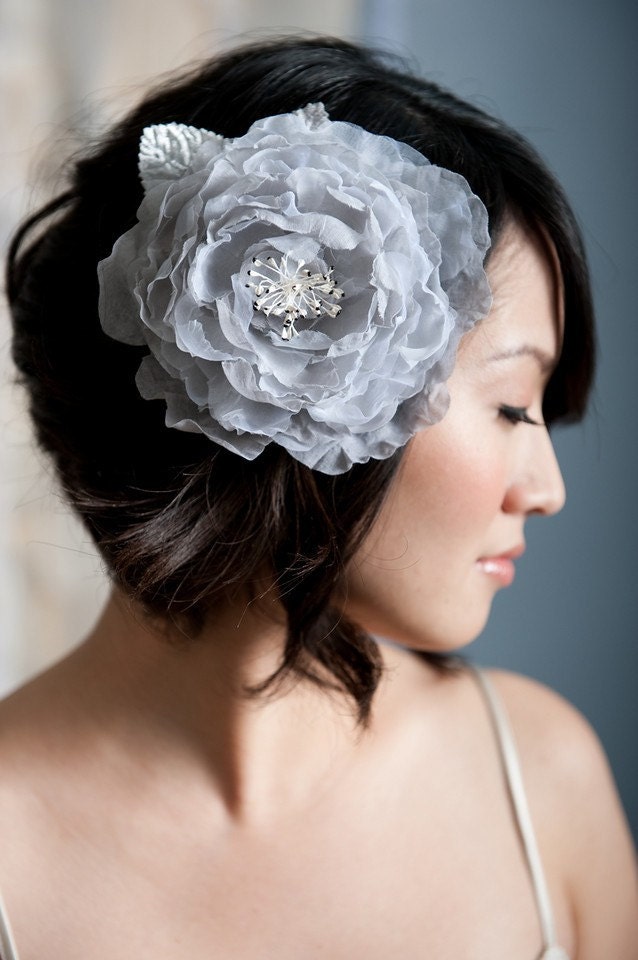
For the Bridesmaid
  Handmade Flower clip here 
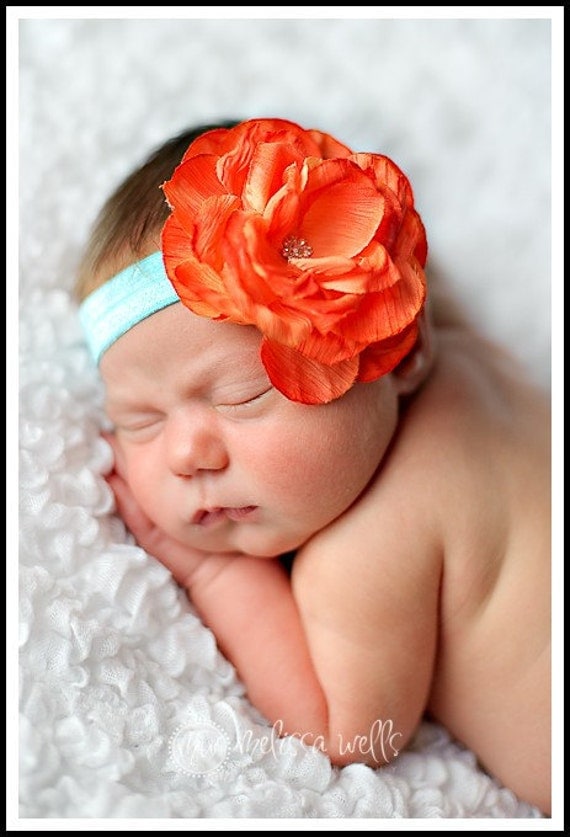
For the Baby
Handmade Newborn Headband here

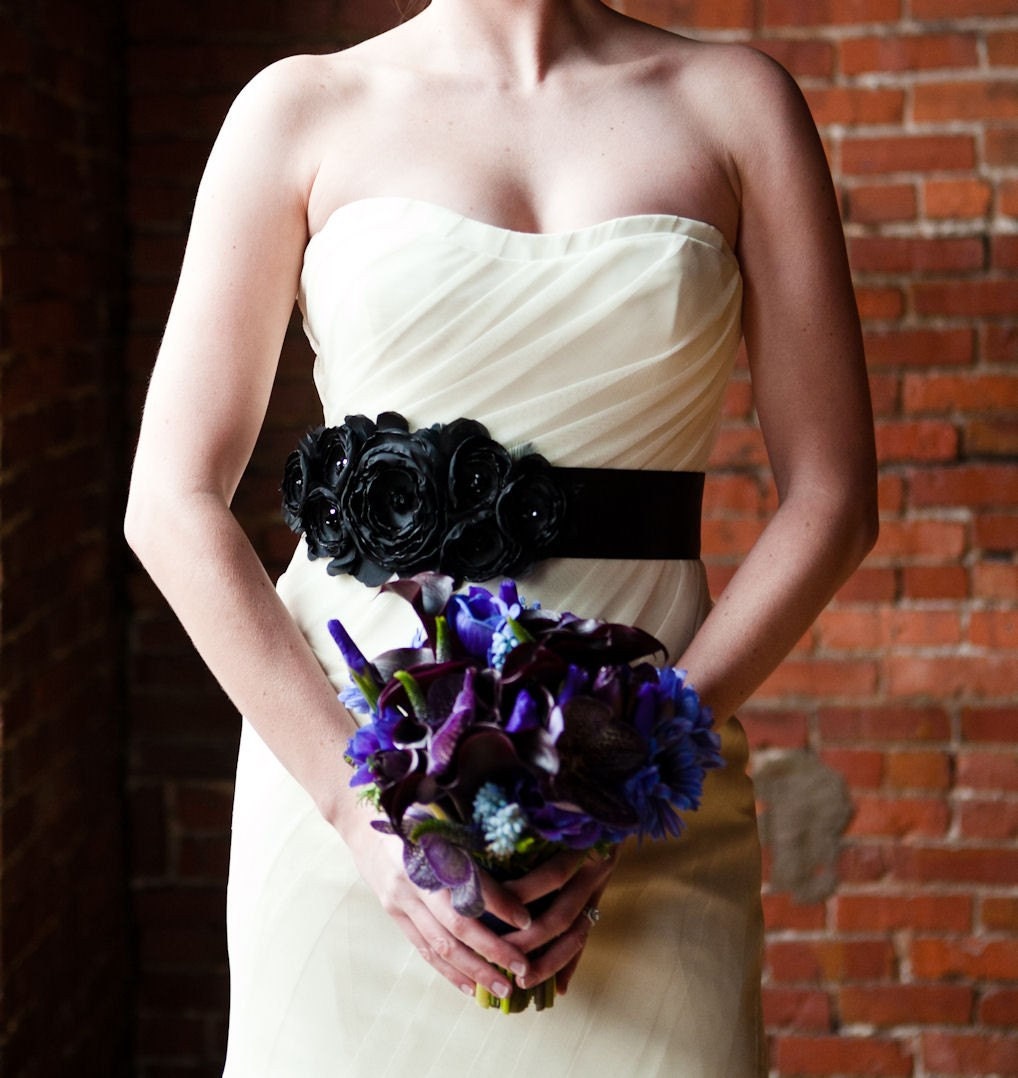
Flower Sash

Handmade Flower Sash here 

Have Fun creating or shopping and don't forget to check out the 2,000 Facebook Fan Giveaway!

Tuesday, June 15, 2010

The Trunk Show!

So finally the Trunk Show happened. It was this Saturday and I was very excited and nervous. The day before I still was trying to find items to set up my display table and on Saturday I packed and finished the details just before the show started.

The Gallery was very small and we all twenty vendors had to fit in, so the space was very tight. I shared table with Gloria from Mornin Gloria's. She has this beautiful shop and I'm so happy that I shared with her. Our items looked very good together and she's an amazing person. Here's a picture from her setup and please make sure to also check out her store to see her beautiful victorian inspired French Beaded Flower accessories.

Picture taken by Gloria from Morin Gloria's

So, just next to her was my jewelry. I think for being it my first show I did well. Although now I've learned a few things and for next time I would definitely set it up differently. But still, I think it does look good.

My featured items where the Coral and Pearl Necklace, which is in the white bust display and the Sirari and Black pearls necklace with is in the black display. Actually the Sirari necklace was the one that most people looked at. It is made of natural seeds from Bolivia and complemented with black pearls a silver chain and enhanced with a big black rose cabochon. I just love that necklace! Here's a closer picture.


Here's a picture from Gloria and me when the Show was just starting.

Picture taken by Goncarova
So, overall it was a good show. I learned a few things and also had a few sales. I also was very happy when a couple of friends came to visit my booth and they actually purchased some of my jewelry. They are just so awesome and I'm very thankful for having those great friends :)

Ohhh, and before I forget. I also had an awesome helper. He helped me since the day before to make a test of my table setting and the day of the show he spent almost all the time helping me on my booth. Here is a picture of my handsome helper, my husband.


So, what do you think about my setup. Not bad, right? I'd love to hear your comments!!!

Wednesday, June 9, 2010

Tips for Craft/Art Shows

A couple of weeks ago I went to the Beads Show in San Francisco. It was a great show and I had the opportunity to see lots of supplies and a few finished pieces of Jewelry. There was a large variety of items and prices. But there were a few things I noticed and that I would suggest you to improve if you are participating as an expositor.

- Prices. This is very important. Make sure your customers can see the prices and don't have to ask. If I don't see the prices I will most likely just go to the next booth since I don't like asking prices.


- Be helpful to your clients! I would be in some stands and the sellers were just chatting or on the computer or doing something else, but they wouldn't come to see if I needed anything or if I had questions. If they are doing something else I will most likely not interrupt and just leave.

- Don't look bored! If you're sitting there and telling the people how slow it is and how nobody is buying, I will probably not buy either. Please, show always a positive attitude. I bought from people who were smiling, friendly and helpful, that attracts buyers.


- If a potential customer asks you about one of your pieces tell them useful information about it. I loved the sellers who would explain me more about the item. Like some vintage flowers, the person told me what year they were from, what you could do with them, etc. Of course I purchased from them :)

- Don't build your booth so that only one person at a time can see your items. People don't like to wait until the other person finished looking. So design it in a way that people have access to your items.

- Don't get upset if a person asks for information on your items and then leaves. If they liked it, they most likely will come back. I normally see all the stands first and then come back to the ones I liked the most.


I hope these tips help. I'm having my first Show this Saturday and will be bringing all my handmade jewelry, so I'm making my list of does and don'ts. If you have anything to add please feel free to comment :)

All pictures were found on Flickr. 1) plushoff, 2) scot63us, 3) dotbenjamin

Thursday, May 27, 2010

Come and see me at the SF Etsy Team Trunk Show

I'm very excited to announce that on June 12, 2010 I will be participating at the SF Etsy Sampler. Only 20 Etsy artists from the SF Bay Area were chosen for this trunk show and I'm happy to be among those selected ones. I want to invite all of you to come and see some amazing handmade work from artisans in this area. You will be able to see, touch, try and buy the different items. You will find a variety of accessories, home decor, jewelry and much more while also enjoying some free refreshments.


Details of the event:
When: June 12, 2010 from 1 to 6pm
Where: Artist Exchange Gallery
Address: 3169 16th. Street, San Francisco
Admission: Free! No RSVP required but if you like, you can RSVP here.

Please keep in mind that it is a small show and with no ATM on site, so it is recommended that you take some cash in case you want to buy some of the awesome art.
Take a look at some of the participating artists :)

Monkey & Seal


Etta + Billie


Estylo Jewelry


EvelynX


For the complete list please visit the SF Etsy Blog.

I hope to see you there!!!

ShareThis

Related Posts with Thumbnails