Handmade Jewelry for the Special Occasion

Monday, November 19, 2012

What Color is Your Wedding: Purple Inspiration


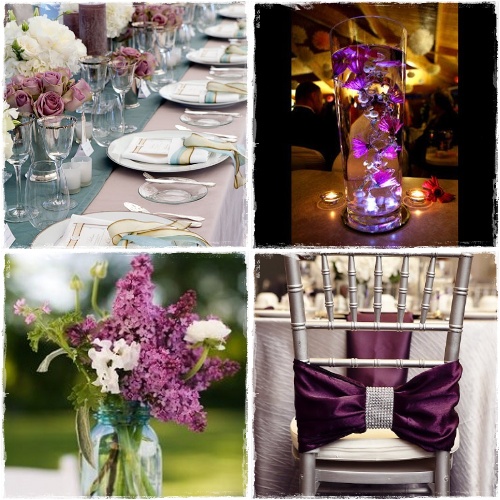
For this “What Color is Your Wedding“ we have a sophisticated color, perfect for this fall season: Purple! This color is one of my favorites; it’s the combination of red and blue.  Purple provides the stability of blue and the energy of red, so it’s a good balance for your wedding day, don’t you think?
If you are planning a purple wedding, here are some inspiration pictures of this romantic wedding color.
You can see more pictures in our Pinterest board.


Great ideas, I hope you liked them!
Have a nice week!

Selene


Thursday, November 15, 2012

DIY Christmas Gift - Peacock Wall Art

With only five more weeks till Christmas we are excited to share another awesome tutorial from our DIY Christmas Gift series. This time Pamela from Inspired by Felicity was kind enough to share this nicely written tutorial with us. She will show us step by step how to make a Peacock Wall Art. What an amazing idea for a gift, don't you think?

So let's go on to her tutorial and you can see her full blog post here and also don't forget to stop by her shop to see her awesome headbands!


"After finishing some new headbands I had some burlap and lace scraps left laying on the table next to some peacock feathers and had the sudden idea to make some wall art with it all.
I went rummaging through the house trying to find other things to use and by the time I was done I ended up with a cute new little piece to add to my living room.


I took a frame that I had painted in red, then went over it with a watered down coat of white paint. After the white dried I sanded it here and there to show more of the red.
I took the cardboard backing out of the frame and glued a 12x12 piece of scrapbook paper onto the center of it.


Since the paper wasn't big enough to cover all the cardboard, I put pieces of burlap over the edges. (notice the hand of my little helper, she's always there assisting me!)


I then glued a piece of sheet music onto the paper. I thought about staining the paper with tea to give it a more shabby look but decided I wanted to leave it white so it would go with the white frame better.... and to be honest I didn't have the patience to wait on the paper to dry.


The star of the piece, a perfect peacock feather, was then attached with a few dabs of hot glue, followed by a strip of lace across the top corner.


For the finishing touch I stamped some whimsical swirls kind of randomly on the edges of the layout.  The stamps and ink were all from "Stampin' Up".  The ink worked well on both the paper and burlap.


When I started working on it I had no idea what I wanted to do.  Like everything I make I never really start with a plan I just go to throwing things together and hope I end up with something acceptable.....  luckily this ended up being perfect for what I was wanting."


Thank you so much Pamela for sharing this with us. This is just such a beautiful idea and can be used for any theme, so if you want to do something more Christmassy, then just replace the paper with something related to Christmas, right? 

Don't forget to stop by Inspired by Felicity's blog. She has some awesome posts that you won't want to miss. Also this talented lady has her own shop! Make sure to look around and maybe get some wonderful gifts for this Christmas season. I love all her headbands, but must agree that the Peacock ones are my favorites. So stop by her shop and don't forget to "Like" her on Facebook to see all the new cool stuff she adds.

Just a reminder, if you haven't entered our Pin to Win Giveaway you are still on time. Just go here for the instructions.

Till next week!

Sandra.


Monday, November 12, 2012

Estylo Jewelry Pint to Win Contest

We're happy to announce a new Giveaway by Estylo Jewelry! After looking at different options for this contest we decided to try something new out and what could be better than using the so widely popular social media site Pinterest. Everyone is talking about Pinterest and we love it as well. If you haven't seen our boards for awesome Wedding, Craft, Style, Kids and other ideas, head over and enjoy some time browsing around our boards.


Ok, so now to the best part of the Giveaway: The Prize. Winner will get any One item from our shop. That's right, no limitation of price, whichever single item you like you can win.


How to get in? Very easy. You will need to follow these simple steps in order to qualify for entry in the contest:
- Follow Estylo Jewelry on Pinterest
- Go to our Store and pin as many items as you want
- When you are creating your pin you have to include in the description box #EstyloContest. Remember that this is mandatory otherwise we won't be able to find your pin and therefore won't be included in the contest.
- IMPORTANT UPDATE: You will also have to comment on this post with the link to the board you pinned them to, or the individual pins if you used several boards. Unfortunately Pinterest is taking too long to index them in the search result and we would hate to miss anyone!
- Each pin is one entry.
- There is no limit on entries, if you want to pin 100 items every day, you can do it. If you want to pin 1 item, that counts as well, there is no minimum or maximum, but the more you pin, the more chances you have to win.
- We highly recommend you Like us on Facebook since we're going to be announcing the winner on this blog, Facebook and on the Pin only! It is not mandatory but Facebook will be the easiest way you can see if you won since it will show in your news feeds. Again, this is optional and will not increase or decrease your chances of winning.

That's it! Very easy right?


Here are the fine prints:
- Contest starts Monday November 12th. 2012 and ends Friday November 30th, 2012 at 11:59 PM Pacific Time.
- Winner will be chosen randomly and will be announced via this blog, Facebook and directly on the Pin. No e-mail will be sent since we won't have access to your e-mail address.
- You must be 18 years or older to participate.
- Contest is open Worldwide.
- Prize will be any One Item from my shop. No multiples, sets, or special orders are included.
- Shipping will be via USPS First Class Mail, no insurance included. We can't be responsible for non delivery, damage or any other post related issue. If you prefer other way of shipment we can invoice you accordingly.


Good luck everyone! Enjoy pinning and don't forget to tell your friends about this awesome contest! You can use the icons below for Facebook, Twitter, Pinterest, Stumbleupon, etc.

Thursday, November 8, 2012

DIY Christmas Gift - Washi Tape Coasters


Wow, time is going so fast and Christmas is drawing near, I’m so excited! Who doesn’t love Christmas? :)
And yes! Today is Thursday of our “DIY Christmas Gift Series”! For this week we have another great and easy to make DIY project that Katie from MyDarlingDays is sharing with us: Washi tape coasters! I think it’s an original and useful Christmas present!
Katie saw pictures of the project on the web and Pinterest and had everything on hand so she just did it! She explains us through images how to make this project.

Here is her tutorial:

"You'll need 4"x4" tiles, Washi Tape, Mod Podge, Felt, & a hot glue gun.
I purchased these little white tiles over a year ago; they are super inexpensive.  I just started sticking the Washi Tape on each coaster.  Again, there is no wrong way to do this.
Next, I put a thin layer of Mod Podge and after that dried, I hot glued a felt square on the backs of the tiles so they wouldn't scratch any surfaces.


That's it.  Easy as pie!"

Too simple and easy to make! Thank you very much, Katie for sharing with us this great idea!
Don’t forget to see next week’s DIY Christmas gift project! If you missed the previous week’s tutorial, click here: DIY Homemade Coconut Salt Scrub.

Here is a message from Katie and a little bit about her:

"Hey there! I'm Katie... a 9-5 day job working wife, a student, a lover of:chocolatephotography, dancing, and my Green Bay Packers!!  My Darling Days is scrapbook documenting daily finds, craftsthoughtsfashionfood, & more!"

Katie started her blog because she needed a hobby. And then that hobby became something bigger. She found that her blog had been a release and creative outlet for her. It’s something she actually enjoys doing. She is inspired by this wonderful world of blogs and a community of friends that truly leaves her striving to be a better person and to reach for her goals. And with that she wants to help inspire us.

To see more of Katie’s craft projects join her blog MyDarlingDays, and become a follower on Pinterest and Facebook!

Have a nice day!


Sunday, November 4, 2012

November Birthstones - Topaz and Citrine

November is here and I can't believe that we're almost finishing the year. But this time I want to write a little bit of November's birthstones. For this month we have Citrine and Topaz.
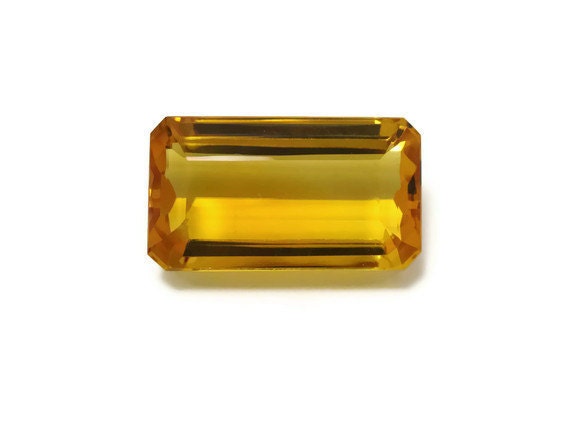
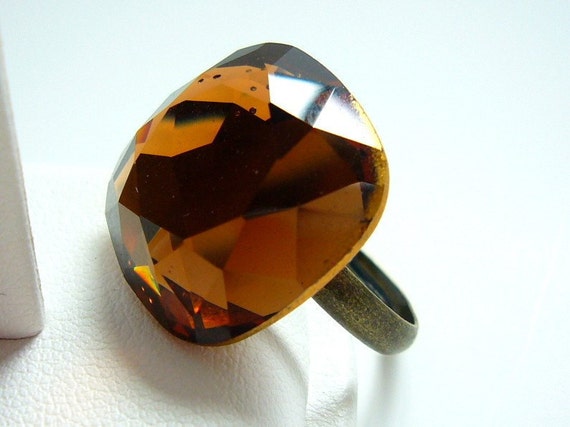
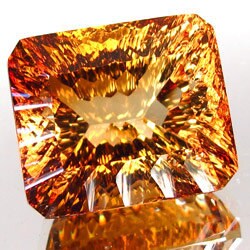
Citrine is known as a healing stone, it is supposed to offer health and vitality to the wearer of the gemstone. It is most commonly known in a range of yellow colors, but also exist in a dark brownish/orange tone.

Some findings in citrine color:

Photo here

Photo here

Photo here

Photo here

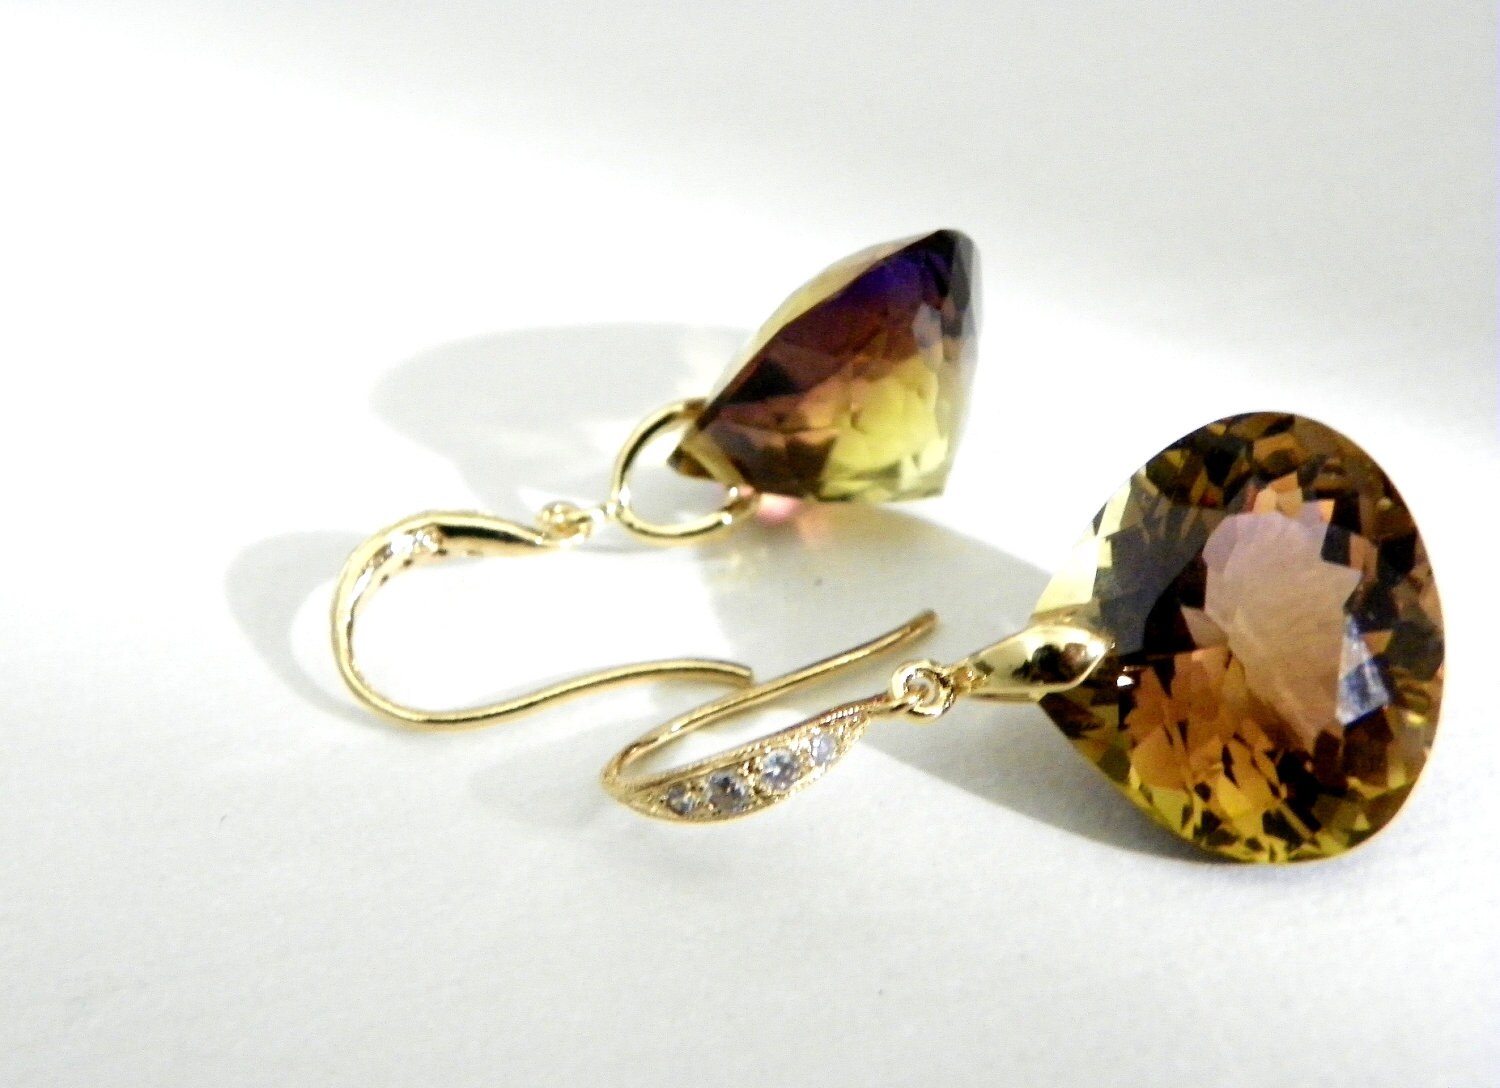
These briolettes are amazing Ametrines from Bolivia. They are a natural mix of Citrine and Amethyst:

Photo here

Photo here

And this is a piece of wonderful Citrine gemstone:
Photo here

Topaz even though it's often confused with citrine quartz for it's similar color, it is available in a range of different tones. From yellow to brown, and orange, pink and different blue tones.

A few findings in topaz color:

Photo here

Photo here

Photo here

Photo here

A beautiful shot of a Topaz gemstone:
Photo here

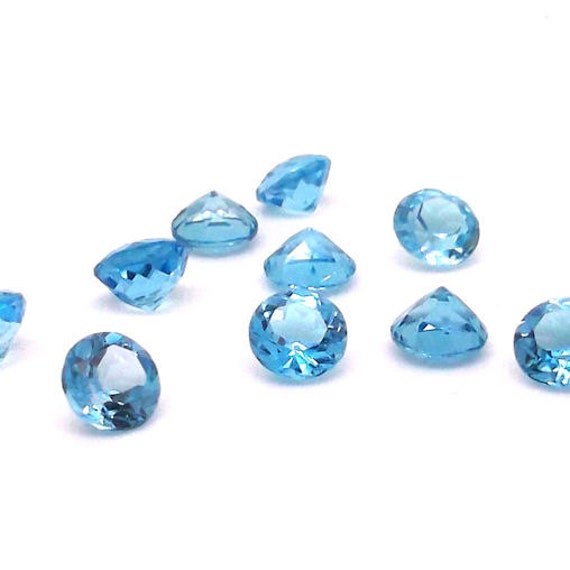
And some blue topaz colored findings:

Photo here

Photo here

Photo here

Photo here

Photo here

Hope you like them! Have a great week everyone!

Sandra.

Thursday, November 1, 2012

DIY Christmas Gifts – Homemade Coconut Salt Scrub


For this week’s  DIY Christmas Gifts Series we have a guest post  from Nicole from WonkyWonderful.  She will share with us how to make homemade coconut salt scrubs; Isn’t that a great gift idea? Who doesn’t want to have beautiful feet and feel wonderful?
Nicole decided to make her own coconut salt scrub because she had neglected her feet and she realized how simple it was to make.

Let’s look at her story:

"Hi! I'm Nicole, visiting from Wonky Wonderful. I'm very excited to be sharing one of my projects here at Estylo Jewelry. I am a crafty Mom that loves to experiment in the kitchen, crochet and make natural products like this DIY Coconut Salt Scrub.
This Natural Scrub is a simple, quick and inexpensive project that is perfect for the gift-giving season.


 I have noticed DIY Scrubs on Pinterest and just how simple they are to make.  It's just a matter of deciding if you want a salt or sugar scrub and what type of oil and essential oil scent you prefer.


I chose to make a Salt Scrub with Coconut Oil and Coconut Scent.  I also used Vitamin E Oil because I have a ton of it stockpiled from my pregnancy.  Apparently I thought that I would need to bathe in Vitamin E to prevent stretchmarks.


Just mix your Course Sea Salt or Sugar with your Oils at a 2:1 ratio.  For example I mixed 1 cup Salt with 1/4 cup Coconut Oil and 1/4 cup Vitamin E Oil.  If you are only using one oil mix 1/2 cup Oil with 1 cup Salt.  Then add 3-4 drops of Essential Oil for fragrance and stir it up.


Put your scrub into a container and you're done.  I Know, Right? ... Easy Peasy!

And it is perfect for a quick and cheap last minute gift.  Put it in a jar, tie a ribbon around it, attach a label and you have a fancy and luxurious gift.


Store bought scrubs can cost ten to twenty dollars or more.  This comes out to about two or three bucks depending on the ingredients and that is including the cost of the jar.  Luckily none of my family and friends read my blog ... because guess what they are getting for Christmas and Birthday presents this year!


This also works great as a Shower Body Scrub too.  Just be sure to scrub the heck out of your bathtub afterwards so nobody slips and breaks a hip.


So there you have it.
My once Hideous Hobbit Feet are now Sexy and Silky Smooth.

 OhLaLa".

It definitely is easy to make and it’s a great christmas gift! Thank you so much, Nicole for sharing this wonderful tutorial with us.
Don’t miss next week’s DIY Christmas Gift Series Tutorial. You can see the previous tutorial here.

A little bit about Nicole:

Nicole describes herself as a mother of an amazing, creative, hilarious and exhausting little girl named Birdie.
As a chaotic crafter!  Her focus is usually scattered between three to four projects at any given time.  
As a crochet addict!  She learned how to crochet earlier this year and she is still learning.  
As a lazy cook with a large appetite!  She loves to eat fresh, home cooked meals. But, she doesn’t like over-complicated recipes that take an entire day to complete.  Food is very important to her family. 
These are some of the reasons she created WonkyWonderful.  She wants to continue learning new skill and meet other creative, amazing people that share her passion and curiosity.  Most of all she wants to be present in her life and treasure each Perfectly-Flawed moment. 

Please visit her web homes: WonkyWonderful, Pinterest or facebook and become a follower!


ShareThis

Related Posts with Thumbnails