Monday, October 29, 2012
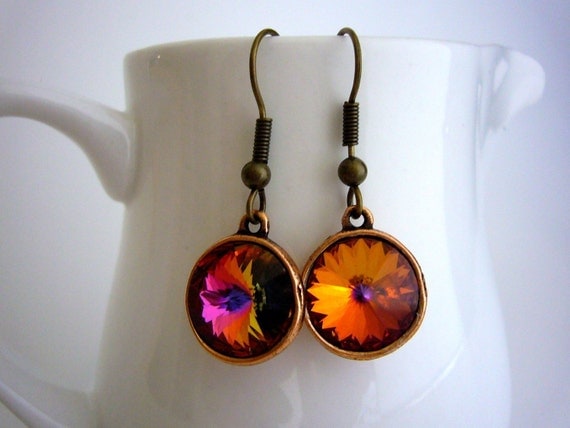
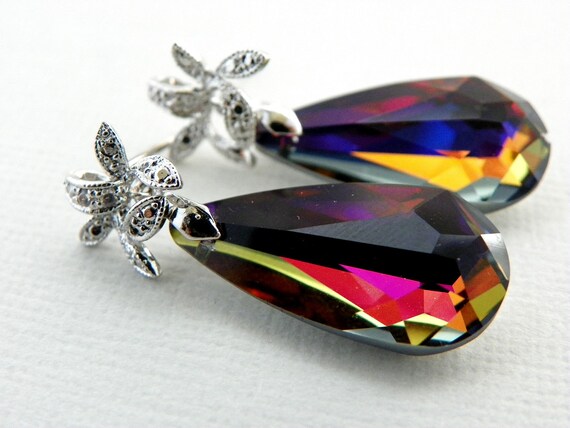
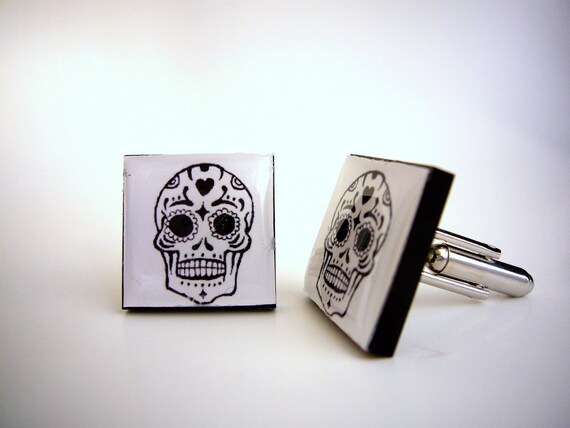
Fresh Finds - Autumn Trends and Dia de los Muertos
Thursday, October 25, 2012
DIY Christmas Gifts – Homemade Rub
How is Fall going so far for everyone? Here the weather is very crazy, some days cold others quite warm…but it’s definitely starting to feel like Autumn. And with the cooler weather coming we decided it’s a great time to introduce our next guest blogger, Chrissy from WorldPeac, who wrote a very nice tutorial on how to make your own homemade rub and adorn nicely for Christmas presents. But not only that, she is also offering 15% OFF anything in her shop WorldPeac if you use coupon code: FEATURED
Here is her tutorial:
“As we head into winter, most families begin to stock up on the necessities for treating the common cold: Tylenol, cough syrup, and Vick's VapoRub. Used on chests, this petrolatum-based gel penetrates our nasal passages with its strong, cooling scent. But those of us who prefer the most natural, eco-friendly products won't buy the rubs found in drug stores.
Why? It is said that petroleum slows cellular regeneration and forms a barrier that prevents skin from eliminating toxins and absorbing moisture. In addition, petroleum comes from the same refineries as crude oil, making it a non-sustainable resource. Luckily, you can make your own chest rub, with organic and pure ingredients. Not only is this home-made rub earth-friendly, but it is a soothing, natural substance to put on your child's skin.
What You'll Need:
Shallow jar or container with lid (like baby food)
Coconut Oil (choose Expeller Pressed so it doesn’t have a coconut smell)
Eucalyptus Essential Oil
Peppermint Essential Oil
1. Thoroughly wash and dry jar. Make note of how many ounces it holds before removing labels.
2. Scoop coconut oil into jar. Fill up to just under the rim.
3. Microwave for 10 seconds or until melted. Coconut oil melts at only 76 degrees, so it does not take long.
4. Add essential oils and stir with a toothpick. Use 10 drops of EACH essential oil per ounce. For example, if your jar holds 2 ounces, you will use 40 drops of essential oil. It sounds like a lot, but you will want this to be strong enough to open your airways. It's fine to use a different number of drops; play around with it until you are happy with the smell and the strength.
5. Put the jar in the refrigerator to cool. It only takes about 30 minutes to harden completely. Stir occasionally while mixture is still melted, to make sure the scents are well-mixed throughout the whole jar.
6. After it has hardened, you don't have to refrigerate again. Use as much as needed, and store in cool place, like a cupboard.

7. If desired, tie a ribbon and tag around the lid and give as a healthy, unique gift!”
Thanks so much Chrissy for this awesome step by step tutorial! This makes a great gift for this cold weather and I’m sure lots of moms will appreciate it.
Here is a short bio about Chrissy:
Chrissy owns a shop called WorldPeac on Etsy. She has traveled all over America, witnessing nature at its finest. She loves tall redwood trees, clean beaches, and breezy meadows; all of which fuel her to bring nature to your door. In her shop, you will mostly find jewelry and accessories made with materials direct from the earth. But in her spare time, Chrissy love to make cosmetics and herbal remedies using as few chemicals as possible. She said that she’s delighted to bring you this easy DIY recipe and as a special thanks, use coupon code "FEATURED" for 15% off anything in her shop.
Don’t miss out on this great offer from Chrissy!!!
Have a nice weekend everyone!
Sandra.
Monday, October 22, 2012
Fall Wedding
Let’s start with a very pumpkin style wedding selection:


Sandra.
Thursday, October 18, 2012
DIY Christmas Gifts – Custom Kitchen Canisters
Here is the short version and you can read the whole story directly on her blog:

1. Water-slide decal paper
2. Clear Gloss Protecting Spray Coating
3. Jars
4. A bowl of water
5. A washcloth
First print your labels and then spray carefully one coat of the protecting spray.

Please check out Love, Pomegranate House's blog post to see the step by step tutorial with lots of pictures and details.
Follow her Blog, Follow her on Facebook or Follow her on Pinterest.
Monday, October 15, 2012
Halloween Costumes
Alice in Wonderland Dress
Little Dead Riding Hood Faery Bloody Vampire Dress & Cape
Ladybug
Halloween Costume
Giant Squid Kraken Octopus Halloween Costume
Available here
Scarecrow Tutu Dress Halloween Costume
Available here
Kids
Halloween Costume Sack of Taters
And for your other
little ones J…
BOO!
Dog Hat
Dog
Witch Costume
Available here
Have a Happy Halloween!
Selene
Thursday, October 11, 2012
DIY Christmas Gifts – Magnet for Teacher Tutorial
Lindy came up with this idea when she was asked at her school for flowers for the teachers. But since she isn’t into flowers she decided to make something different. Here is her story:

“I created magnets out of the dollar bins at Michael's and a sheet of Martha Stewart Stickers from Michael's. Pretty darn easy! I would highly recommend getting the heavy duty magnets for these but if you go with the round magnets that are not heavy duty you will want to use 2 of them on the back of your clothespin.

• Gather your supplies:
Stickers
Clothespins
Industrial Strength Magnets
E6000 Glue
Powder
Paint Chips
Ribbon or Baker's Twine
A Cute Tag
For sure you want to try to find the industrial strength magnets because they will hold things on your surface much better.
Want a great tip for stickers when you no longer want them to be sticky? Powder!!! I poured a little baby powder into a cup and then dipped each sticker in it so it would remove the stickiness of the sticker. If you don't do this step and your sticker hangs over the edge of your clothespins it will attract all kinds of dust and lint etc. Not good!

Now that the sticker is not sticky you will put a strip of E6000 Glue right down the center. Attach the sticker directly to the front of the clothespin and hold it in place for a few seconds then lay it flat to dry.
Once the sticker has adhered to the front of the clothespin you will put a dab of blue on your industrial strength magnets and place them in the desired location on the back of the clothespin.

To package these I grabbed a couple paint chips that I had leftover from my Paint Chip Project Week last summer. Attach the clips directly to the paint chip.
Print a cute tag--mine says "I'm Really STUCK on You!" Layer the tag with some fun colored paper and you are set to package these cute little magnets up.

•Use a cellophane bag or something clear to package your magnets in. Use ribbon or Baker's Twine and tie off the top of the cello bag and attach your cute tag” .

What a great idea, don’t you think? And I love how easy Lindy made it to follow her instructions. Thanks again Lindy for this wonderful blog post!
Don’t forget to check out the next DIY Christmas Gift Tutorial the following week. If you missed the prior one go here.
A little bit about Lindy:
Lindy Harnarain is the owner and designer behind Itsy Bitsy Paper.
She has been in love with paper since she was old enough to hold a pen and feel the weight of a good piece of paper in her hands! Lindy worked for a great contemporary gift store that specialized in paper for four years where she was their Wedding and Invitation specialist and loved every minute of it. Sadly the business closed and it gave her the inspiration to start her own business.
Lindy always loved planning parties and helping people see their vision become a reality! She loves to have a creative outlet for making cards and stationery.
Lindy describes herself as a paper crafter, a novice jewelry crafter and enjoys numerous other crafts. Her blog is focused on DIY, Crafts, Cooking and Baking and All things Fun!
Please visit her Etsy Shop or become a Facebook Follower, Blog Follower or Pinterest Follower!


