Handmade Jewelry for the Special Occasion

Wednesday, June 15, 2011

Bridal Earrings Tutorial - Pearl in a Silver Cage DIY

It's time for another Tutorial! But before I show you how to do those cute wire cages and then convert them into the Bridal Earrings you can see below I want to remind you that the Father's Day Giveaway is still going on! You have 2 more days to enter it, so don't waste the chance to win any set of Cufflinks from my Cufflink Shop. To enter the Giveaway just go here.

Ok, now to the Tutorial. What I'm going to show you is not only to assemble these beautiful pearl and crystal earrings but also how to make your own Wire Cages. Of course you could just go to a store and probably buy them there, but it's a lot more fun if you make them yourself. Also keep in mind that once you learn how to do them you can make different sizes, colors/metal, textures, etc.

Finished Pearl in a Cage Bridal Earrings

What you need:
- 22 Gauge Sterling Silver (or other metal if you want) Wire. Around 18 inches should be enough.
- 2 Ivory Pearls size 8mm.
- 2 Round Swarovski Crystals in color Clear AB size 6mm.
- 1 Pair of fancy Sterling Silver Ear Post or the ear wire of your choice.
- Round Nose Pliers.
- Flush Cutters.
- Flat Nosed Pliers.

You should be able to get all of those (except the exact ear posts) at any supply store. For regular ear wires you wont have any problem finding them at the supply store as well. For more fancy ones I recommend you order them online or go to a specialized bead store.

Tools and Material Needed for the Earrings

Once you have all your material and tools together take your wire and measure approx. 7 1/2 inches of it and cut it with your flush cutters. Then do the same one more time. That's the wire you will be using for your cages. Take one piece of the cut wire and with your round nose pliers make a simple loop. To do that place the pliers at the end of the wire and start rolling in. Make a complete circle.

Start with a simple loop on your wire

Now switch pliers and grab the flat nosed pliers. Place them on the circle that you just made and start rolling it, forming a larger circle around it, like shown in the picture below. You don't have to do it as tight as I made it, but I like having the beads with lots of wire around. Continue doing it until you get half way through the wire.

With Flat Nosed Pliers start making circles

Once you get to the middle of the wire do exactly the same with the other end of the wire until both circles meet. See picture below. Now take one of the circles and turn it to the other side forming an "S" shape as you can see in the picture and place your bead on top of it. Make sure that your circles are big enough to cover the pearl.

Make same size circles on both sides of the wire and place the pearl on top

Now start covering the pearl with the wire. Try to stretch them a little apart. Remember that they don't need to be perfect. Just keep stretching with your fingers and don't worry, it won't deform, the wire is pretty sturdy. You can use your pliers if you feel you need it, but I prefer to do it with the fingers and have more control on how separate I want the wire. Once you've covered the pearl and are happy with how it looks take your pliers and pull up the first loop you had made on each sides of the wire. Those will be the hooks to attach to the ear posts and crystals.


Cover the pearl with the Wire and form the hooks on top and bottom

You have now completed the most important part of the earrings. You could actually stop here and just hang those pearl cages to the ear post and they would look nice. But I really like the sparkle of the crystals, so I decided to add them at the bottom. Take the remainder of your wire and slide one of the crystals onto it. Make a tiny simple loop at the end of the wire. Remember how we did the simple loop, right? At the other side of the wire you will cut it off with your flush cutters, leaving a bit of wire showing out of the crystal. Now make a simple loop there as well.

Make simple loops on the crystal

Remember that the second loop should be larger than the first one, since this is the one who will serve as hook to be attached on the wire cage. Now do the same with your remaining wire and the other swarovski crystal. Once finished grab your crystal and open the larger loop, attach it to the silver cage and close the loop again.

Attach the Swarovski Crystal to the Pearl Cage

You now have the bottom part of your earrings. Grab the unattached side of the cage and open up the loop. Attach it to your ear post and close the loop again. Do exactly the same with the other cage and ear post. That's it! You have completed a gorgeous pair of earrings! Now that you've learned how to do the cages you can let flow your imagination and do different things, like the wine charms in the picture below. Or maybe make a matching necklace? These earrings also make a great gift for your bridesmaids and you can play with the colors you chose for your wedding.
 
Use your imagination for different designs

I hope you found this tutorial easy to follow and you like the outcome. Remember that it can take some time and practice until you get even cages, but just keep trying and I'm sure they will look gorgeous. As usual, if you have questions just send me a message and if you want to share with everyone your new creation, feel free to post pictures on my Facebook Page. I love to get messages from my readers, so don't be shy :)

Also good luck to everyone who has entered my Father's Day Cufflinks Giveaway! I will announce the winner on Friday June 17th. and you have still time to enter until Thursay at 11:59pm, so hurry and enter here.

Thursday, June 9, 2011

Father's Day Giveaway

I had some requests for a special promotion for Father's Day so I asked on my Facebook Fan Page if there was more interest in a Cufflink Giveaway and guess what?? In less than 30 minutes I had already 15 people liking my post. Wow, that means that a lot are waiting for this, so here it is, a Cufflink Giveaway :)

You know it's mostly all about the ladies, but this time I'm going to spoil the men. If you haven't bought something for your Husband, Dad, Father in Law or whoever special man you want to give a father's day gift, then you are still on time in getting something for him. And wouldn't it be nice to get it for free? Just look at this great options you can win:

#1 Dad Handmade Cufflinks available at Estylo Cufflinks


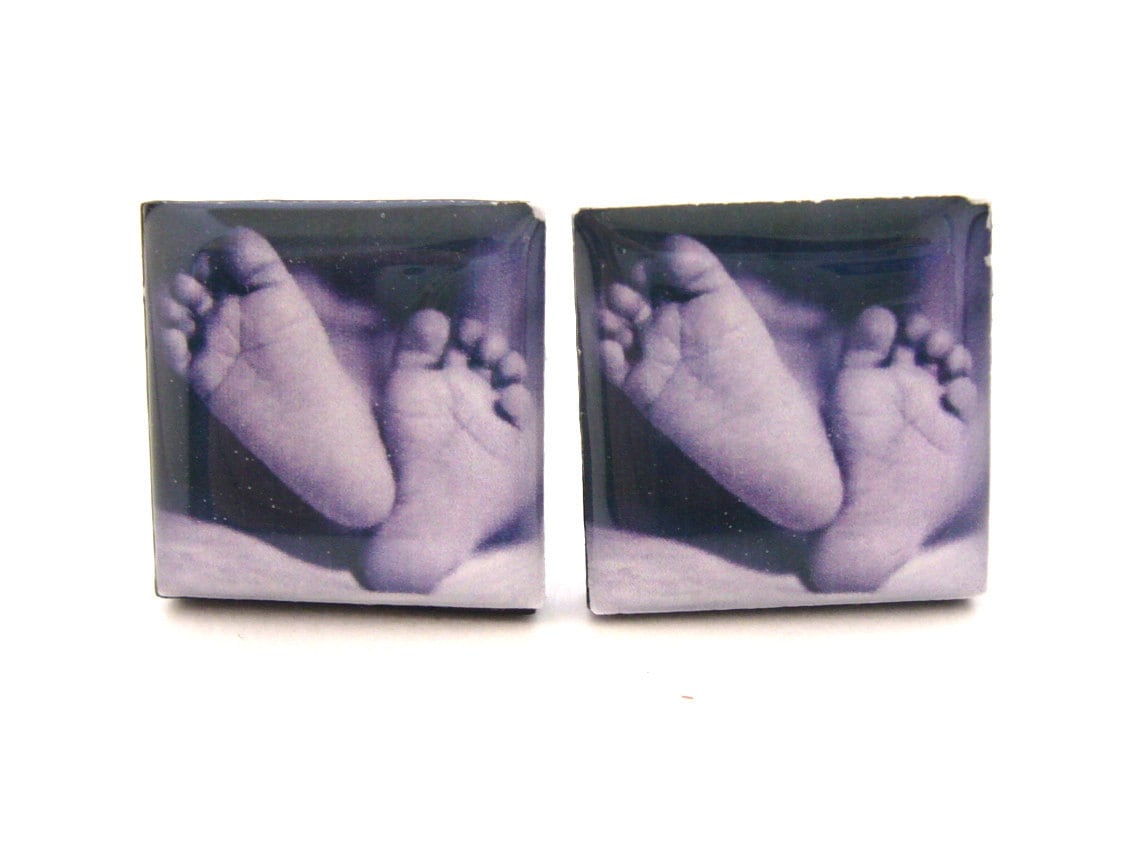
 Baby Feet Cufflinks available at Estylo Cufflinks


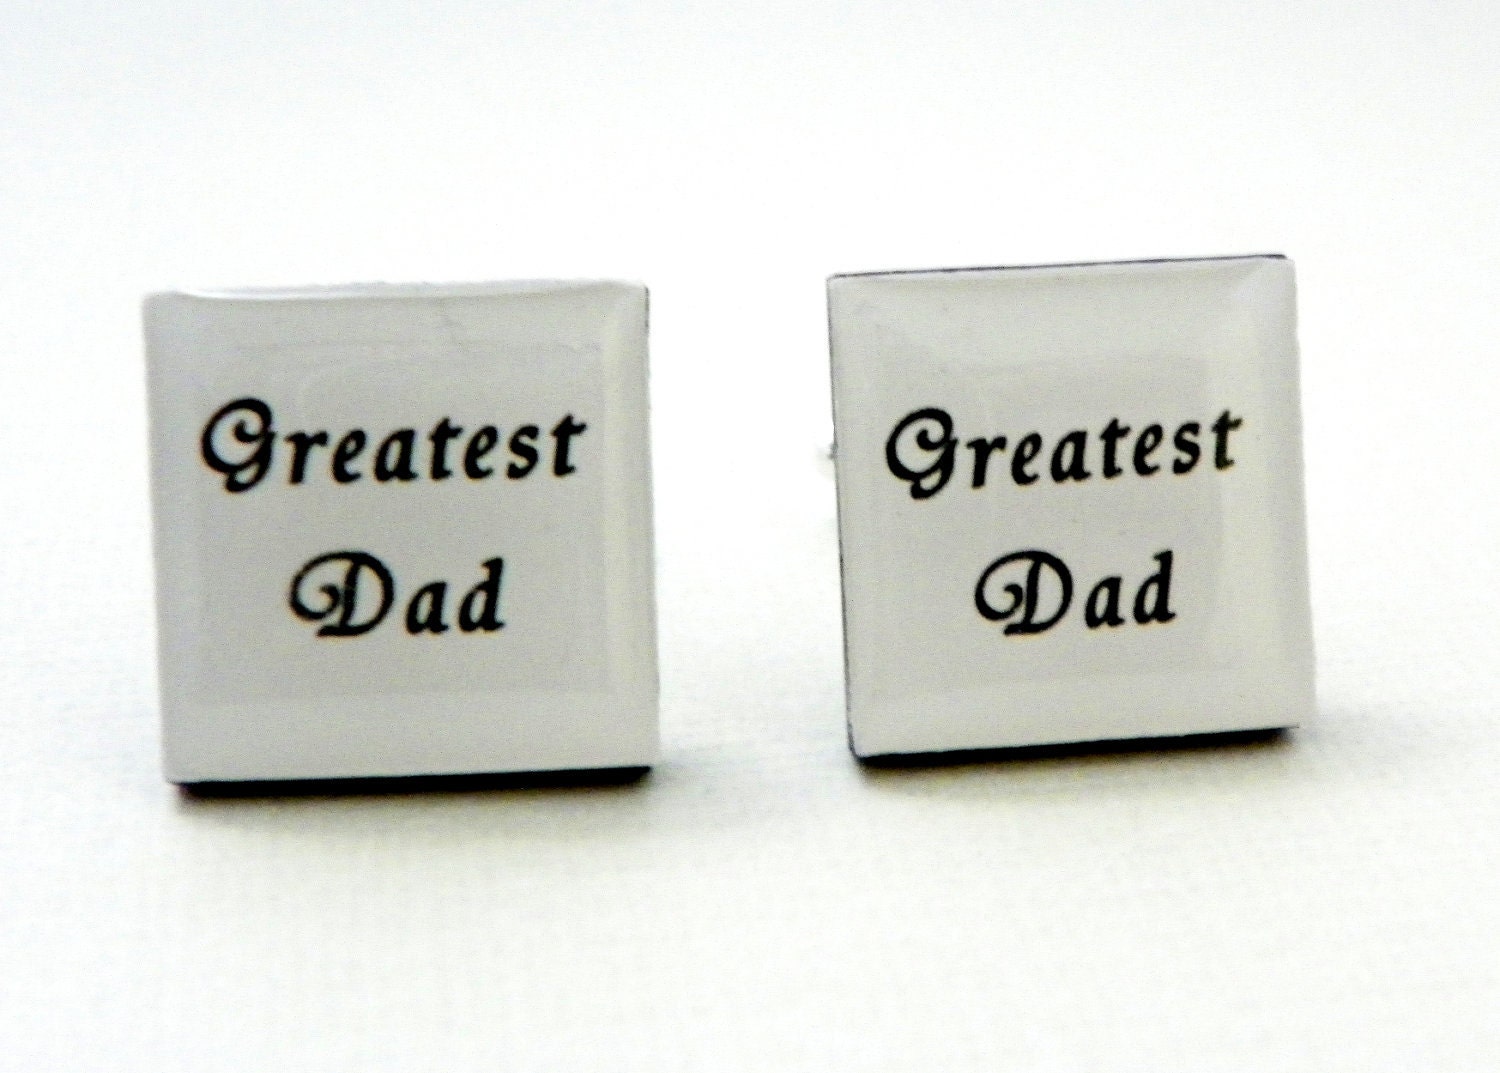
Greatest Dad Cufflinks available at Estylo Cufflinks


 Funny Homer Simpson and Peter Griffin Cufflinks available at Estylo Cufflinks


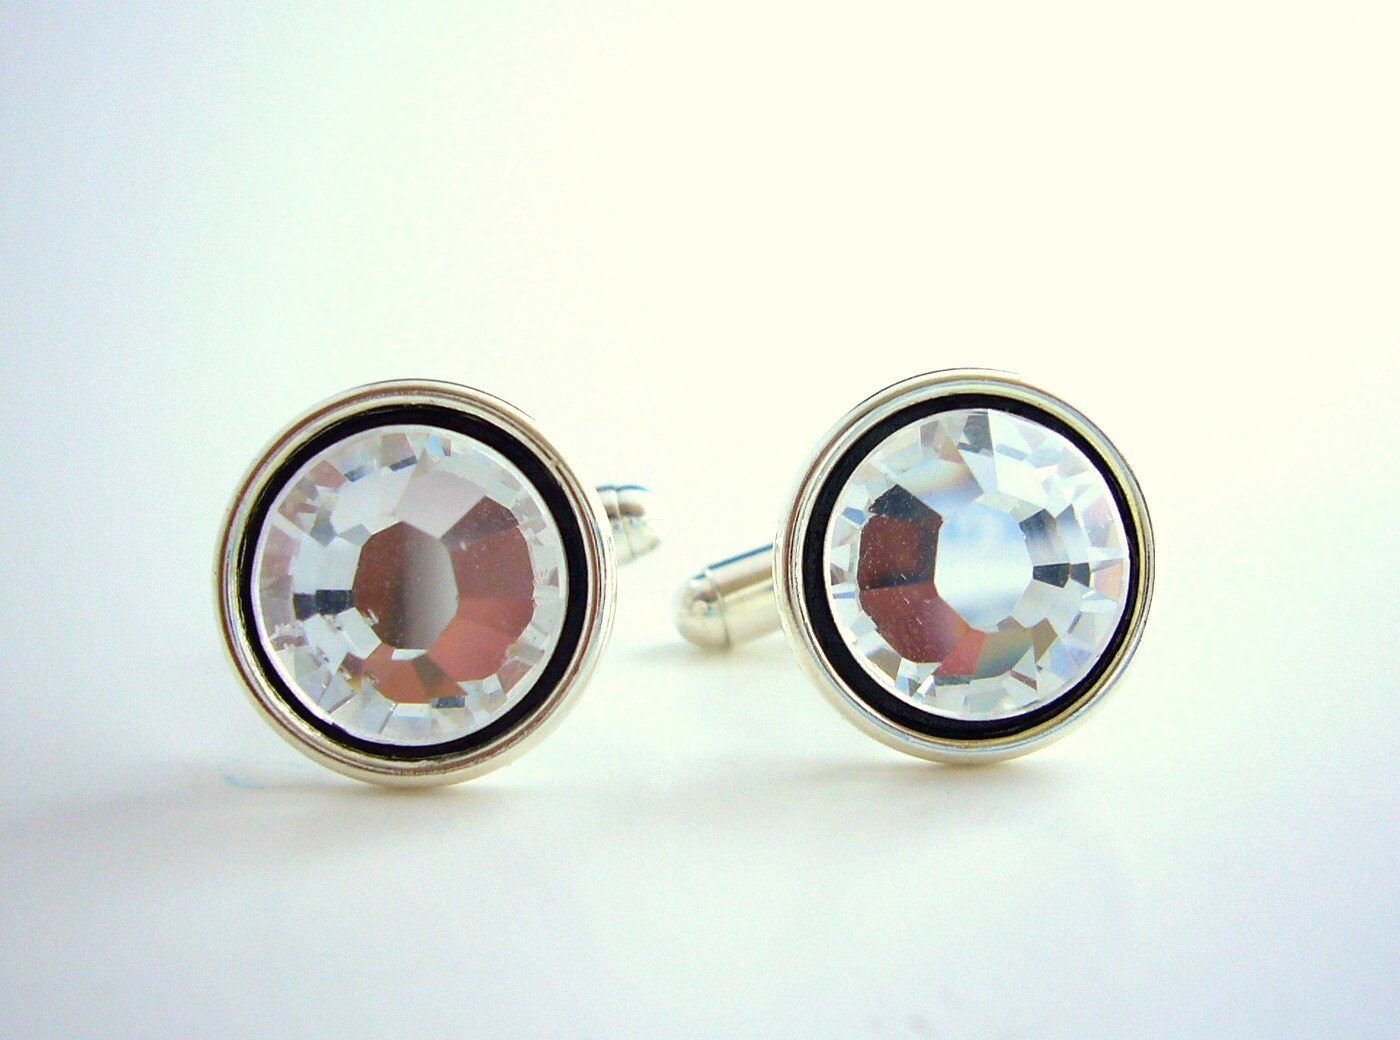
Formal Clear Swarovski Cufflinks available at Estylo Cufflinks


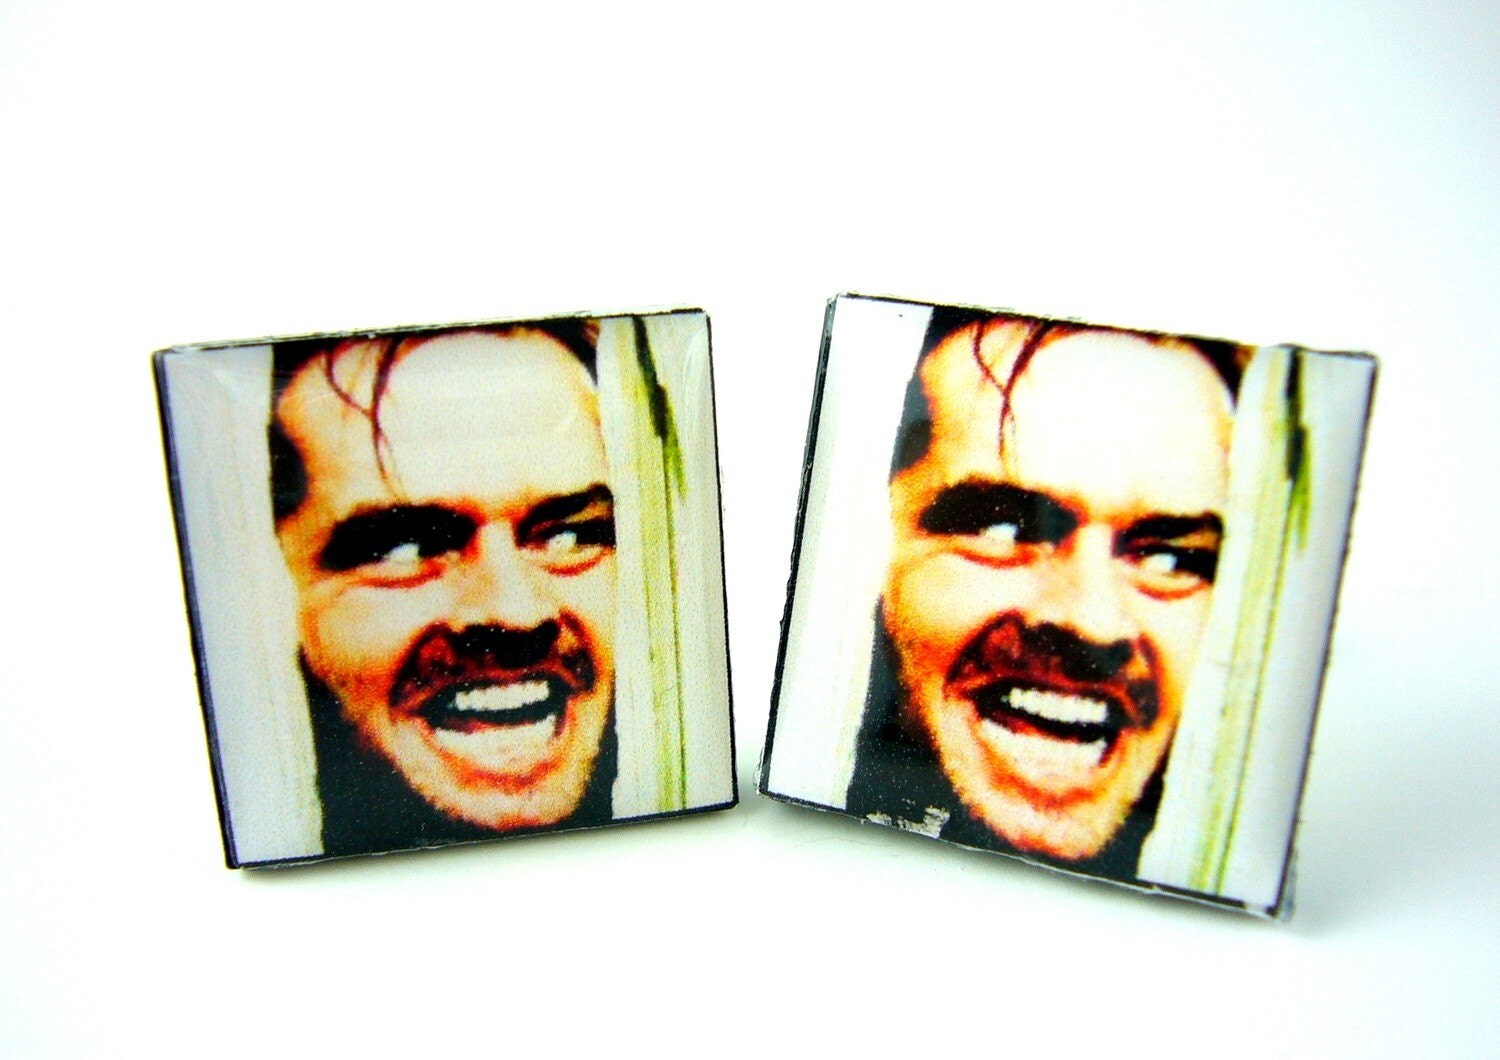
Jack Nicholson The Shining Movie Cufflinks available at Estylo Cufflinks


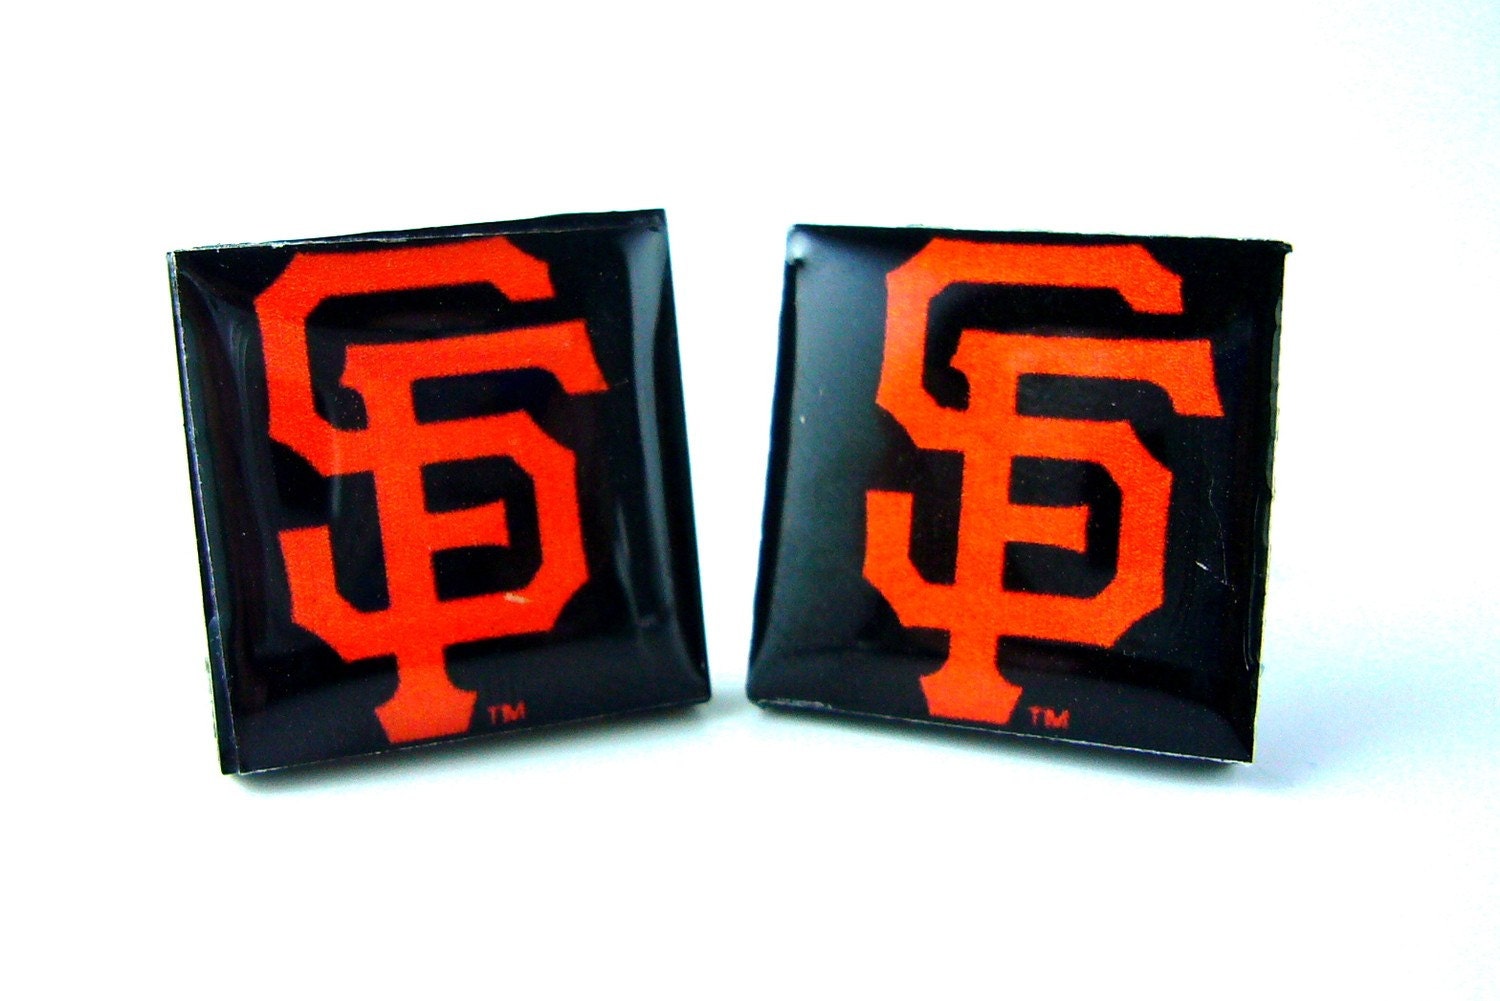
San Francisco Giants Sports Team Cufflinks available at Estylo Cufflinks

 No matter if you want a special Father's day theme, something funny, something formal, his favorite movie or sports team, there is something for every taste and the winner will get Any One Cufflink from my Shop for Free! Here are the details for the Giveaway:

How to Enter:
There is One Mandatory Entry and Six other Optional for you to increase your chances of winning. (All entries must be made as a comment on this blog post ....please make sure to do separate comments for each entry)
Mandatory Entry:
- "Like" my Facebook Fan Page and then come back and comment on my blog that you did. If you are a fan already you still have to comment that on my blog.
Optional Entries:
- Leave a Comment here on my blog telling me which Cufflinks from my Shop you would choose if you win. 
- Follow my blog and leave a comment that you do so.
- Share this blog post on Facebook and comment on my blog that you did.
- Stumble this blog post and leave a comment on my blog that you did.
- Tweet about this blog post and comment on my blog that you did. My Twitter is @estylojewelry
- Suggest my Facebook Page to your friends and leave a comment on my blog that you did.

You have a total of Seven Chances to Enter, so take advantage of them!

Rules:
The Giveaway starts on June 09, 2011 and ends on June 16, 2011 at midnight PST. Winner will be chosen via Random.org and will be announced on my Blog and Facebook Fan Page the following day. It is open Worldwide for anyone 18 years or older. The prize will be sent out via USPS First Class. Please note that I can't be responsible for Post Office mistakes or non-deliverable. Winner will have 3 days to contact me for the prize or a new winner will be chosen.

Good Luck Everyone!!! 

Update - Winner has been chosen!
The winner has been selected using Random.org and is comment #98: Amanda G.
If I don't hear back from her within 3 days another winner will be chosen.


Congratulations Amanda!!!


As seen on CashNet Sweepstakes

Sunday, June 5, 2011

My Baby Shower

Last Saturday was my Baby Shower. My friends prepared it for me and I had a great time! The decoration was absolutely gorgeous! The theme was Butterflies and all was decorated with Pink. I actually found it curious that they picked the butterflies, since we want to decorate the baby's room also with a butterfly theme. The food was also delicious, but the best was the company!

I don't like all those baby shower games, so my friends were nice enough to not prepare any activity except for when I opened the presents, which by the way were all great and very helpful for us. Overall I enjoyed the shower a lot and I was happy to see how many good friends I have. Here are a few pictures, just look how gorgeous they decorated everything.


Didn't everything look great? I just really enjoyed it very much and I'm so thankful for having such great friends :)

Sunday, May 29, 2011

Summer Drinks + Sparkling Mint Lemonade Recipe

How is everyone enjoying their long weekend? It's been a very nice day here in the SF Bay Area. It's still somewhat cold, but with lots of sun today. Makes you want to have a Margherita or some other tropical drink, but since I can't have alcohol for three more months I had to come up with something different. It's a Mojito style drink but without alcohol. Very refreshing. I'll share the recipe at the end of the post. For now look at this mouth watering Summer drinks that I've found:

Tropical Wedding Drinks here

 Tropical Wedding Drinks here

 Tropical Wedding Drinks here

 Tropical Wedding Drink here

Tropical Wedding Drink here

They all look good, don't they? I think they look great (and sure they taste better) for a summer wedding or party. So now onto the Sparkling Mint Lemonade recipe. You will need:
- 2 Limes
- Sugar or sugar substitute
- Sparkling Water
- Fresh Mint

First pour sugar onto a plate. Cut one lime and pass it over your glass, now take the glass and put into the sugar in the plate. This is only to garnish your glass. Squeeze the lime into the glass, add sugar as desired and a few fresh mint leaves. I get mine from our garden, so they area always fresh! Smash the mint a little bit and then add ice and sparkling water. You're ready, now enjoy!

 Picture for my Sparkling Mint Lemonade Recipe here

Let me know if you like it!!! By the way, a Giveaway is coming soon, so make sure to check back often for the announcement or subscribe to my blog to be notified :)
 

Tuesday, May 24, 2011

Handmade Beach Wedding Favors

As you might have noticed I just love the summer, heat, sun and beach. But since I don't live in such place I can just dream on about it and will keep for a while dedicating my posts to the summer, which hopefully will come soon to the SF Bay area as well.

The other day I was looking for some cool baby shower favors, since my baby shower is in two weeks. I thought about doing some cute necklaces for the guests or maybe sugar scrub in a nice personalized jar. Anyways, I didn't do any since my awesome friends who are organizing my baby shower already took care of the favors. But still, while I was looking for favor ideas I thought the sugar scrub would make a perfect gift for bridal showers. Here is how it will look like when finished.
 
 Easy DIY Sugar Scrub for Wedding Favors

Very easy to make and you can find the ingredients locally at your supermarket and craft stores. You will need:
- 1 cup of Turbinado Sugar
- 1/2 teaspoon Essential Oil or Fragrance of your choice (for summer maybe something fresh Ocean Breeze related or Coconut)
- 1/4 to 1/2 cup of Almond Oil or any other of your preference
- 2 caps of Vitamin E
- Small Glass Jar
- Ribbon
- Charm, Tags or Cardstock

 Ingredients for the Sugar Scrub

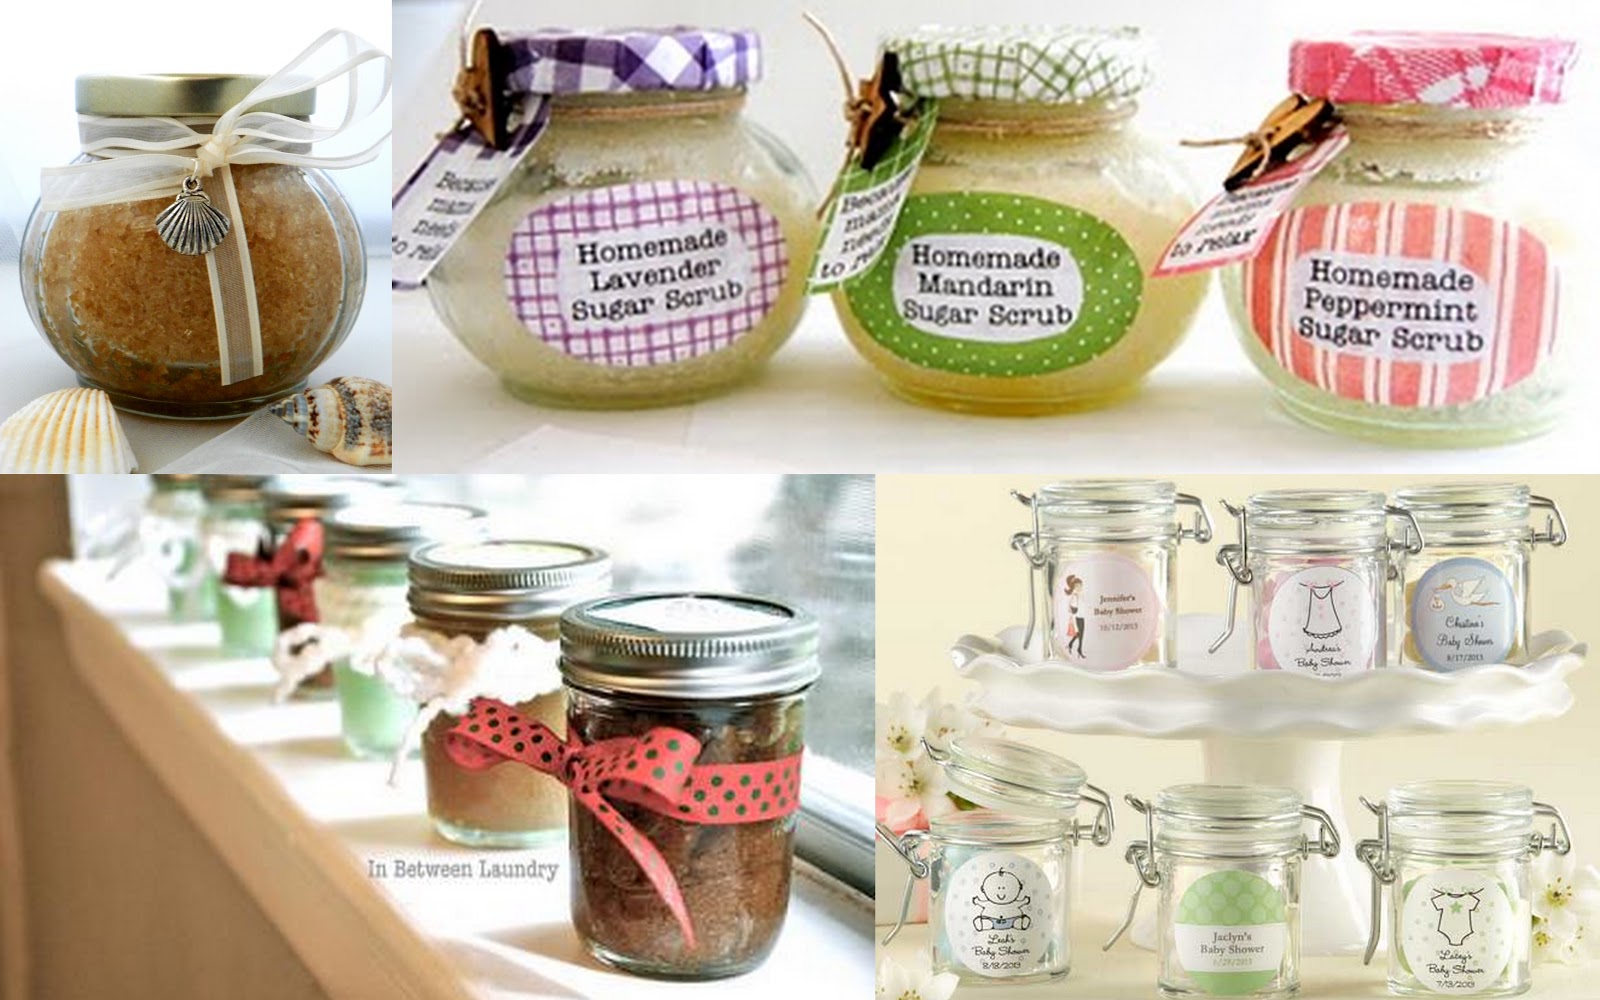
Mix the Almond Oil with the Vitamin E and the Essential oil in a cup and add it to the Sugar in a larger bowl. Mix well and then add more of any of the ingredients if needed. I don't like too strong fragrances, so I chose to use half teaspoon, but you can add more. Once you have mixed everything well pour it into the glass jar. You can get small favor glass jars at Michaels or Jo-Ann. If you want larger jars you can find them in the supermarket. Another option is to get personalized jars online. Since it was for my personal use I just re-used a jar that I had at home. Now, for the decoration you can just do whatever your imagination tells you. I used a ribbon that I had at home and since I wanted it with a Beach look I just added a seashell charm, but you can personalize your tags or make your own with cardstock. Just let your creativity guide you!
 Personalized Favor Jar Ideas

What do you think? Look nice, right? Very easy to make, it will only take you a few minutes and it looks great! Please note that I'm not an expert in this, so you might consult with your dermatologist if you have very sensitive skin.

But I know not everyone has time or likes doing the stuff on their own, so here are some ready made Beach Wedding or Bridal Shower Favors that I've found online.

 Handmade Buckets with Chalkboard Favors here

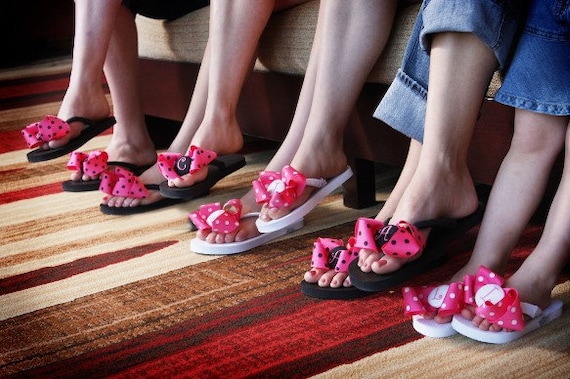
 Bridesmaid Bridal Party Flip Flops here

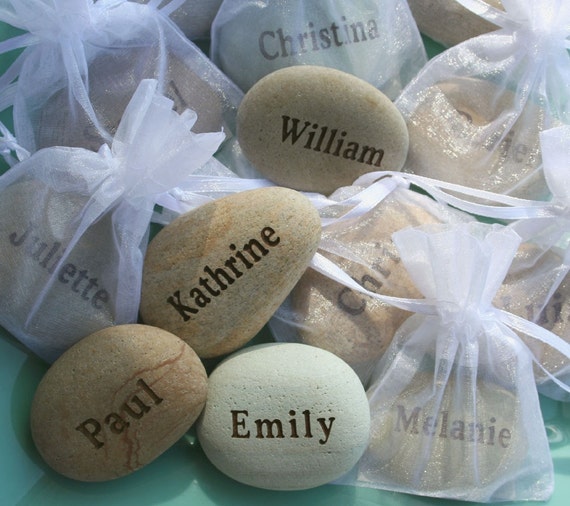
 Handmade Personalized Engrave Stone Favors here

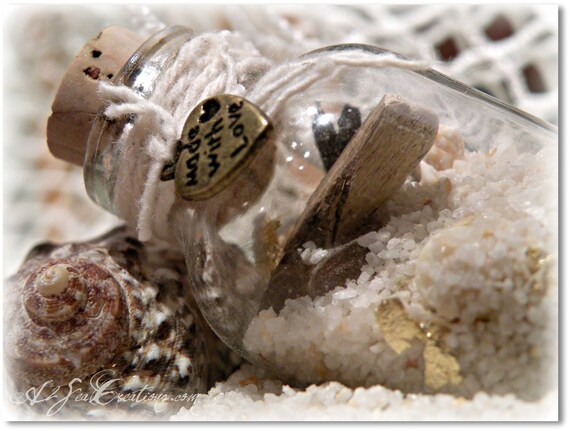
 Little Beach in a Bottle Wedding Favor here

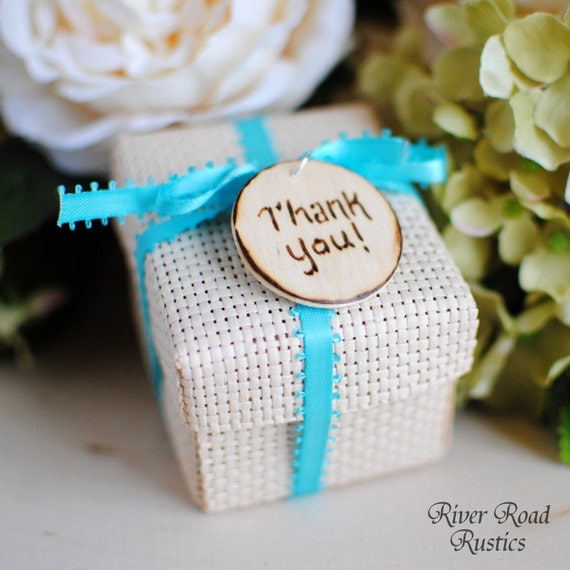
 Handmade Rustic Wood Charm for Wedding Favors here

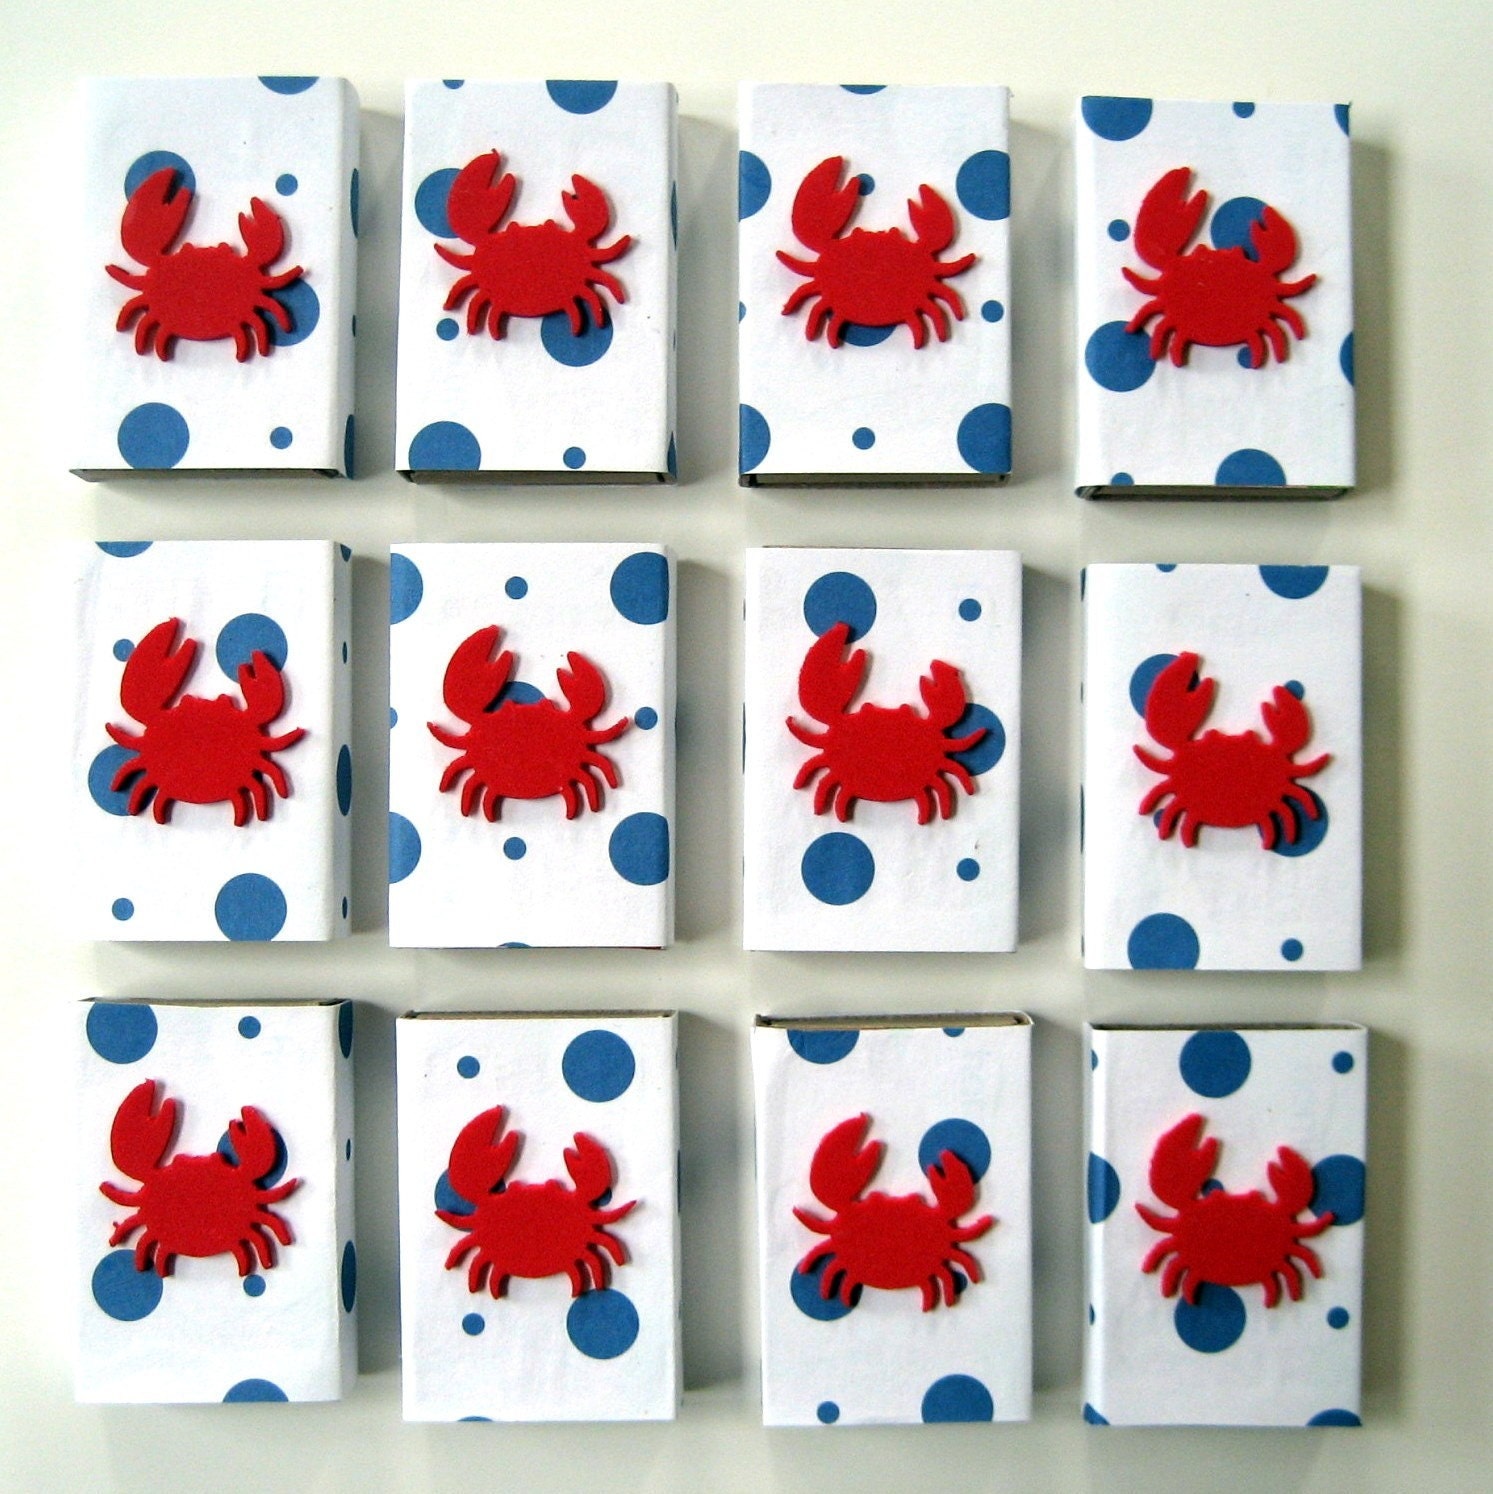
 Beach Crab Matchbox Wedding Favor here

Hope you find something that you like. Also let me know if you try the Sugar Scrub. I really love it and use it every day. Have fun creating! 

Wednesday, May 18, 2011

Beach Wedding Ideas

Lately I've noticed that I'm getting more and more Beach Jewelry requests from my customers. As the summer gets closer brides are preparing for their big day and looking for beach themed items. For me here in the SF Bay Area I really don't feel the summer being close since it's still cold and rainy, but I know that other places are already filled with sun and warm weather.

So I made a quick search and found tons of info for beach weddings. I personally love weddings outdoors and especially on the beach. The only part that I don't love is that sometimes it can be really hot, so make sure you have big umbrellas or tents so that the guests are not all the time exposed to the sun. A good way to refresh your guests is offering them frozen Margarita drinks or similar. I normally love strawberry daiquiris or tamarind margaritas...yummy!

Here are a few ideas for your Handmade Beach Wedding. I've included the link to the vendors so you can go check out their shops as well.

Edible Sugar Fan Coral here

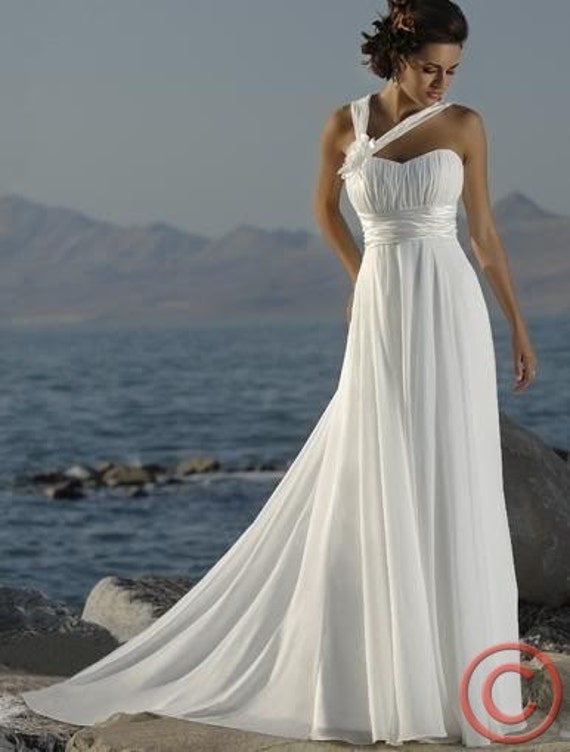
 Handmade Chiffon Bridal Dress here

 Handmade Personalized Heart Tags here

Handmade White Flip Flops here

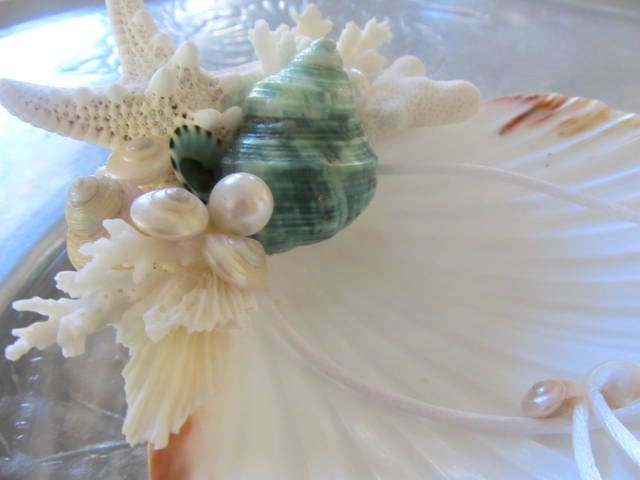
Ring Bearer Shell here

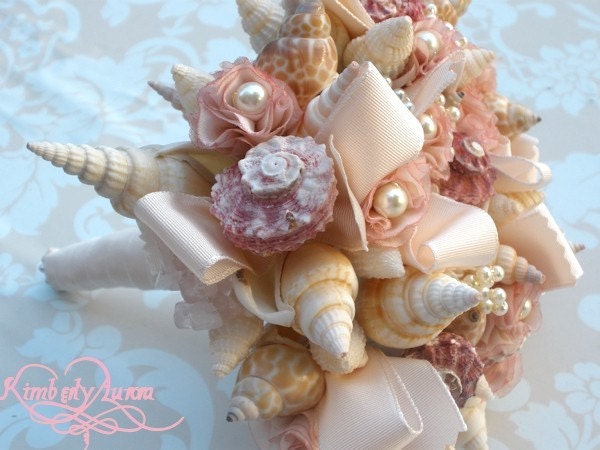
Handmade Beach Bridal Bouquet here

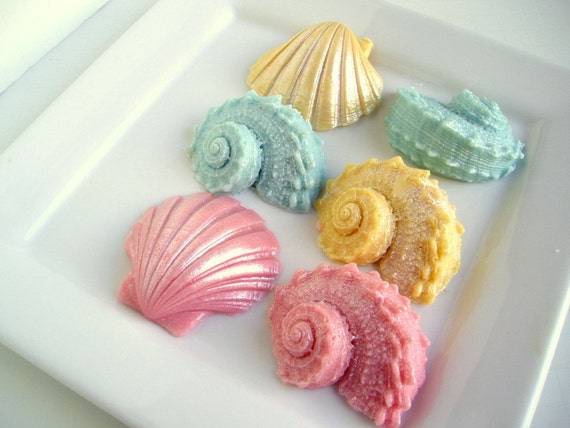
Beach soap Favors here

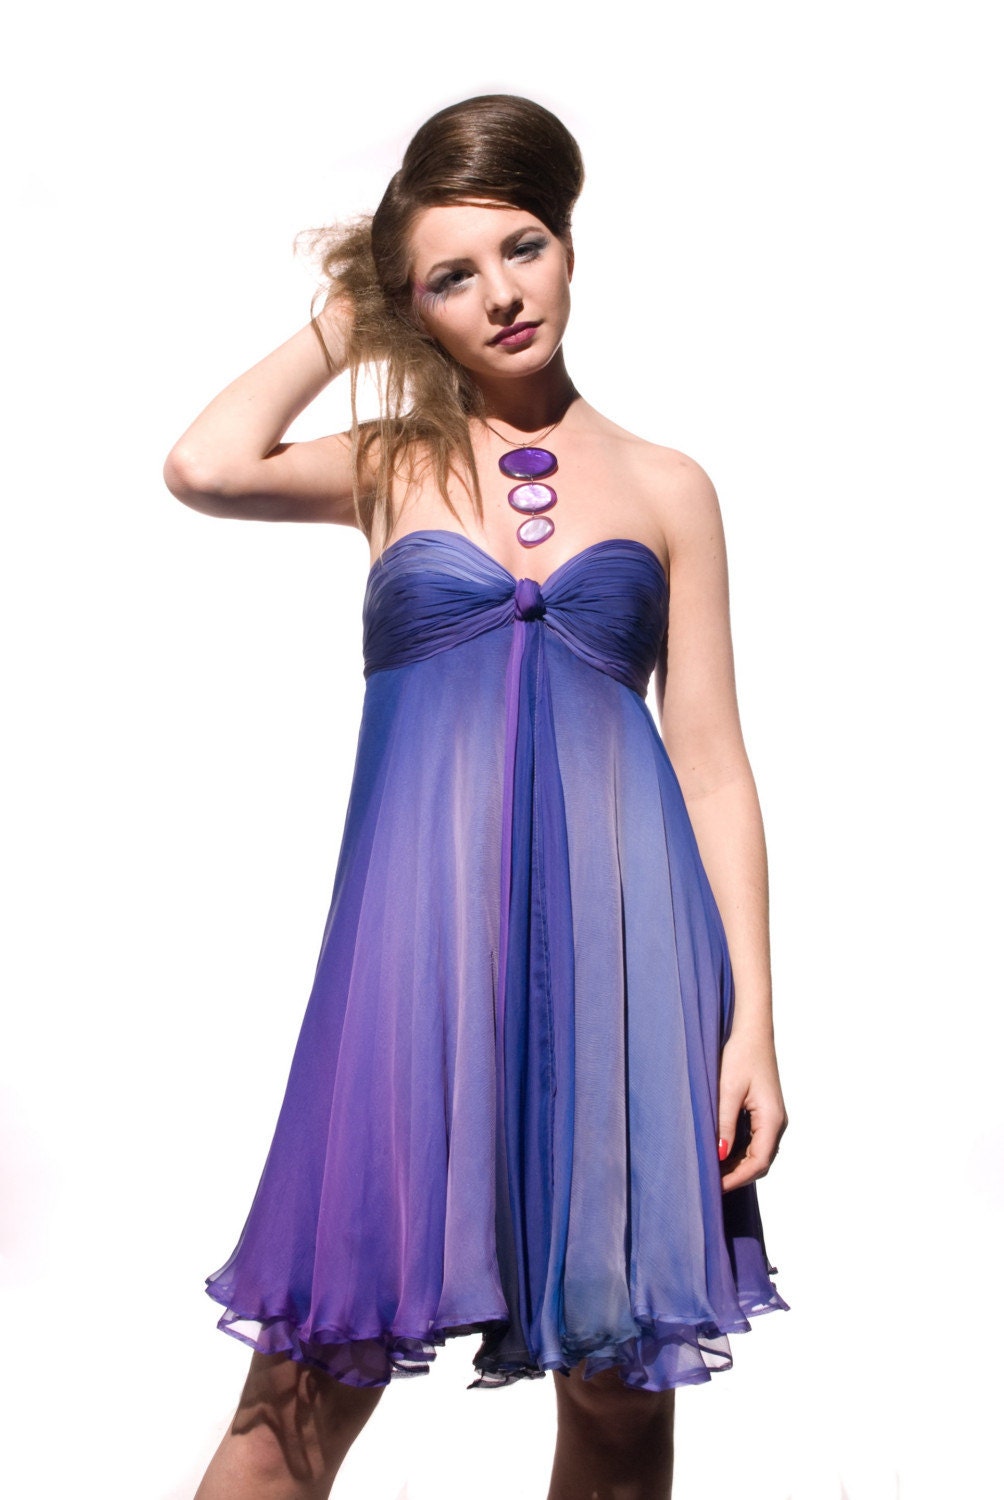
Handmade Purple Bridesmaids Chiffon dress here

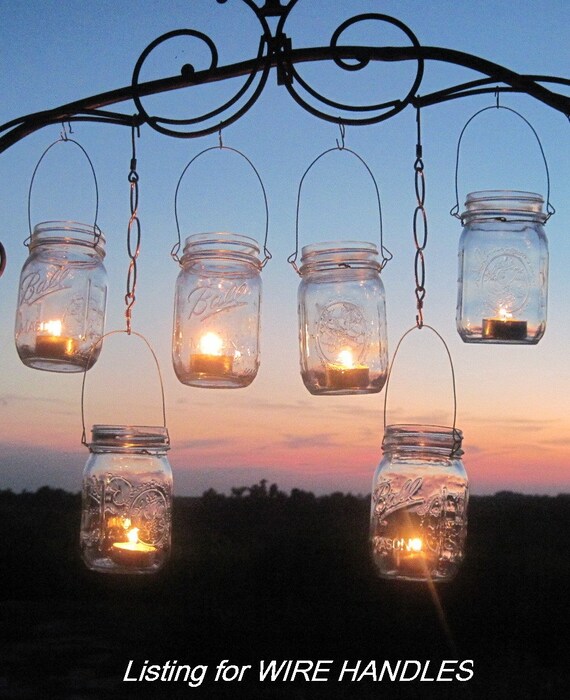
And for the brides that like some DIY items I found this great lanterns. You can buy the wire hooks online on Etsy and then re-use or buy the glass jars. Just place tea candles into the jar and the attach the wire holders. That's it! Very easy to make and it looks great!

DIY Lantern Jar holders here

I will be looking for more ideas and then show them to you in my next post. Meanwhile just a quick note, I've already finished my Beach Jewelry collection and started posting a few of them in my shop. I will be adding some pictures on my Facebook so you can see them there as well and remember that there is always a secret coupon for my Estylo Jewelry Facebook Fans!!!

ShareThis

Related Posts with Thumbnails